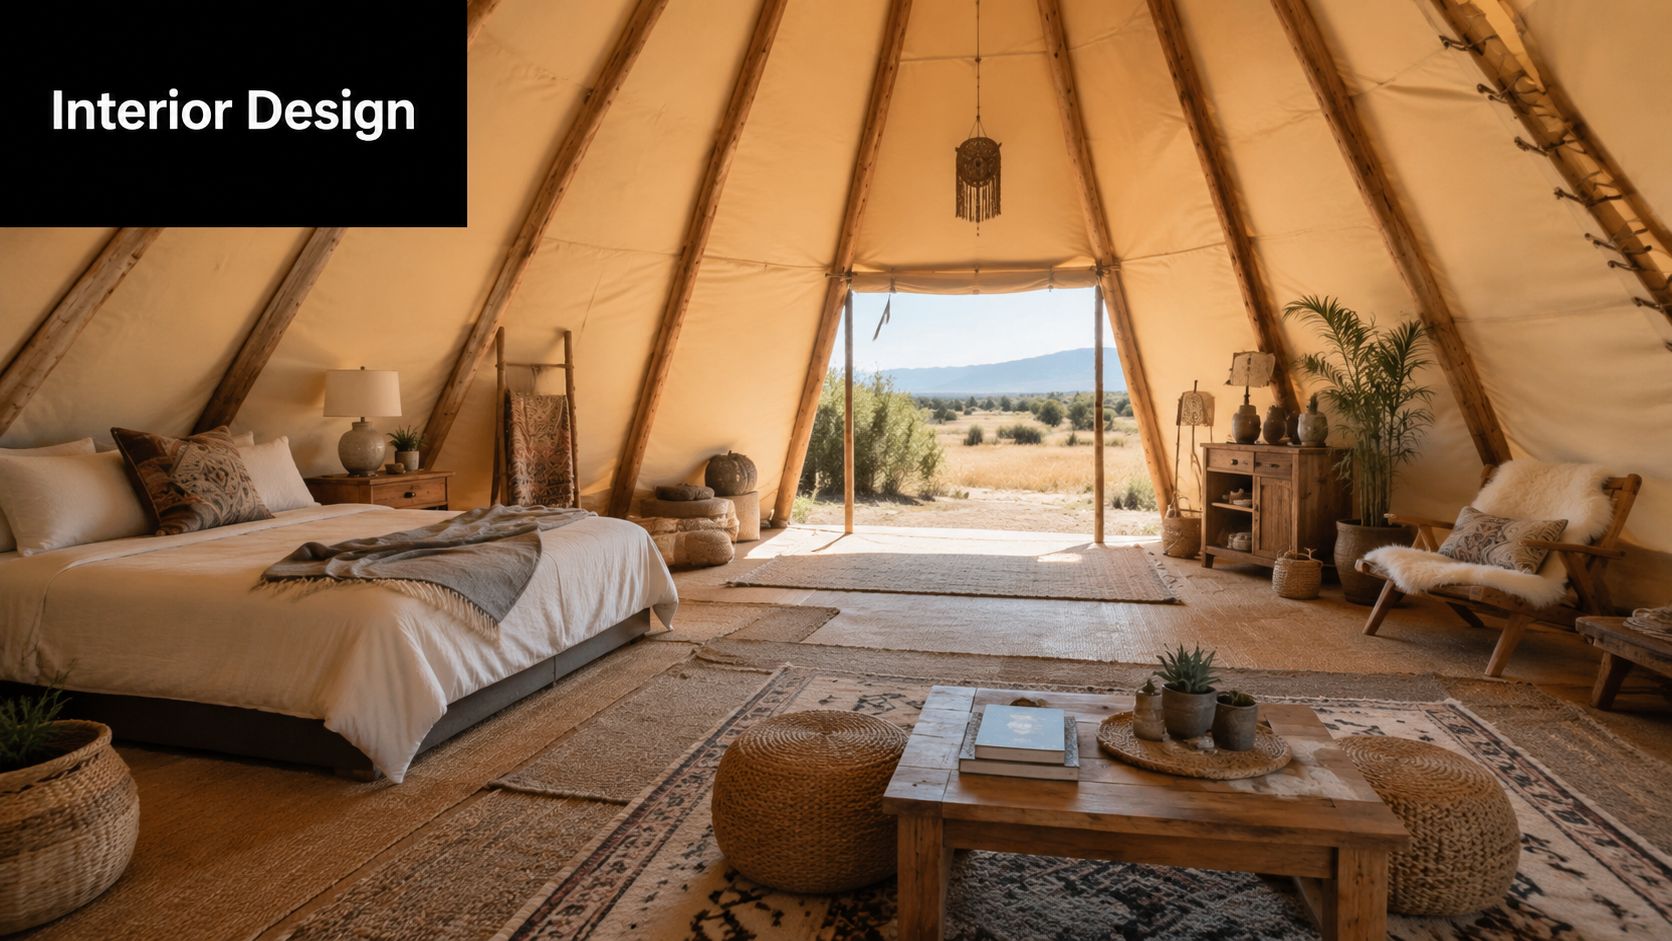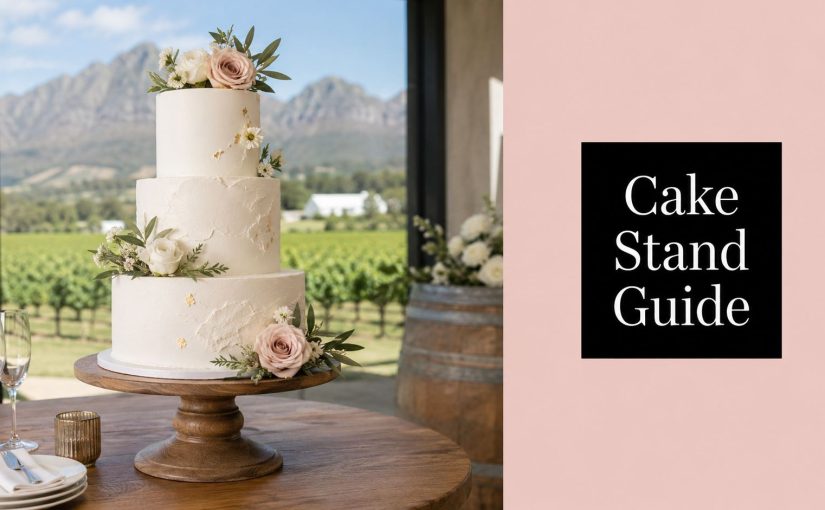
You've chosen the cake design, approved the flowers, and probably spent more time than expected discussing icing in WhatsApp chats. Then the practical question appears late in the process. What is the cake going to stand on?
That detail gets overlooked all the time. A beautiful cake can still look awkward on the wrong base, and worse, an unstable stand can turn a ceremonial moment into a preventable setup problem. In Cape Town and the Winelands, where cakes often travel, venues vary widely, and styling matters, the wedding cake stand deserves more attention than it usually gets.
More Than Just a Pretty Base
A wedding cake often arrives as one of the visual anchors of the reception. Guests notice it before the cutting. Photographers frame it. Florists style around it. Venue staff work around it. If the stand is too small, too light, or visually wrong for the scale of the cake, the whole display feels off.
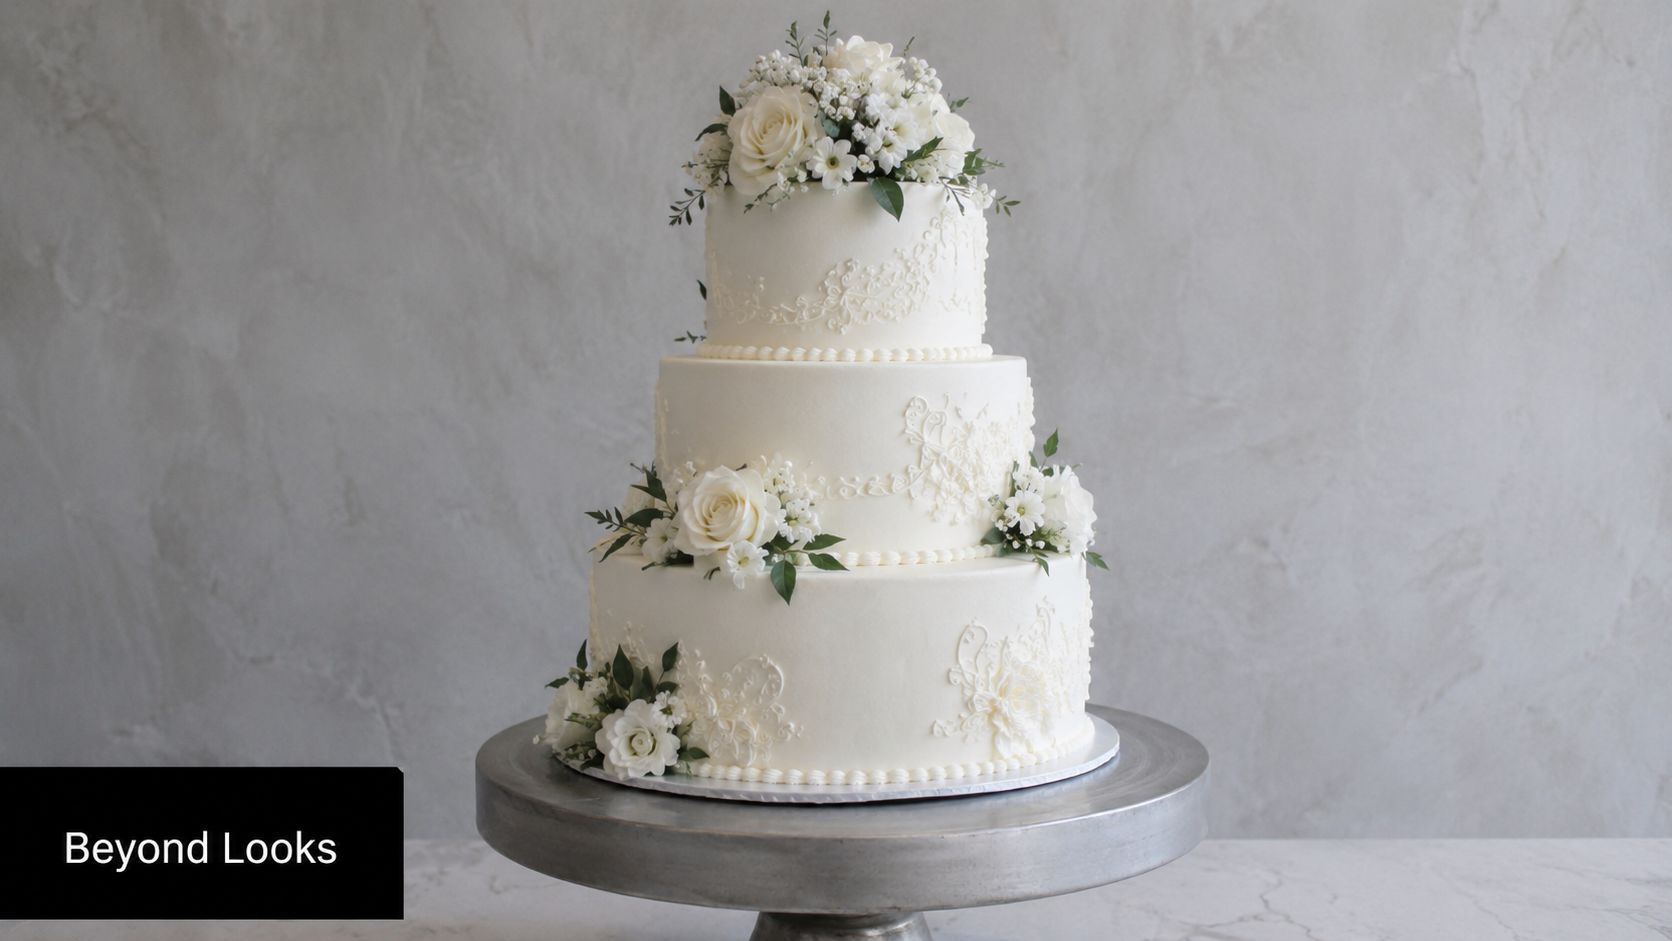
I've seen the same pattern repeatedly at weddings. The couple invests in the cake itself, then treats the stand as an afterthought. Someone borrows one, buys a decorative piece online, or assumes the venue has something suitable. On the day, the stand is either too narrow for the cake board, too short for the styling plan, or too delicate for the load.
Why elevation matters
There's a reason wedding cakes are traditionally raised rather than placed flat on a plain table. The custom goes back much further than modern wedding styling. Historical accounts trace the tiered wedding cake to medieval England, and by the Victorian era, silver, glass, crystal, and porcelain stands were already being used to raise cakes and desserts for presentation, as described in this history of the three-tier cake stand.
That matters locally because Cape Town weddings still lean heavily into ceremony and display. At a Winelands estate, a cake isn't just dessert. It often sits in full guest view and has to hold its own against floral installations, long tables, and dramatic architecture.
Practical rule: Treat the stand as part of the cake display design and part of the setup engineering.
What works and what doesn't
What works is a stand chosen early, with the baker and stylist both aware of the final setup. What doesn't work is trying to “make something fit” during load-in. A stand should support the cake physically and visually. If it can't do both, it's the wrong piece.
The right stand gives you three things at once:
- Presence: It lifts the cake into view so it reads as a centrepiece.
- Proportion: It makes the base feel intentional rather than cramped.
- Security: It supports the cake without wobble, tilt, or overhang.
That's why I never treat a wedding cake stand as a decorative extra. It's a working part of the event setup.
Sizing Your Stand for a Perfect and Secure Fit
The simplest sizing rule is also the one people ignore most often. The top plate of the stand must be the same size as or larger than the cake board. Not slightly smaller. Not “close enough”. Equal or larger.
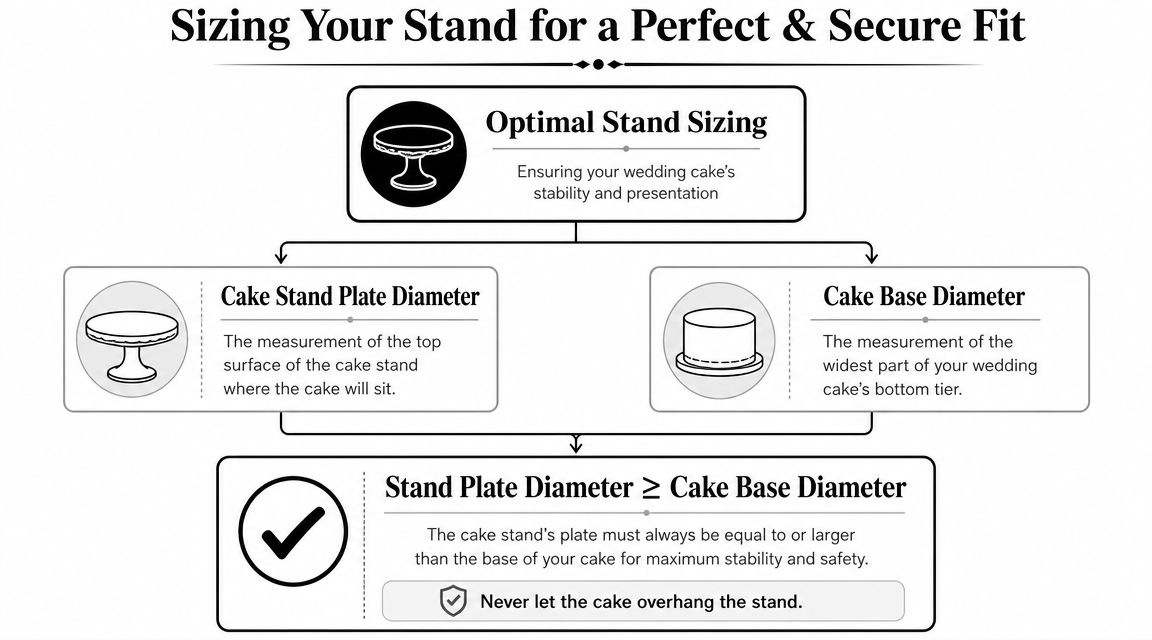
That rule comes directly from professional stand guidance. The load-bearing surface should match or exceed the cake board so the weight is distributed properly and the cake stays stable, especially for heavier tiered designs, as outlined in this professional cake stand sizing guide.
Measure the board, not just the cake
Couples often ask the baker, “How wide is the bottom tier?” That's useful, but it's not the full answer. The cake will usually arrive on a board, and the board is what sits on the stand.
Use this sequence instead:
- Ask your baker for the final board diameter. Don't rely on the bottom tier size alone.
- Confirm whether there's any edge beyond the icing. Some boards are cut very close, others are more generous.
- Match the stand plate to that board size or go larger. Never choose smaller.
- Check the style of the rim. A decorative lip can reduce the usable flat area.
- Review the full setup visually. A stand can be technically large enough but still look underscaled in the room.
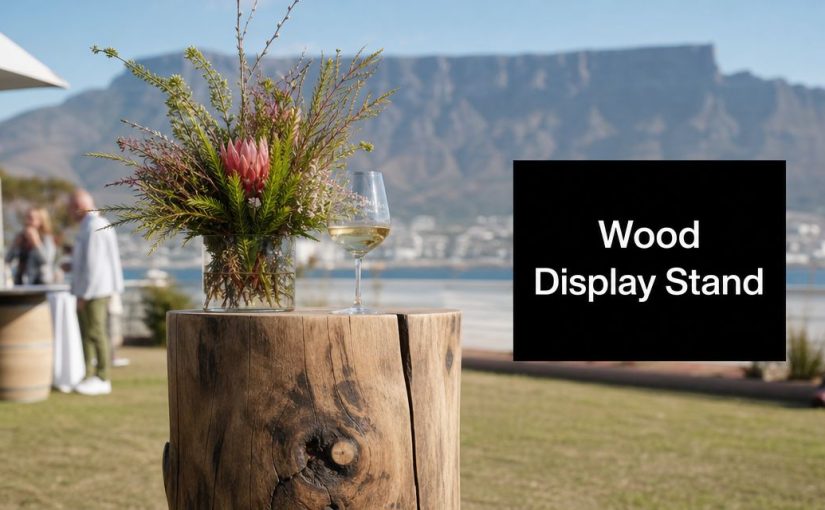
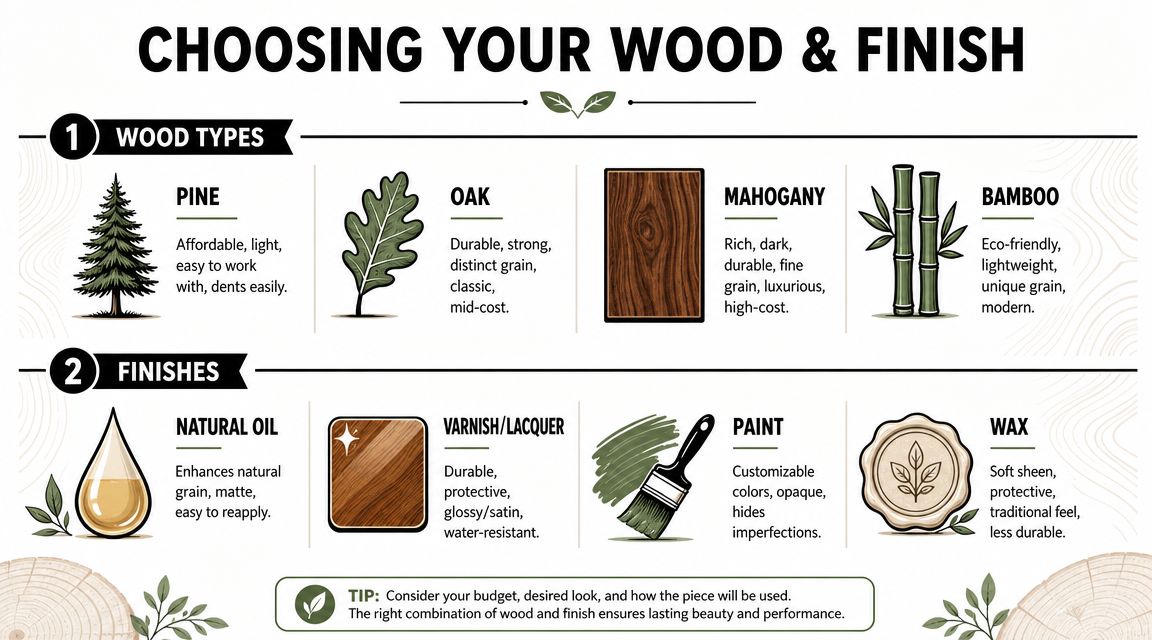
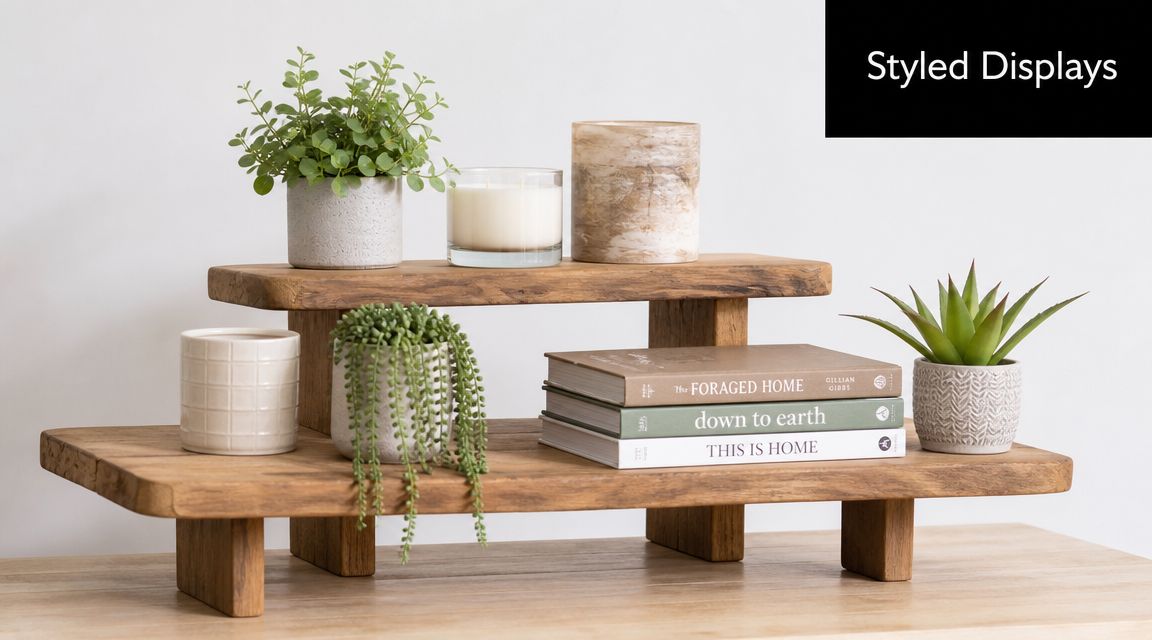
If you're drawn to timber styling, it helps to see how different profiles and finishes affect the overall look. This guide to a wooden cake stand is useful for understanding how a more natural material changes the visual weight of the display.
Avoid the common fit mistakes
Some problems show up immediately in photos. Others only show up when the cake is placed.
| Mistake | What happens |
|---|---|
| Stand smaller than the board | The cake overhangs and looks unsafe |
| Decorative rim with small flat centre | The board sits unevenly |
| Tiny pedestal under a broad cake | The proportions feel top-heavy |
| Oversized stand for a small cake | The cake looks lost unless the styling is built around it |
Never let the cake overhang the stand. It looks wrong before it becomes risky.
A better way to decide
Don't choose the stand from a photo gallery first. Choose it after you know the delivered cake dimensions and table plan. If your venue has a narrower cake table, a very broad stand may technically fit the cake but crowd the flowers, candles, signage, or champagne tower nearby.
A secure fit should look effortless. That's usually the result of quiet planning, not luck.
Matching Stand Styles to Your Wedding Theme
Once the size and fit are correct, the style starts doing real work. The stand should support the design language of the room. It shouldn't fight with it.
The most successful cake displays don't happen because the stand is dramatic on its own. They work because the material, finish, height, and shape make sense with the venue, linen, florals, and cake design.
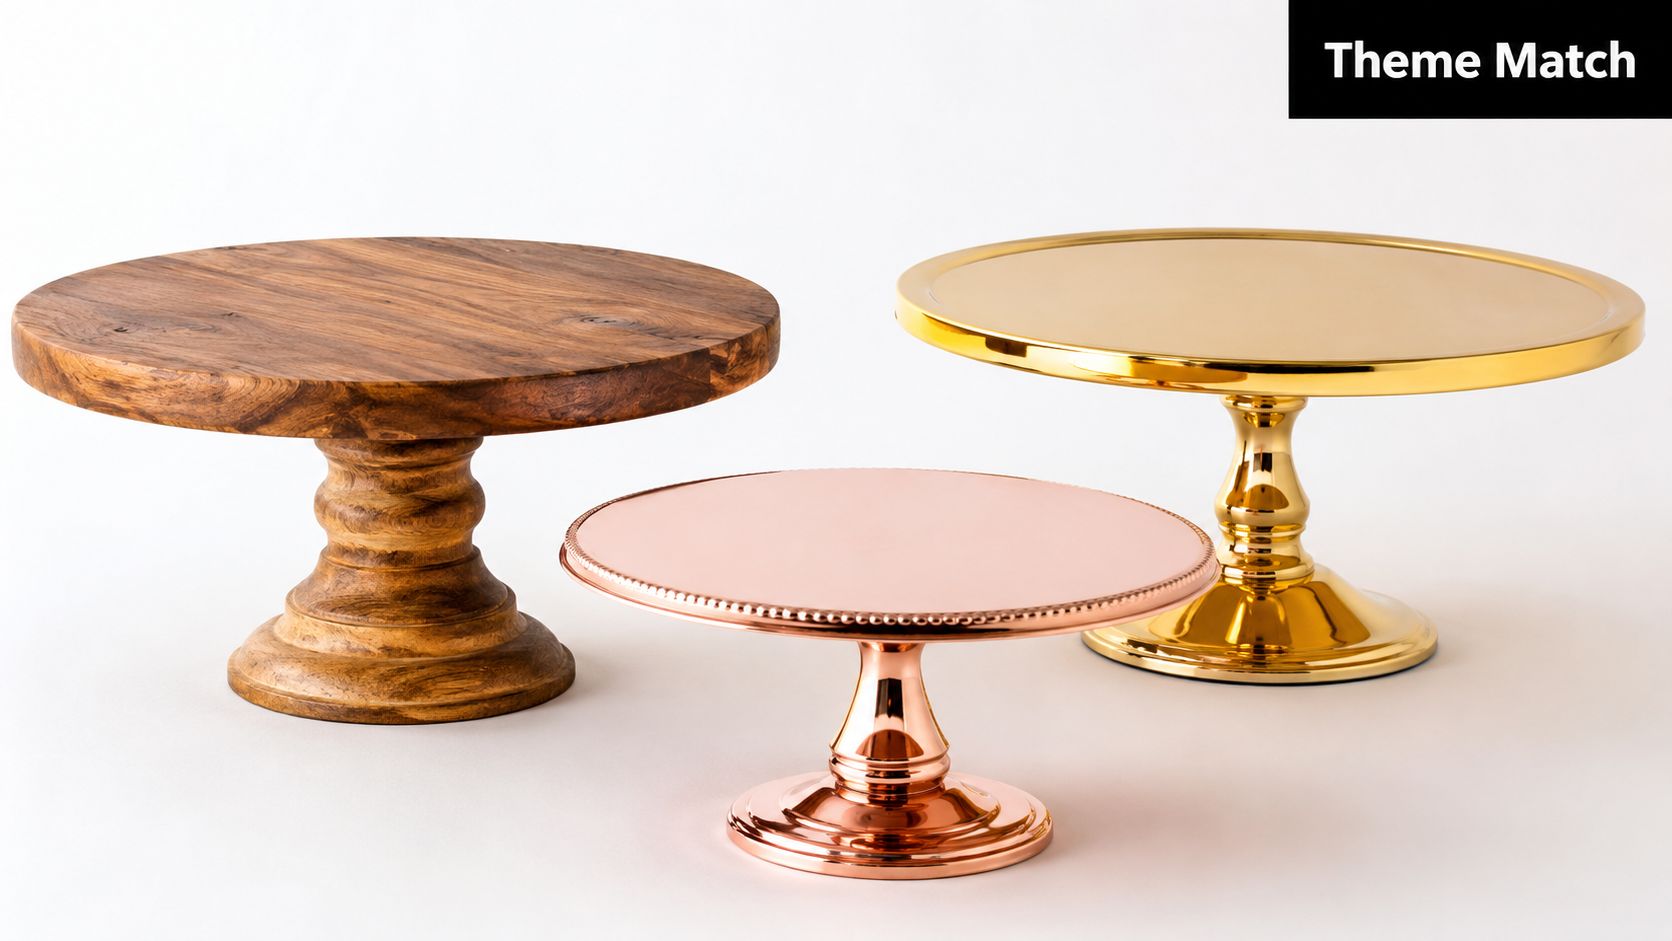
Rustic venues and wine farm settings
For Stellenbosch, Paarl, and Franschhoek venues with timber beams, stone, gardens, or cellar textures, wooden stands often sit naturally in the space. They soften formal icing and work especially well with buttercream finishes, fruit, fresh florals, and textured cakes.
A raw or lightly finished timber stand suits:
- vineyard weddings
- harvest-table styling
- garden receptions
- neutral florals and softer palettes
What doesn't work is pairing rustic wood with a highly polished, city-style cake design unless that contrast is deliberate.
Modern city venues and clean styling
For contemporary venues in Cape Town, acrylic and metallic finishes usually perform better. Clear acrylic can make a cake appear to float, which works nicely when the cake itself has detail you don't want to compete with. Gold or silver finishes add formality and suit sharper styling.
If you're looking at metallic inspiration, these magnificent gold cake ideas are useful for seeing how gold details can be handled tastefully rather than heavily.
A cleaner stand style works well with:
- monochrome florals
- sculpted fondant work
- minimalist stationery
- black, white, champagne, or modern neutral palettes
Manor houses and classic receptions
Older Cape Dutch homes, manor venues, and more formal ballroom-style settings can handle a silver pedestal, ceramic base, or more traditional glass look. These stands feel ceremonial. They suit cakes with piping, sugar flowers, or a more classic silhouette.
A good stand doesn't need to shout. It needs to belong in the room.
Quick matching guide
- Wood: Warm, organic, grounded. Best for farm and garden weddings.
- Gold or silver metal: Refined and formal. Strong with modern glamour or classic black-tie styling.
- Clear acrylic or glass: Light visual footprint. Good when the cake is detailed and the stand should recede.
- Ceramic or porcelain: Traditional and elegant. Best when the room has a softer, heritage feel.
The easiest way to get this wrong is to choose a stand only because it's fashionable. The easier way to get it right is to ask whether the stand suits the venue before you ask whether it suits Instagram.
Ensuring Your Cake Is Safe and Stable
This is the part that matters most on the day. A wedding cake stand has to do more than look good under soft lighting. It has to hold the load, sit level, and stay steady through setup, service, and the normal movement of a live event.
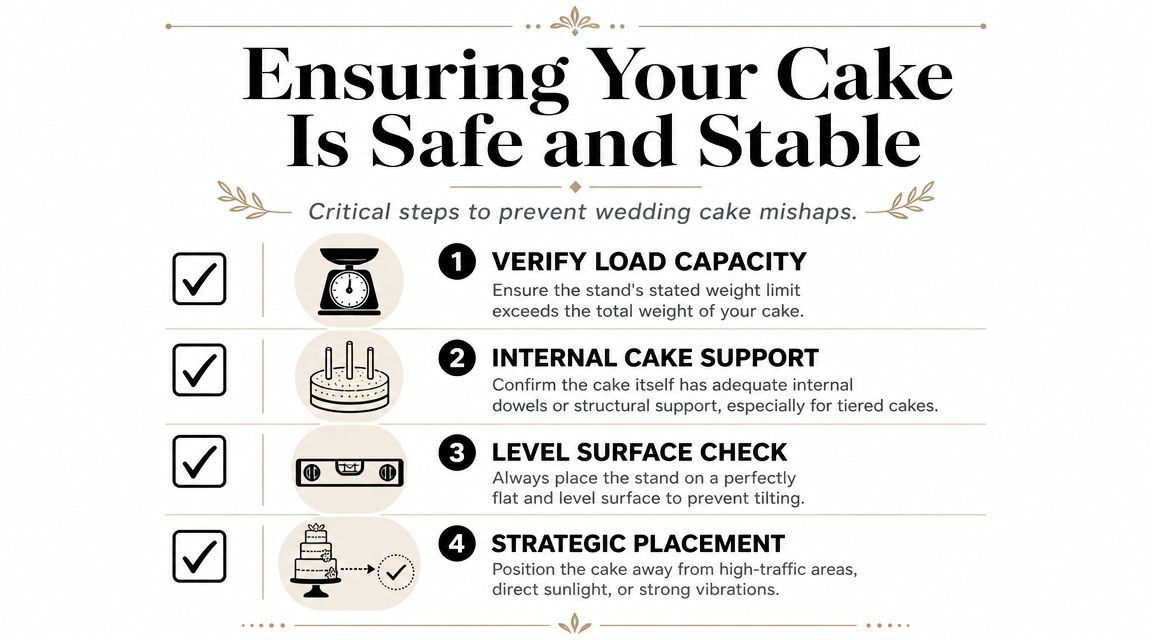
One practical benchmark comes from a wedding cake stand guide that notes 10-inch stands are designed for up to 18 kg, while 12-inch stands are designed for up to 34 kg. The same guide also notes that stands aren't always required and that cakes with 5 or more tall tiers may be visually too dominant for a stand, depending on the style, as explained in this wedding cake stand guide with load guidance.
Don't buy on appearance alone
A decorative stand can photograph beautifully in a product listing and still be the wrong choice for a substantial cake. Thin stems, lightweight bases, uneven tops, and poor balance become obvious only when the actual cake is placed on them.
What usually works for a heavier wedding cake:
- A broader base that doesn't look delicate under load
- A weighted feel rather than a hollow, flimsy one
- A flat, level top surface
- A pedestal shape that supports the scale of the cake
What usually fails:
- very narrow stems
- lightweight DIY builds
- uneven handmade tops
- stands chosen before the cake design is final
The venue check that prevents problems
When the stand reaches the venue, it still needs to be tested in position. That means the actual table, the actual floor, and the actual room conditions.
Use this on-site check:
- Set the stand in its final position first. Don't test it elsewhere and assume the table is level.
- Check the top surface by sight and touch. If the stand rocks even slightly, stop there.
- Make sure the table doesn't wobble. A stable stand on an unstable table is still a risk.
- Confirm the display isn't in a traffic lane. Guests, staff, and children all change the safety picture.
- Keep it out of direct sun where possible. Heat affects both cake finish and display reliability.
If you're using a dome or covered presentation style for smaller cakes or dessert displays, this guide to a glass cake dome is a useful reference for display considerations around protection and presentation.
If a stand wobbles before the cake is placed, it doesn't belong under the cake.
Placement matters more than people think
The safest stand in the room can still become a problem if the display table is next to the dance floor, beside a service passage, or on an uneven outdoor surface. Winelands venues are beautiful, but they often include old floors, gravel approaches, lawn setups, and furniture moved across multiple spaces during the day.
A cake should sit where it can be admired without being bumped. That usually means a dedicated area with enough visual presence for photos and enough physical space for service staff to work cleanly.
When not to use a stand
Not every cake needs to be lifted. If the cake is very tall, very heavy, or visually dominant on its own, a plinth or solid display table may be the stronger choice. A stand should improve the setup. If it adds instability or makes the proportions awkward, it's the wrong solution.
The Smart Choice Renting Your Stand in Cape Town
A common wedding-week problem looks small on paper. The cake is confirmed, the flowers are sorted, and then someone asks who is bringing the stand, whether it fits the cake board, and how it is getting to a venue outside town without damage. That is usually when buying a cheap stand stops looking convenient.
Renting makes sense because a cake stand is rarely just a styling item. It has to suit the cake's weight, travel well, arrive on time, and work with the venue's setup window. For couples getting married in Cape Town, Stellenbosch, Franschhoek, or Paarl, those details matter more than they do in a simple indoor city setup.
Why rental often makes more sense
Buying often gives you a narrow choice. Hiring gives you options that fit the actual brief.
That matters if your baker is using a larger board than expected, if the display table changes late, or if the venue coordinator wants the cake moved after the room reset. A hired piece is easier to match to the final plan, and you do not have to store, clean, or transport a fragile item after the wedding.
It also helps you choose the right display format in the first place. Some cakes look better and stand more securely on a plinth or dressed table than on a raised pedestal. For ideas on how hired décor pieces work together across the full setup, this guide to wedding décor hire gives useful context.
Local logistics change the decision
Western Cape weddings often involve more movement than couples expect. A stand may need to travel separately from the cake, be loaded in with other hire items, and be placed during a tight venue access window. On farm venues and Winelands estates, that can include gravel drives, uneven unloading areas, wind exposure, and long distances between parking and the reception space.
Those conditions affect more than convenience. They affect whether the display arrives in good condition and whether setup happens calmly or in a rush.
Rental is often the safer route because the stand becomes part of a broader event plan instead of an isolated last-minute purchase. Delivery timing, collection, and compatibility with the rest of the setup are easier to manage that way. ABC Hire supplies event furniture and accessories for Cape Town and surrounding Winelands weddings, including cake display options and other practical setup pieces.
Renting reduces last-minute compromises
The biggest gain is not only cost control. It is better decision-making under real wedding conditions.
A hired stand is more likely to be chosen after the cake size, venue table, and access plan are confirmed. That usually means fewer avoidable mistakes:
- the stand suits the final cake board
- the finish works with the room
- delivery can be coordinated with the rest of the hire setup
- collection is handled after the event
For most weddings, that is the more practical choice. The goal is a display piece that looks right, carries the cake safely, and does not create extra work on a day that already has enough moving parts.
Your Final Wedding Cake Stand Checklist
A wedding cake stand looks like a small decision until the wedding week arrives. Then it touches styling, transport, safety, photography, and service all at once. Getting it right is mostly about asking the right questions early.
Use this checklist before you sign off on the display:
The practical essentials
- Confirm the final cake board size: Don't guess from the sketch or inspiration photo.
- Choose a stand with a plate equal to or larger than the board: Smaller is never acceptable.
- Match the stand to the venue, not just the cake: Farm, manor house, and city venues all read differently.
- Check the physical stability of the stand on site: A stand can be fine in storage and poor on the actual table.
- Think about traffic and light: Keep the cake away from bump zones and harsh direct sun.
The design checks
- Look at height and proportion: A low stand can flatten the display. An over-tall one can feel fussy.
- Match material to the room: Wood, glass, metal, and ceramic all create different moods.
- Let the cake stay the hero: The stand should support the look, not compete with it.
Choose the display piece that solves the most problems, not the one that adds another styling decision to stress over.
The final call
If you're unsure between a pedestal stand, plinth, or dressed table, that usually means you need to think about logistics before aesthetics. The safest and most polished choice is the one that suits the cake's size, the venue surface, and the load-in reality.
That's how the cake gets its moment. Not by chance, but by planning the base as carefully as the layers above it.
If you're planning a wedding in Cape Town or the Winelands and want help choosing practical display pieces that suit your venue setup, browse ABC Hire for event rental options that can support the cake table, surrounding décor, and wider reception layout.