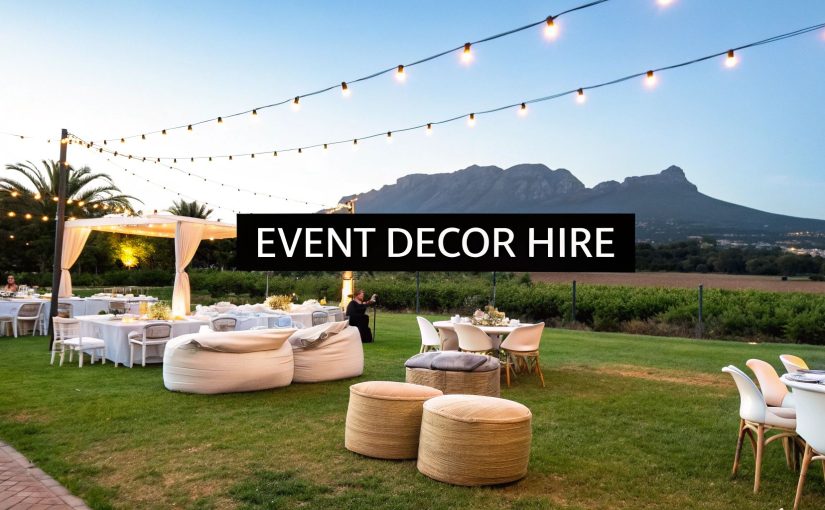
A backdrop is so much more than just a pretty background; it's the visual heart of your event. It’s what frames the most important moments, turning any space—from a rustic wine farm in the Winelands to a sleek corporate venue in the CBD—into a polished, professional setting.
Finding the Perfect Backdrop for Your Cape Town Event
Let’s be honest, the right backdrop sets the whole mood. It’s the first thing your guests will see, it’s going to be in almost every photo, and it’s the one thing that can really tie your entire theme together.
Whether you're planning a dreamy wedding, a sharp corporate launch, or a fun birthday bash, choosing the right backdrop is a game-changer. Think of this guide as your starting point for navigating backdrop hire in Cape Town. We'll get into how to match your choice with your event's theme and venue, and explore the different materials and styles that make a real statement.
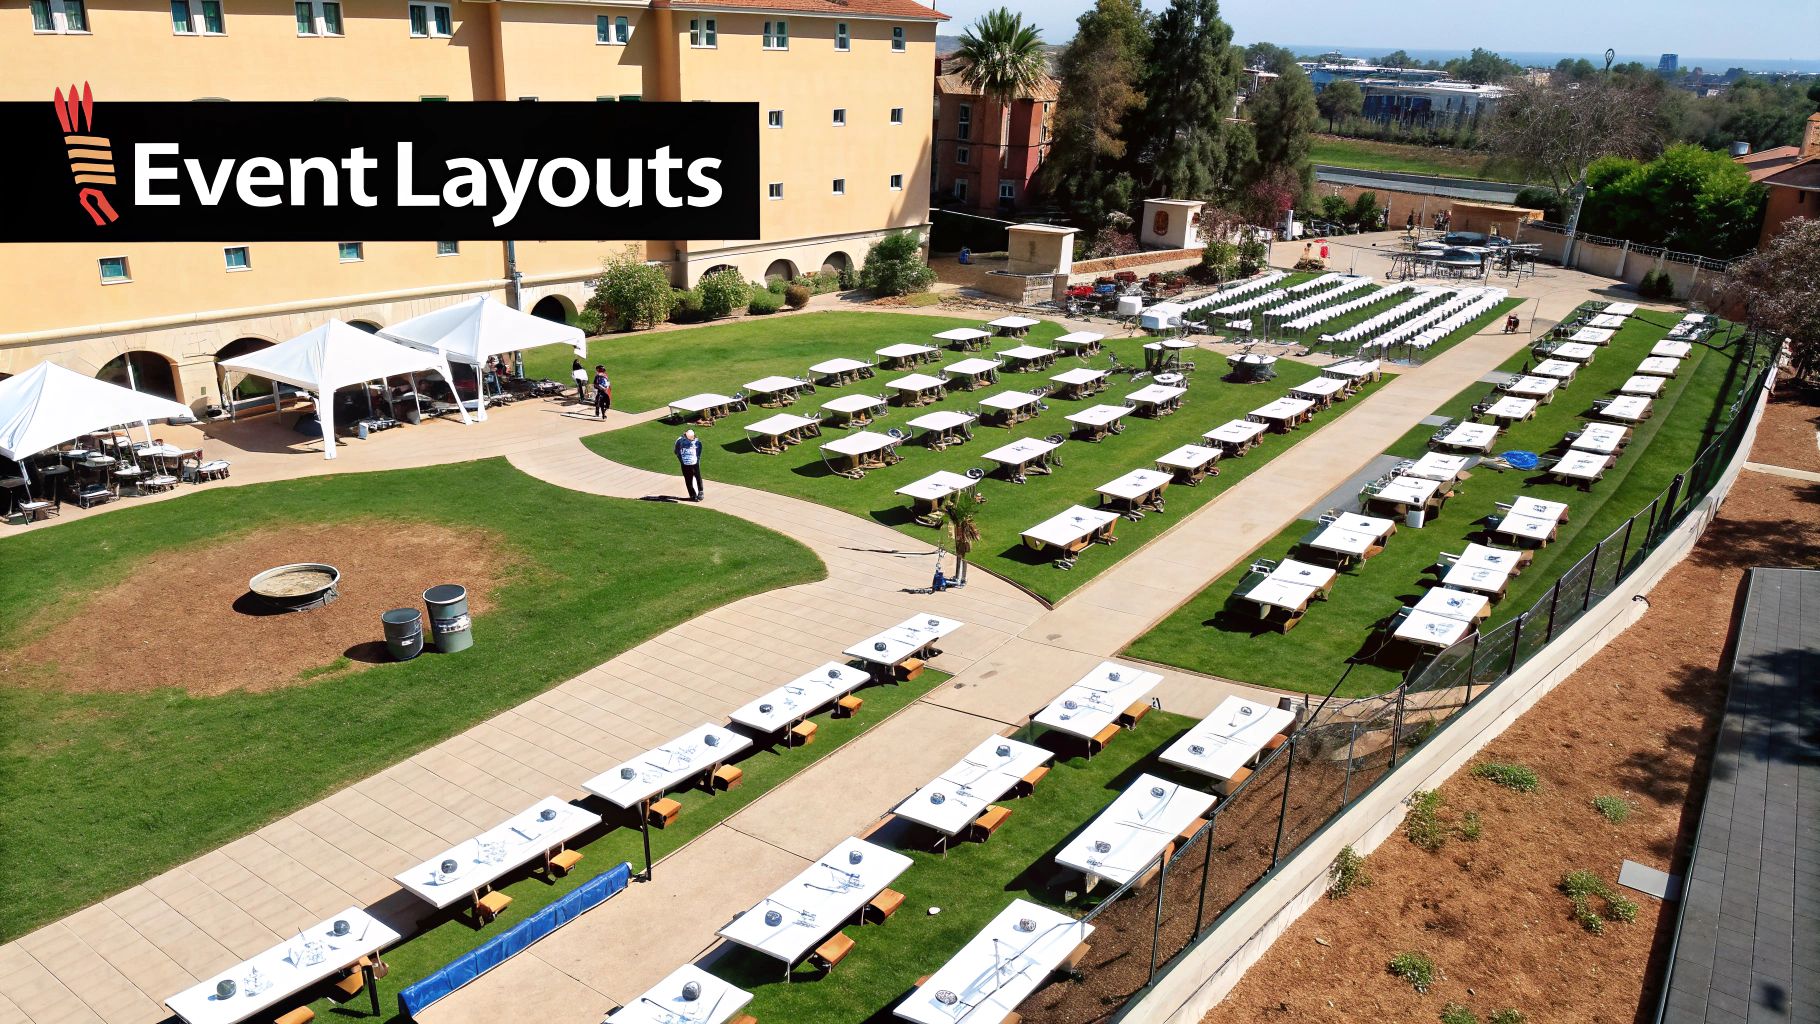
Why Hiring a Backdrop Is a Smart Move
Opting to hire a backdrop is one of the smartest ways to get a high-end look without the huge expense and hassle of buying one yourself. It gives you access to a massive variety of professional options that would probably be out of reach otherwise. It’s the ultimate event accessory—it just instantly elevates your space.
Hiring also takes the logistical headache away. A professional company will handle the delivery, the setup, and the breakdown. That’s one less thing for you to stress about on the day, which is a lifesaver for big events where time is tight.
Visuals are a bigger deal than ever in event planning. We're seeing a huge shift in budgets—in fact, 65% of event budgets in the Western Cape now set aside 15-20% for visual elements like backdrops. That's a massive jump from just 10% back in 2020. This is partly because people are leaning towards more sustainable, reusable hires over single-use items.
For a company like ABC Hire, this makes our backdrops a must-have for anyone planning a Franschhoek wedding or a matric dance. A single, stunning backdrop can slash setup costs by 30% while seriously boosting the "wow" factor. You can read more about these industry trends over on BusinessWire.
A backdrop isn't just a background; it's a statement. It tells your event's story, reinforces your brand, and creates an inviting space that gets guests snapping photos and making memories.
Matching the Backdrop to Your Vision
Before you start scrolling through options, take a second to get clear on your vision. The best backdrops feel like they were made for the event.
Ask yourself a few key questions:
- What's the theme? Is it rustic, modern, glamorous, or corporate? Your backdrop needs to match that vibe. A wooden arch draped in florals is perfect for a vineyard wedding, while a clean, branded wall works for a product launch.
- What's the venue like? Look at the existing decor, colours, and architecture. Your backdrop should complement the space, not fight with it. If the venue already has breathtaking views, sometimes a more minimalist backdrop is all you need.
- What's the mood you're after? What do you want guests to feel? Soft fabrics and warm lighting create a romantic atmosphere. Bold graphics and bright colours bring the energy and excitement.
Thinking through these points will help you narrow down the search and find a backdrop for hire that takes your Cape Town event from ordinary to absolutely unforgettable.
Matching Your Backdrop to Your Event and Venue
Picking the right backdrop is about so much more than just filling a space. It’s got to feel like it belongs there, perfectly in sync with your event's vibe and the character of your venue. Get it right, and it becomes a seamless part of the experience.
Think about it: a slick, custom-branded wall is a total power move for a corporate launch at the Cape Town International Convention Centre (CTICC). It screams professionalism. But imagine that same backdrop at a rustic wedding on a Franschhoek wine farm—it would stick out like a sore thumb. The trick is to enhance the atmosphere, not fight against it.
Tailoring Your Choice to the Occasion
First things first, what's the backdrop's job? Is it the centrepiece for a ceremony, a fun photo booth background, or a professional stage setting? Each role demands something different.
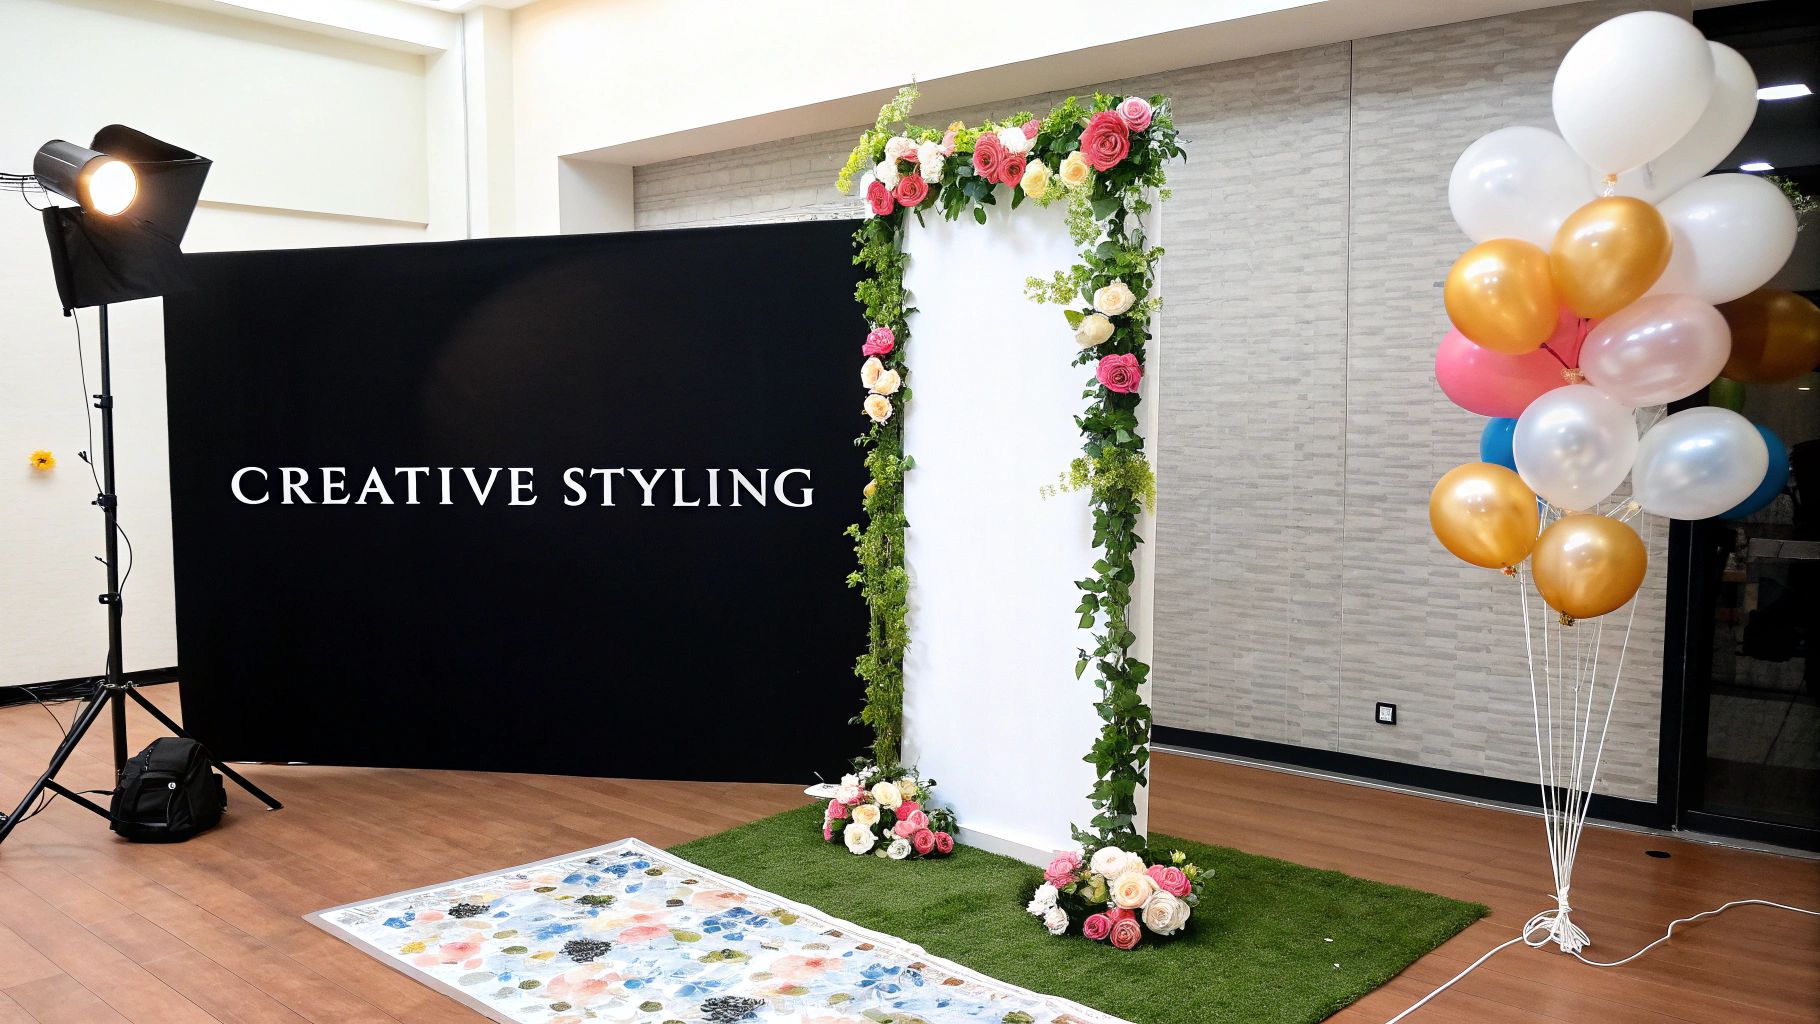
- Weddings: For I-do's in a lush vineyard, a blooming floral wall or a beautifully draped arch amps up the romance. These softer textures create a dreamy focal point for both the ceremony and the photos that will last a lifetime. We've got plenty of ideas over in our guide to wedding arch hire.
- Corporate Events: Professionalism and branding are everything here. A crisp, clean backdrop with a company logo or event slogan adds instant credibility. It’s the perfect setting for keynote speakers, panel discussions, and those all-important professional headshots.
- Private Parties and Matric Dances: Now this is where the fun really begins! Go bold with vibrant, themed backdrops. Shimmer walls, custom neon signs, or imaginative printed scenes become the life of the party, getting guests snapping and sharing.
It's no secret that event-specific backdrops are hugely popular, especially for weddings. Here in South Africa, the coastal beauty of Cape Town and the elegance of the Winelands make a stunning backdrop almost non-negotiable for couples. We've seen a 40% increase in backdrop hires since 2022 alone. With over 150,000 weddings happening across the country in 2024 and the Western Cape hosting 28% of them, that's around 42,000 ceremonies where a scenic backdrop is key to framing those gorgeous vineyard or ocean views.
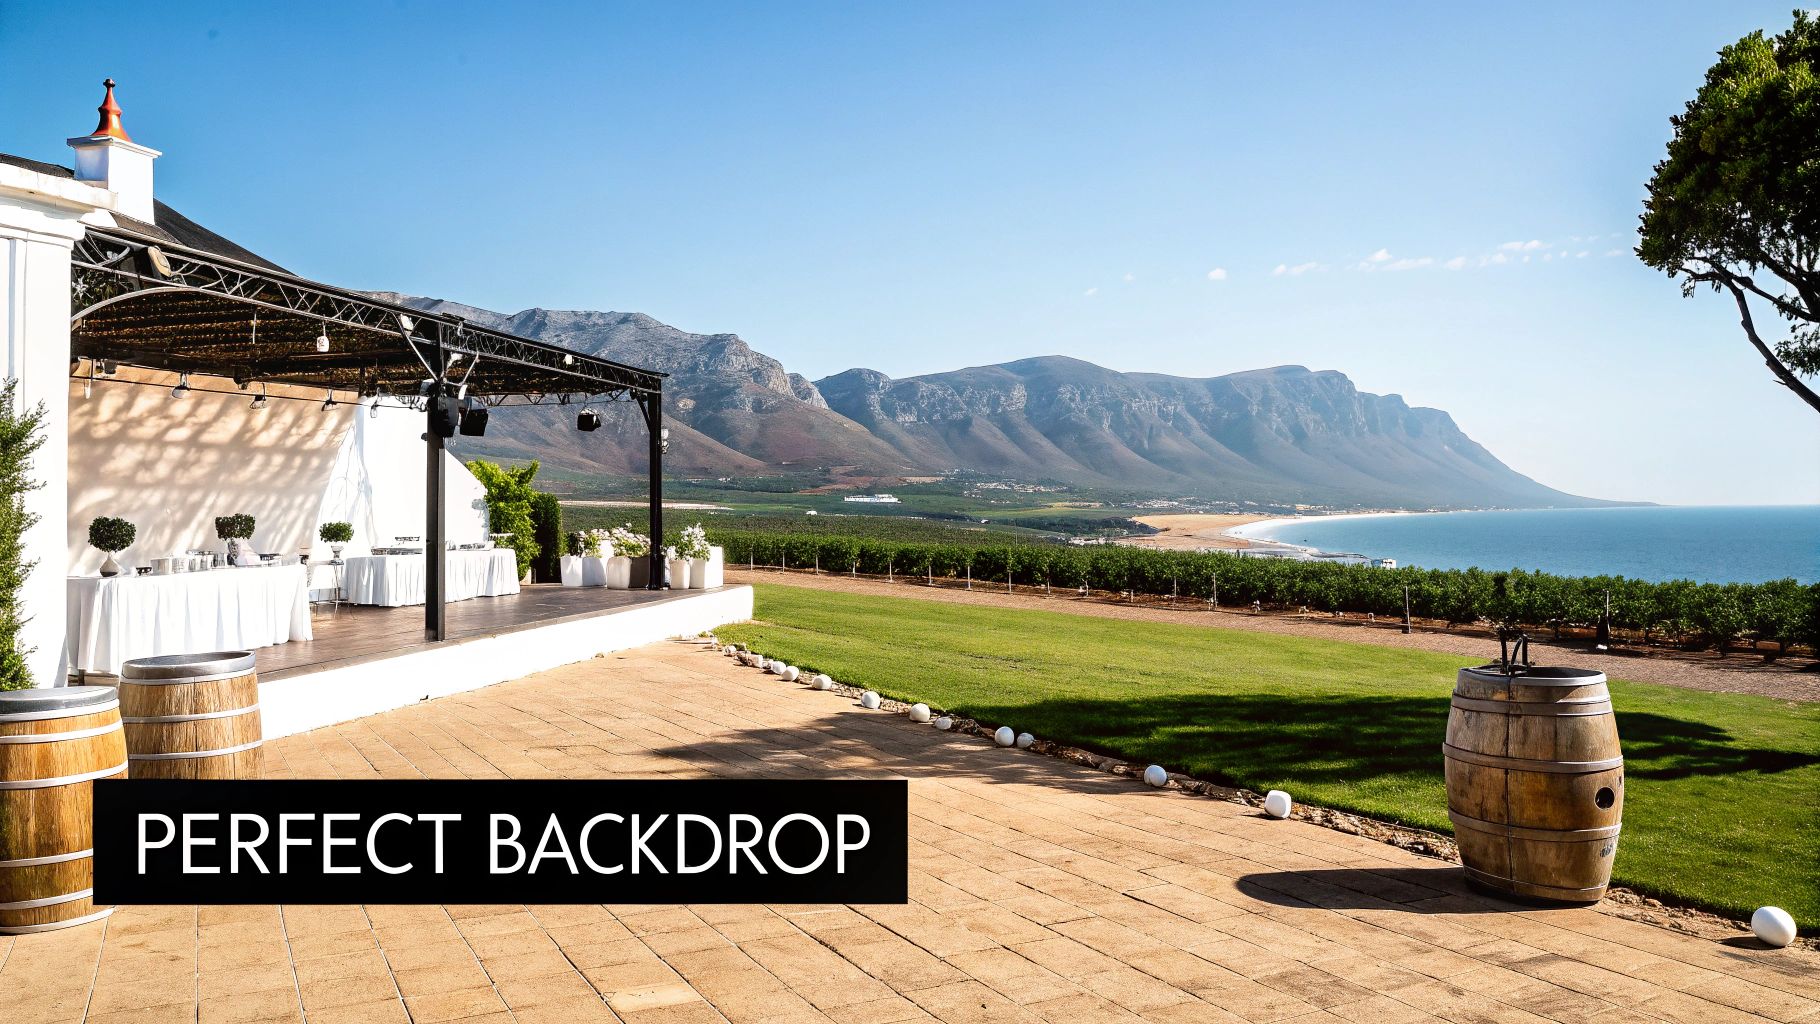
Pro Tip: Always look at what your venue already offers. If you’re at a beachfront spot in Camps Bay with an incredible ocean view, choose something that frames the scenery instead of blocking it. A simple, elegant arch often works far better than a solid wall.
Working With Your Venue, Not Against It
Before you lock in that backdrop hire, take a good, hard look at the physical space. What’s the venue's colour scheme? What’s the lighting like? Are there any standout architectural details? A backdrop with glittering gold accents might look phenomenal in a grand ballroom, but it could easily clash with the rustic wooden beams of a barn venue in Stellenbosch.
To help you narrow down the options, here’s a quick guide based on some of the most common events we see in and around Cape Town.
Backdrop Selection Guide by Event Type
| Event Type | Recommended Backdrop Style | Ideal Material | Pro Tip for Cape Town Venues |
|---|---|---|---|
| Winelands Wedding | Floral Wall or Rustic Arch | Wood, fresh/silk flowers, draped fabric | Choose florals that complement the vineyard's natural foliage. A wooden arch won't obstruct the mountain views. |
| Corporate Conference | Branded Step-and-Repeat | Tension fabric, rigid board | Ensure the material is non-reflective to avoid camera flash glare. Clean, bold logos work best in large convention halls. |
| Beachside Birthday Party | Shimmer Wall or Neon Sign | Sequin panels, LED tubing | A shimmer wall captures the sparkling water beautifully. Make sure any electricals are properly secured from wind and moisture. |
| Matric Dance | Custom Themed Print | Vinyl, fabric | Go for high-impact graphics that tie into the dance's theme. It becomes the main photo spot for the night. |
This table should give you a solid starting point for finding a backdrop that feels like it was made for your event.
And while you're busy creating the perfect aesthetic, don't forget the practical side of things. Great event planning means thinking about everything, including the security and management of your space. Getting to know the best practices for securing your venue during events will help ensure everything runs smoothly. Ultimately, the right backdrop hire is one that feels completely intentional—enhancing your venue’s best features and making your Cape Town event one to remember.
Getting the Size and Customization Right
When you’re hiring a backdrop, it’s about more than just finding a nice design – getting the scale right is a game-changer. A backdrop that’s too small for the room just gets lost and looks a bit amateur. On the other hand, one that’s massive can completely swallow your venue, making everything feel tight and cluttered.
First things first, get out the tape measure. You need to know your ceiling height and the width of the space where the backdrop will live. Don’t forget to look out for obstacles like light fittings, doorways, or pillars that could get in the way.
A standard 2.4m x 2.4m backdrop is usually a great fit for a photo booth or for framing a couple of speakers on a small stage. But if you’re dressing a large stage or a wedding top table, you’ll need to go much wider to really make a statement.
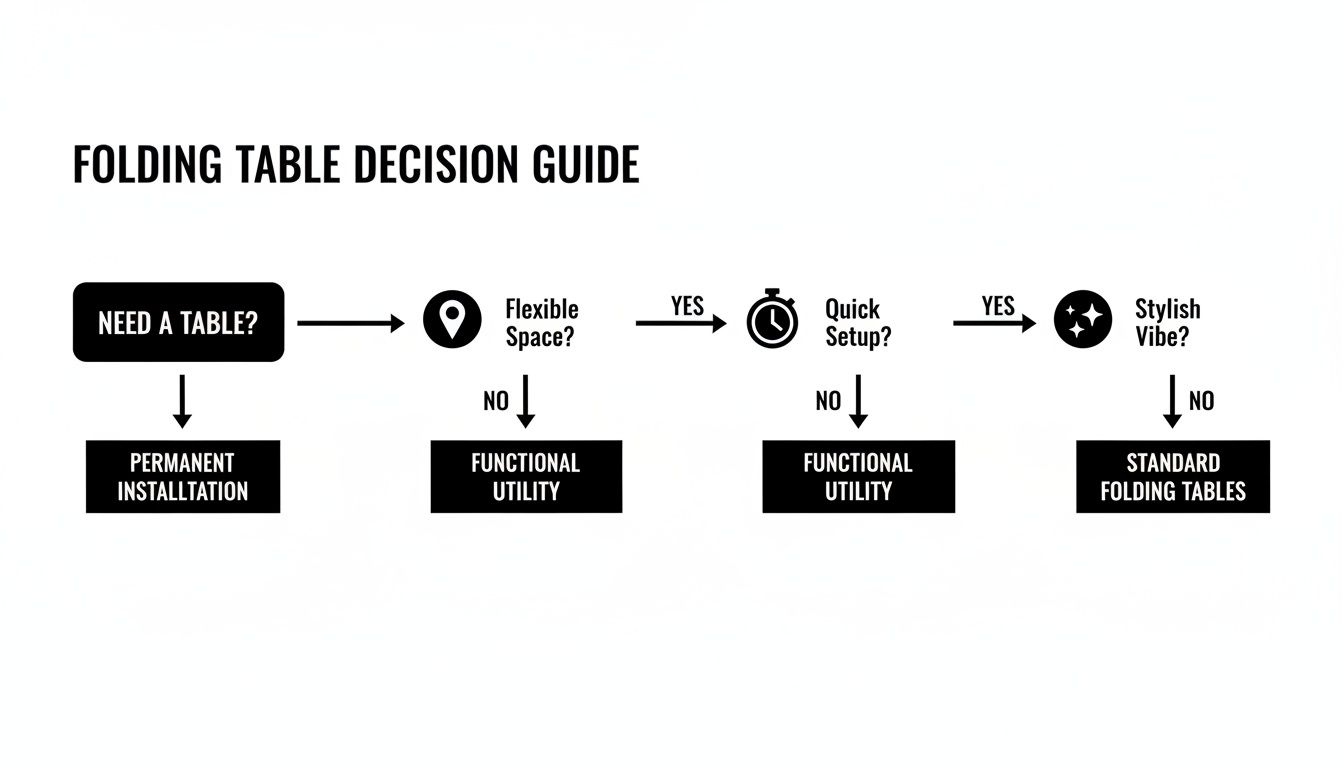
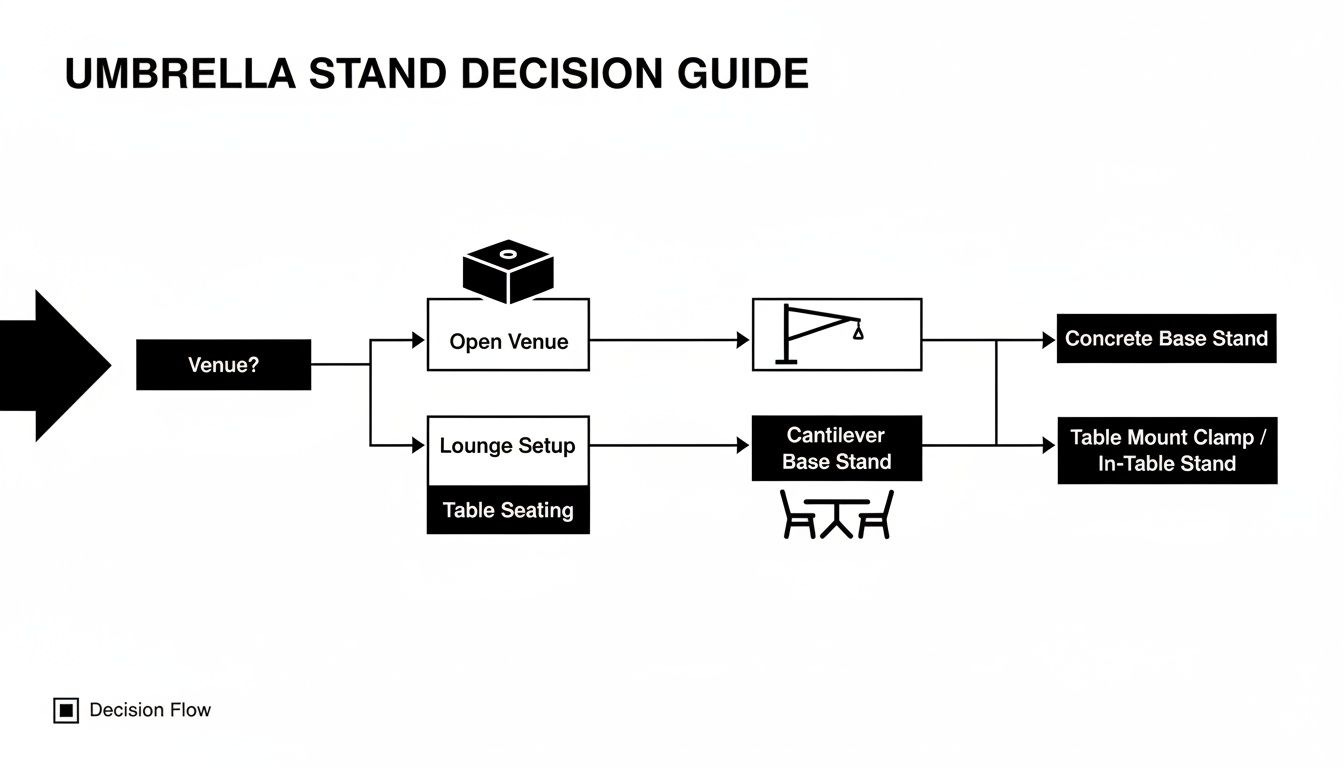
Standard Sizes Versus Custom Builds
So, should you go for a standard rental or a custom build? It really boils down to your budget and how important branding is. Standard sizes are brilliant because they’re affordable and we’ve always got them on hand. This makes them perfect for most weddings and private parties where the main goal is simply a beautiful background.
But for corporate events, brand activations, or really specific themed parties, a custom build is an investment that truly delivers. It’s your chance to splash your logos, brand colours, or unique graphics all over it – something a standard hire just can’t do. That’s how a simple piece of decor becomes a powerful part of your brand’s story.
This little guide can help you figure out what’s best for your event.
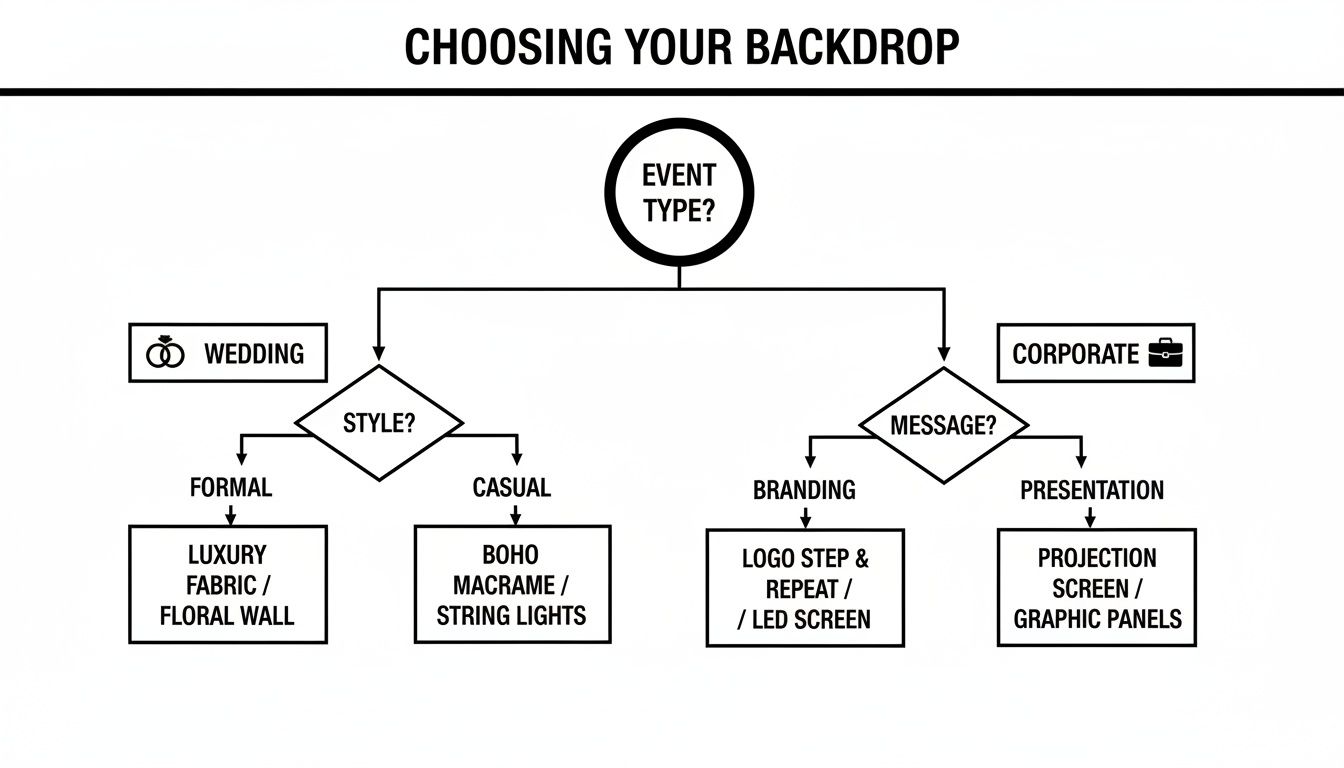
As you can see, weddings are often all about the look and feel, while corporate events need to make a strong, branded impact.
Making Your Custom Backdrop Shine
If you do decide to go custom, you can get incredibly creative. Think of a sleek step-and-repeat backdrop covered in sponsor logos, or a dreamy wedding backdrop with the couple’s monogram. Customization is what makes your event feel like yours.
To get the ball rolling, you’ll need to send us your design files. Here are a few things to keep in mind to make sure it comes out perfectly:
- File Format: We always prefer vector files (like .AI, .EPS, or .SVG) for logos and graphics. They can be scaled to any size without getting blurry.
- Resolution: If you’re using photos, they need to be at least 300 DPI at the final print size. Anything less and you risk it looking pixelated.
- Lead Time: Custom printing and building isn’t an overnight job. You’ll want to have your design finalised at least 4-6 weeks before your event. This helps avoid any last-minute rush fees and gives us the time to get it just right.
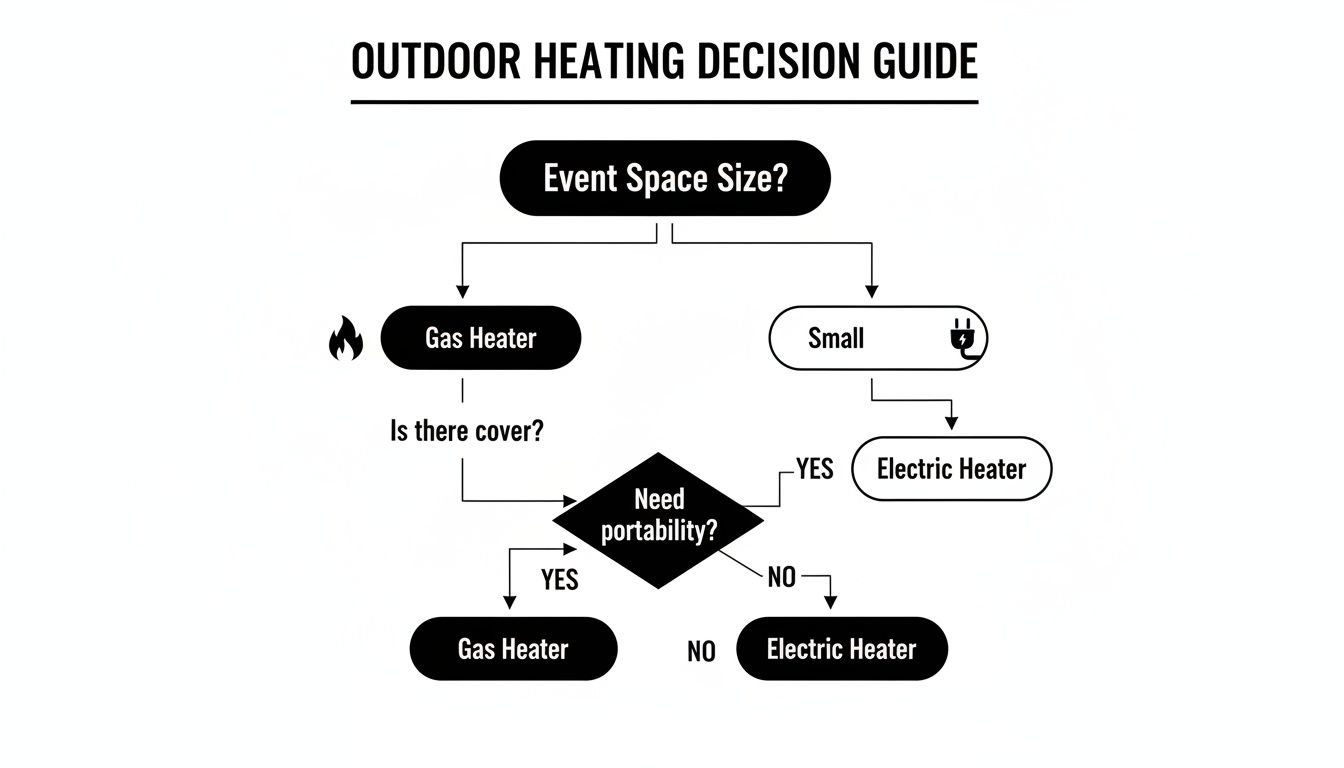
Here's a pro tip: lighting is your secret weapon. Even the most incredible custom design can look a bit dull if the lighting is bad. Chat with us about uplighting or backlighting options – it’ll make your graphics pop and give the whole setup a professional, dramatic feel.
We know that rising costs are on every event planner’s mind. Data shows event expenses shot up by 22% between 2019-2025, which has pushed 72% of couples to look at rentals as a way to save. Just choosing to hire a backdrop can cut your decor budget by up to 18%.
For our corporate clients here in Cape Town, the real value is in brand activation. We're seeing 55% of them choosing tech-infused backdrops that link directly to their marketing goals. You can dig deeper into these event industry trends in this detailed report from Research and Markets.
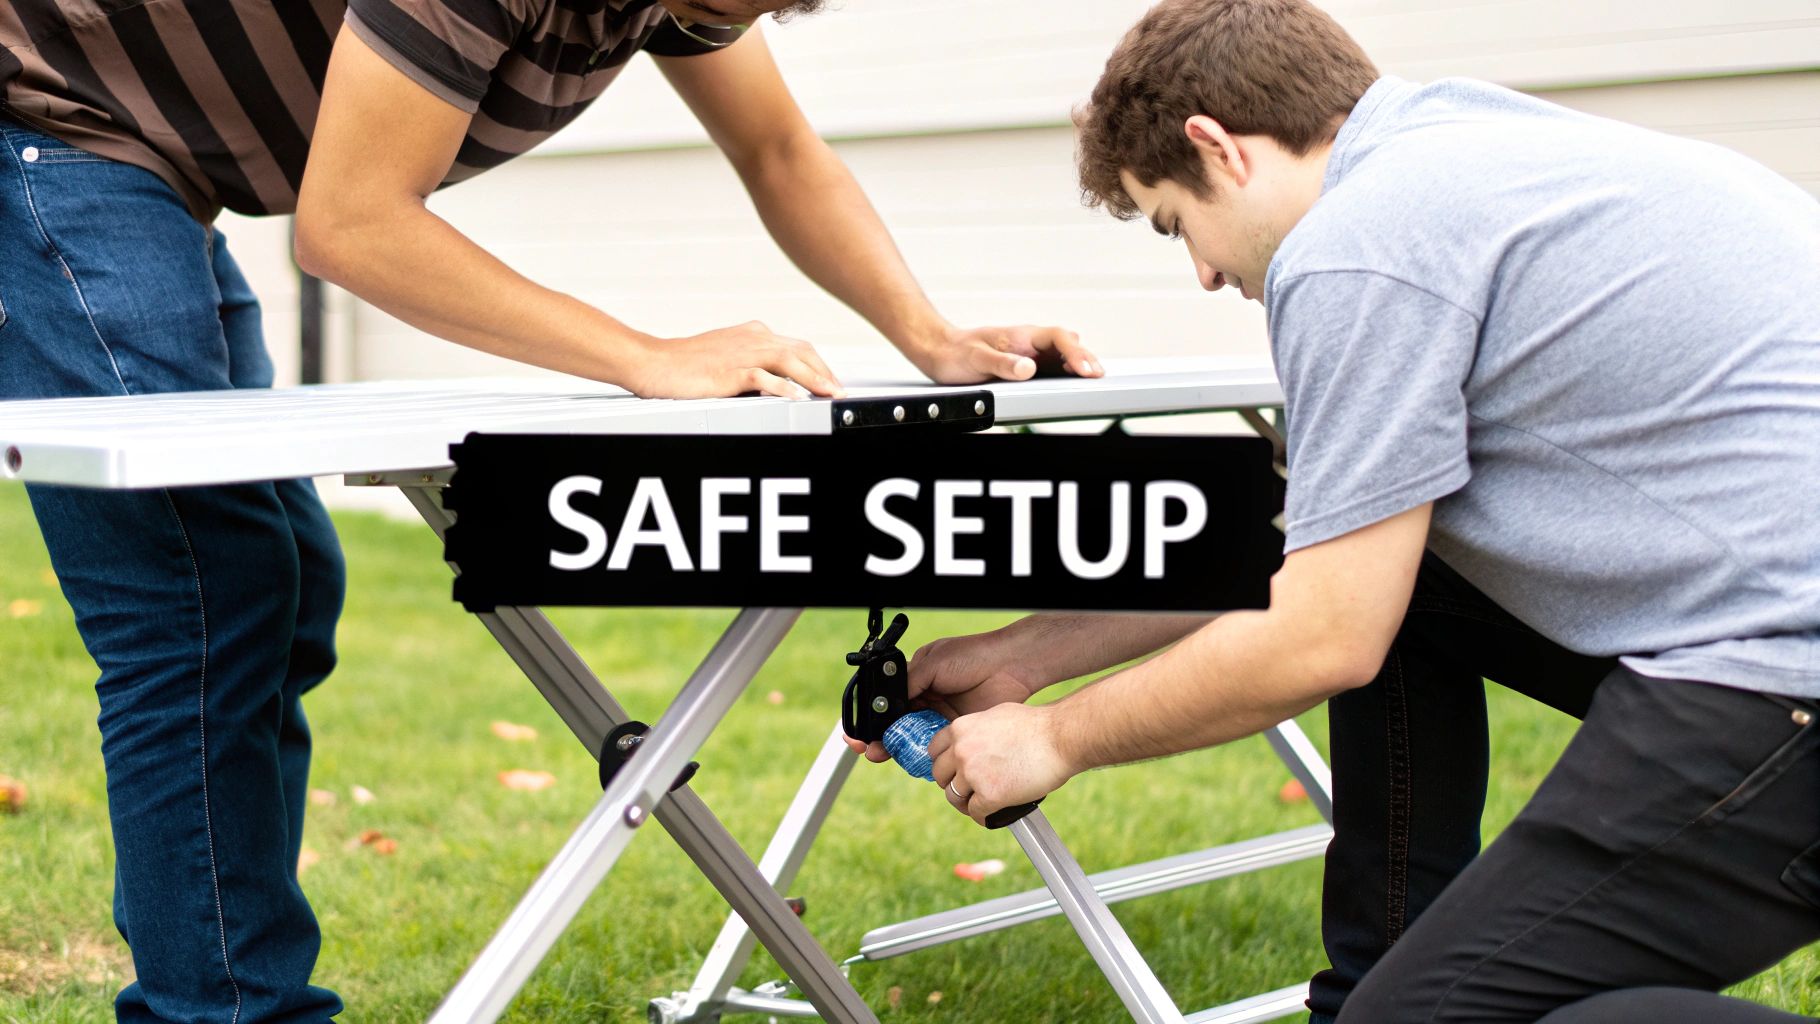
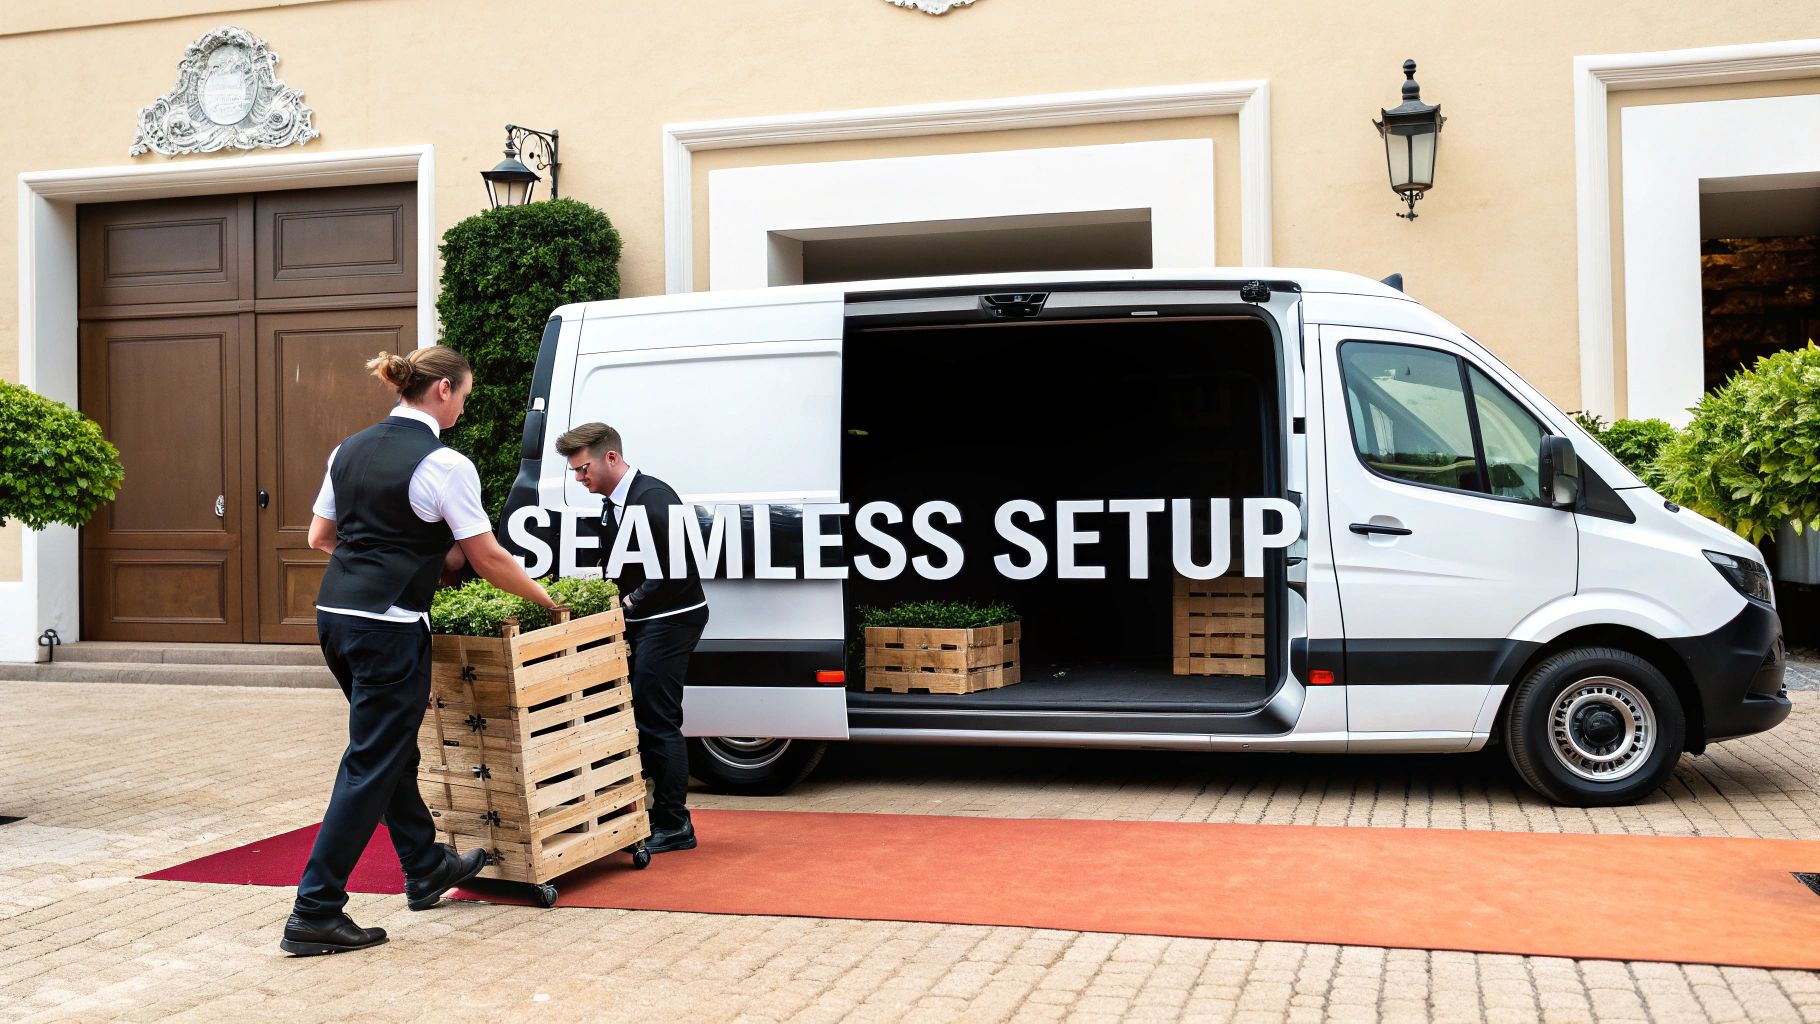
Right, so you’ve picked out the perfect backdrop. Fantastic! Now comes the part that can make or break your event day: the logistics. Getting that beautiful piece from our warehouse to your venue without a hitch is where the real magic happens, especially when you’re dealing with the unique quirks of venues across Cape Town and the Winelands.
Let’s be honest, the key to a stress-free setup is crystal-clear communication. You’ll want to loop in both your backdrop provider (that’s us!) and your venue manager well ahead of time. This little bit of coordination is what stops any last-minute panic and makes sure everyone is on the same page.
A professional hire company will handle the heavy lifting, of course. But we rely on you for the crucial details. Giving us the full picture upfront means our team can show up ready for anything – whether it’s navigating a winding farm road in Stellenbosch or bracing for the infamous Cape Doctor at a windy coastal venue.
Delivery Windows and Venue Access
Timing is everything on the day of an event. We’ll work closely with you to set a specific delivery and setup window that slots perfectly into your schedule. This isn't just about dropping off a backdrop; it’s a coordinated effort to get it in and up without disrupting anyone else.
To get this right, we just need a few bits of info:
- Venue Contact Person: Who is our point person on-site? A name and mobile number are essential.
- Access Details: Is there a security gate we need a code for? A specific loading bay? A tricky service elevator? Let us know.
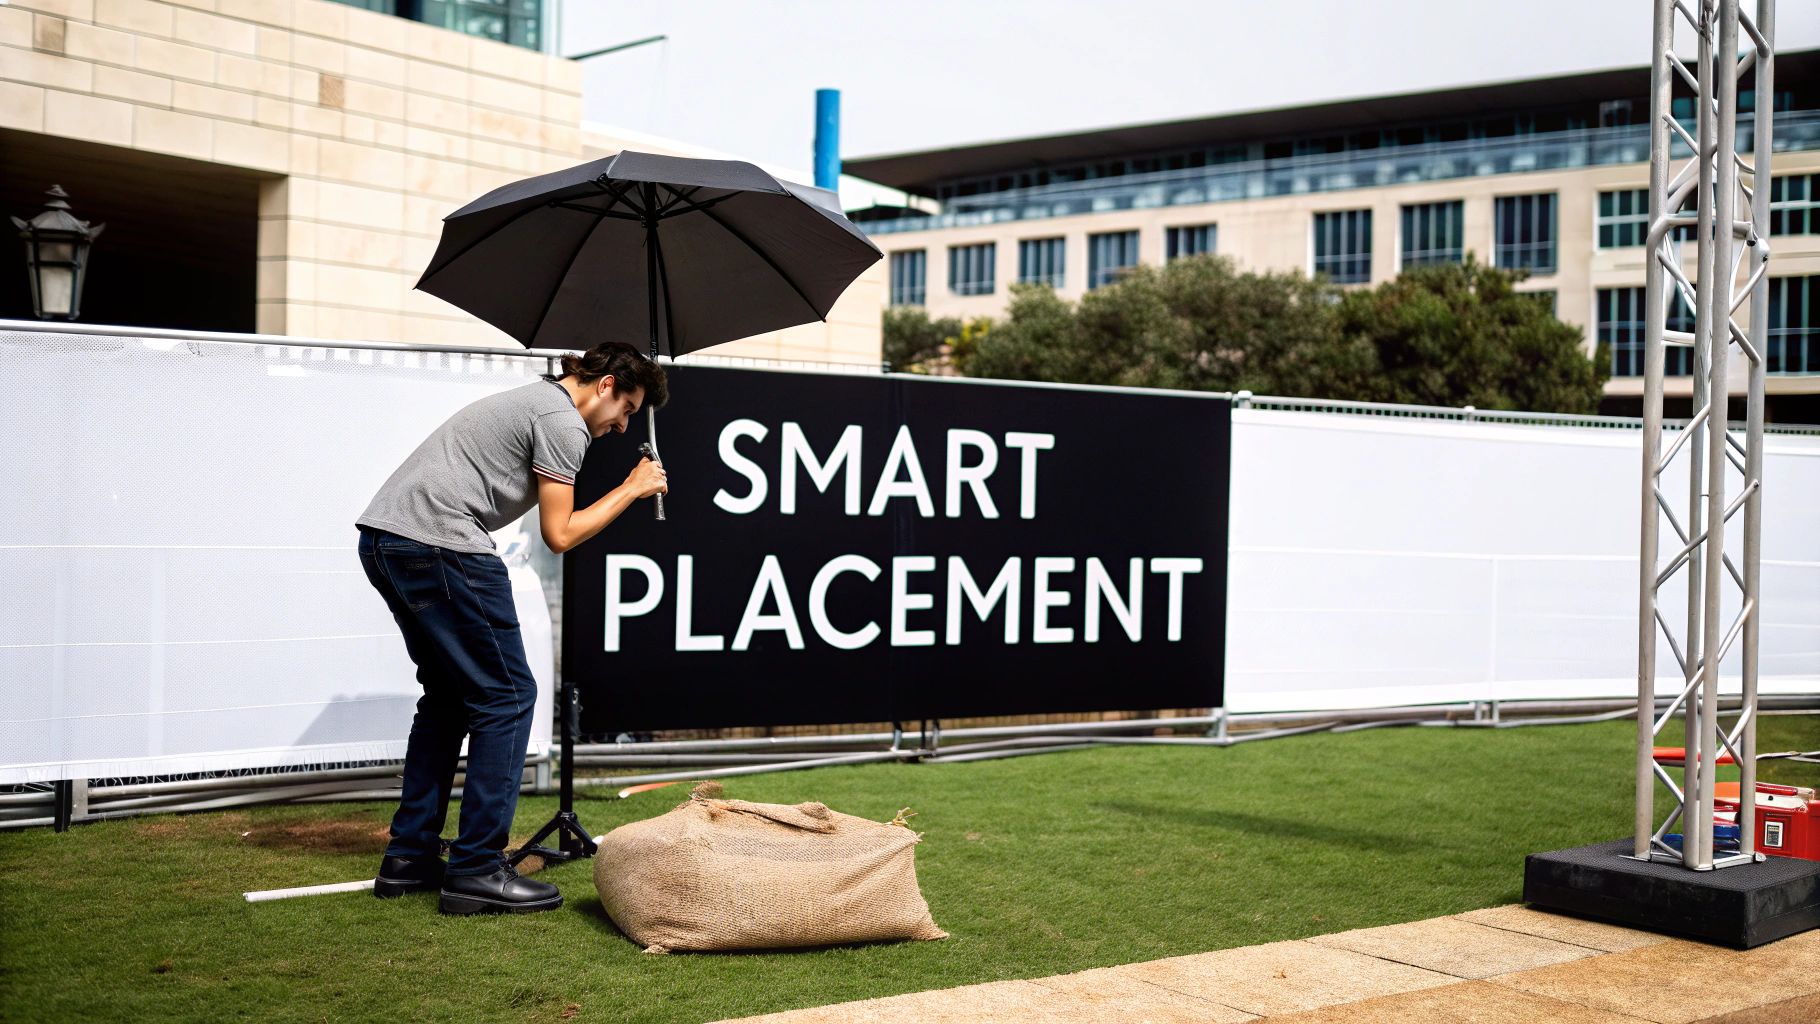
- Placement Confirmation: A simple floor plan with an 'X' or even a quick photo of the spot where you want the backdrop is a massive help.
Getting these details sorted beforehand lets our team work quickly and efficiently. We can respect the venue's rules and stay completely out of the way of your other suppliers. It’s this kind of professional teamwork that turns a potentially chaotic setup into a smooth, seamless process.
The success of an event often hangs on the logistical details that nobody sees. A well-planned delivery and setup schedule is the foundation for a flawless execution, leaving you free to focus on what matters: your guests.
With everyone feeling the economic pinch, many of our clients are looking for smarter ways to spend. Renting from a local expert like ABC Hire in Cape Town is a great way to do that. The average backdrop hire fee is expected to be around R2,500 per event in 2025, which is a significant saving compared to the R4,000 price tag for a custom-built piece. Plus, with unpredictable roads and infrastructure, having a reliable local team is non-negotiable. As South Africa gets ready for the 2027 Cricket World Cup, we’re already seeing a surge in demand and expect it to climb another 25% in the Winelands by 2026.
Breakdown and Collection
The job isn’t done when the last guest heads home. Having a clear plan for breakdown and collection is just as important as the setup. We’ll pre-arrange a collection time with you, which is usually either late that night once the party has wrapped up, or first thing the next morning.
When you're juggling multiple suppliers, it’s vital to understand the agreements you have with each one. For a deeper dive into the contractual side of things, checking out resources on wedding vendor contract templates can be incredibly useful. And for more decor-specific tips, don’t miss our complete guide on wedding decor hiring in Cape Town. By staying on top of every detail, we make sure your backdrop hire experience is expertly handled from start to finish.
Styling Your Backdrop With Creative Flair
A great backdrop is a fantastic starting point, but the real magic happens when you start styling it. Once you’ve picked out the perfect backdrop for your event, the fun really begins. This is your chance to accessorise, get creative, and weave it into your overall design to create a focal point that genuinely stops people in their tracks.
Think of it as an opportunity to layer different textures, play with lighting, and add those personal touches that perfectly capture your theme. Looking beyond the backdrop itself to the elements surrounding it is the secret to a polished, high-impact look that will have every guest pulling out their phone for a photo.
Lighting and Atmosphere
Never underestimate the power of lighting. It's your most effective tool for setting the mood and can instantly transform a simple backdrop from flat to dynamic, creating a sense of depth and drama that’s impossible to ignore.
A strategically placed uplighter or a soft, ambient glow can make all the difference. We’ve seen it time and time again. Consider some of these options:
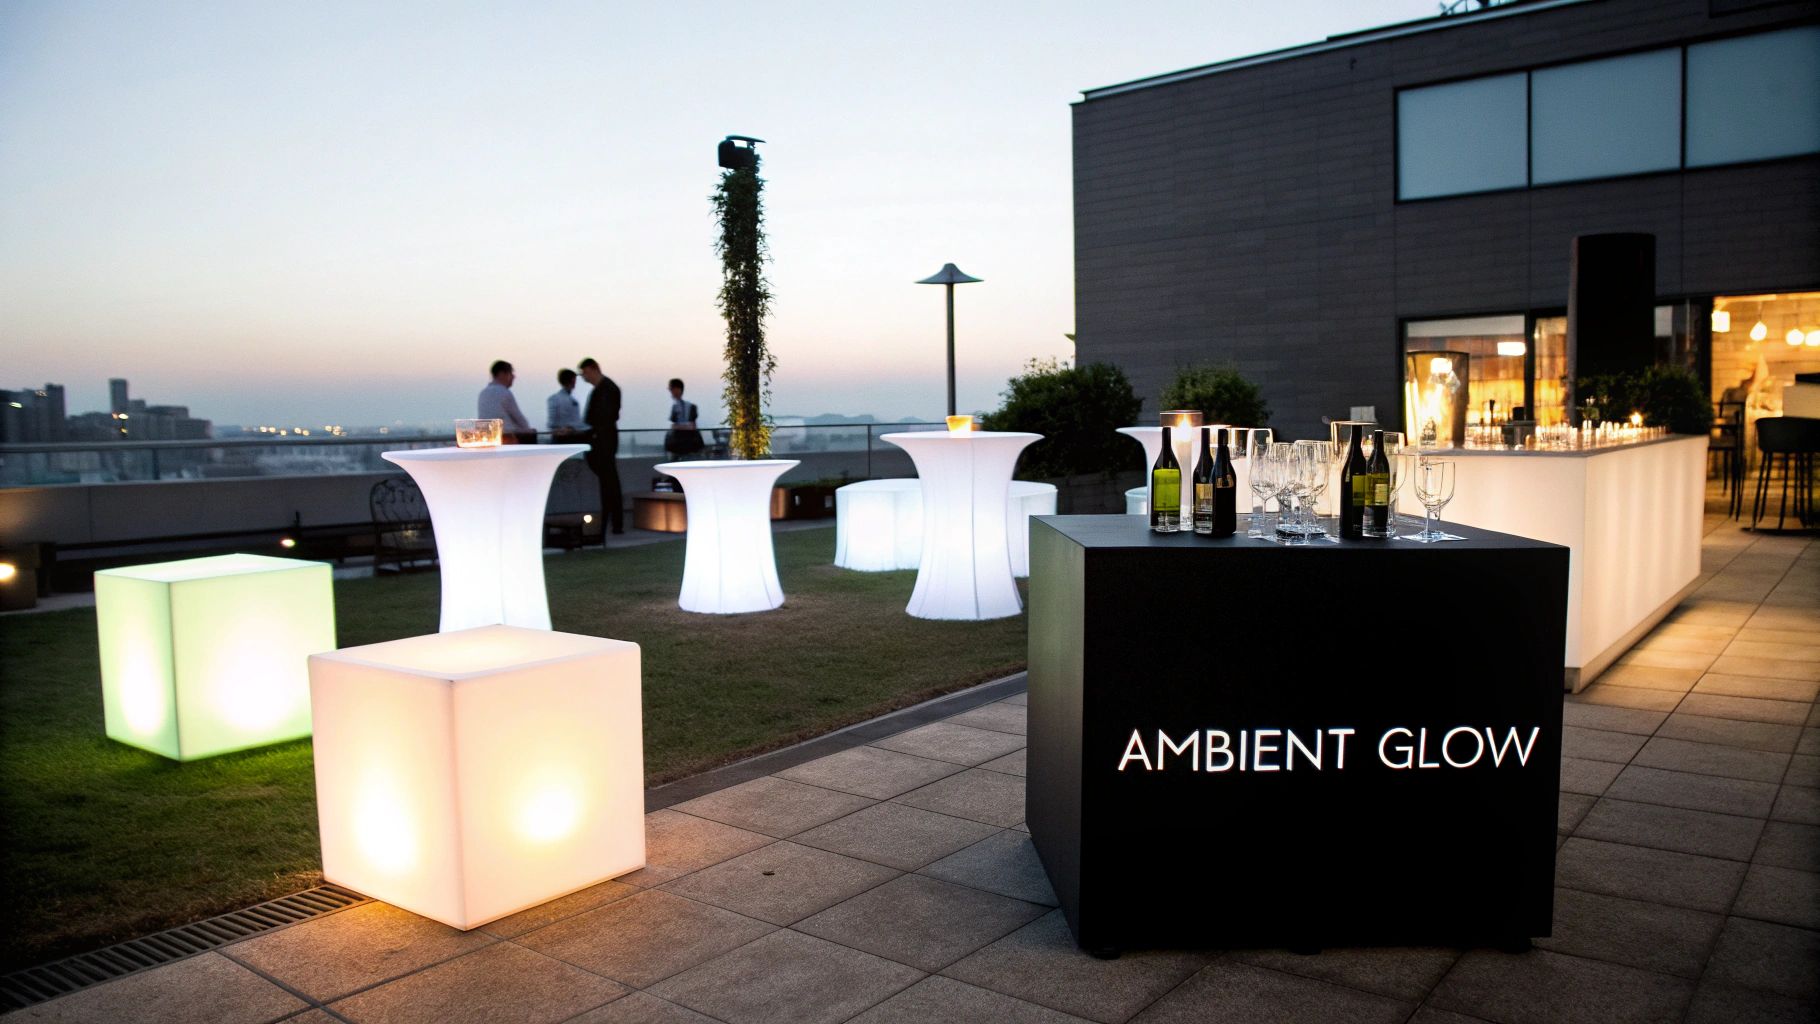
- Uplighting: Pop a few lights at the base of the backdrop and angle them upwards. This creates a really elegant, dramatic wash of colour that’s brilliant for highlighting textures.
- Fairy Lights: For that touch of romance or whimsy, you just can't beat the sparkle of tiny lights. You can get more ideas from our guide on creating the perfect fairy light curtain.
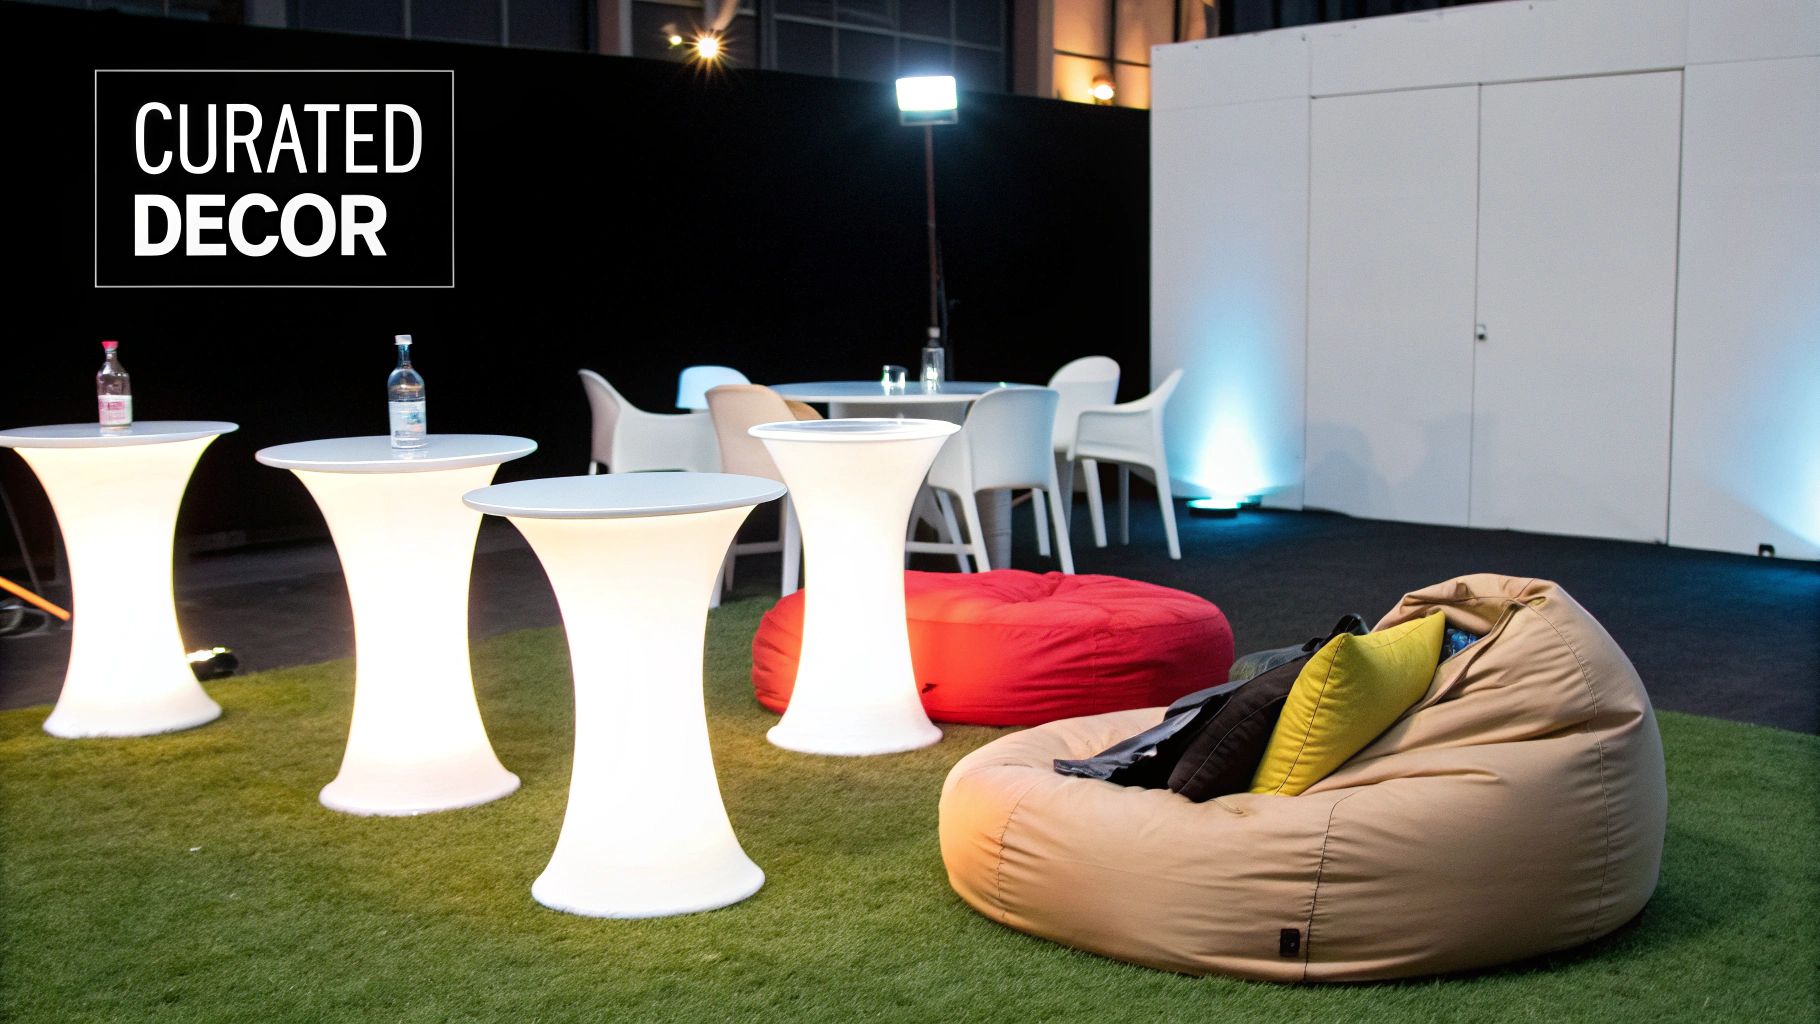
- LED Furniture: Placing colourful LED cubes or tables nearby casts a modern, cool glow that helps tie your entire decor scheme together.
These lighting choices have become especially crucial here in Cape Town. With challenges like load-shedding, we’ve seen a huge shift; in fact, 60% of planners now prioritise plug-and-play backdrops that won’t be affected by power cuts. Looking ahead to 2025, with major events on the horizon, we're expecting backdrop demand for formal functions to jump by as much as 35%, making a well-stocked and reliable inventory essential for any coordinator.
A beautifully styled backdrop does more than just look good—it becomes an interactive experience. It’s the designated photo spot, the stage for important announcements, and the visual anchor for your entire event.
Accessorising With Purpose
Accessories are the final, character-filled touches that really bring your theme to life. The trick is to be intentional with your choices and avoid creating clutter. Every single element should add to the story you’re trying to tell.
Think about layering different textures and shapes to create visual interest. For a wedding in the Winelands, you could pair a rustic wooden arch with beautiful cascading florals and soft, draped fabrics. Or for a modern 21st birthday bash, a shimmer wall backdrop pops to life with a custom neon sign and a cascade of metallic balloons.
The goal is to create a scene that feels complete and cohesive. A well-styled backdrop doesn’t just sit in the corner; it commands attention and guarantees your event looks spectacular, both in person and in every single photo.
Your Backdrop Hire Questions, Answered
Planning an event means you've got a lot on your plate. When it comes to backdrop hire, you've probably got questions, and we've got the answers. We’ve put together the most common things people ask us, so you can get the info you need and tick another thing off your list.
How Far in Advance Should I Book?
Honestly, the sooner, the better. This is especially true if your event falls within Cape Town’s peak season, which really gets going from October through to April. Our most popular pieces get booked out months in advance during this time.
If you’ve got your heart set on a custom-designed backdrop, you’ll want to give us a bit more of a heads-up. We recommend locking it in at least 4-6 weeks beforehand. This gives us plenty of breathing room for the design process, printing, and building it all without any last-minute panic.
Grabbing something from our existing collection? You can often get away with booking 2-3 weeks out. But, if you want to guarantee your first choice, booking early is always the safest bet.
What’s Included in the Hire Price?
We like to keep things simple and clear. The price you see for a backdrop hire covers the rental of the backdrop itself and its support frame for your event day. No hidden surprises there.
Because every event is different, we quote for the logistics separately. This includes delivery, professional setup, and collection after the party’s over. We calculate this based on your venue’s location and the specific timings. It’s the fairest way to do it, ensuring you get an accurate price whether you’re in the city bowl or celebrating out in the Winelands.
The Bottom Line: The hire fee covers the backdrop and its frame. We'll give you a separate, tailored quote for delivery, setup, and collection based on your venue's details.
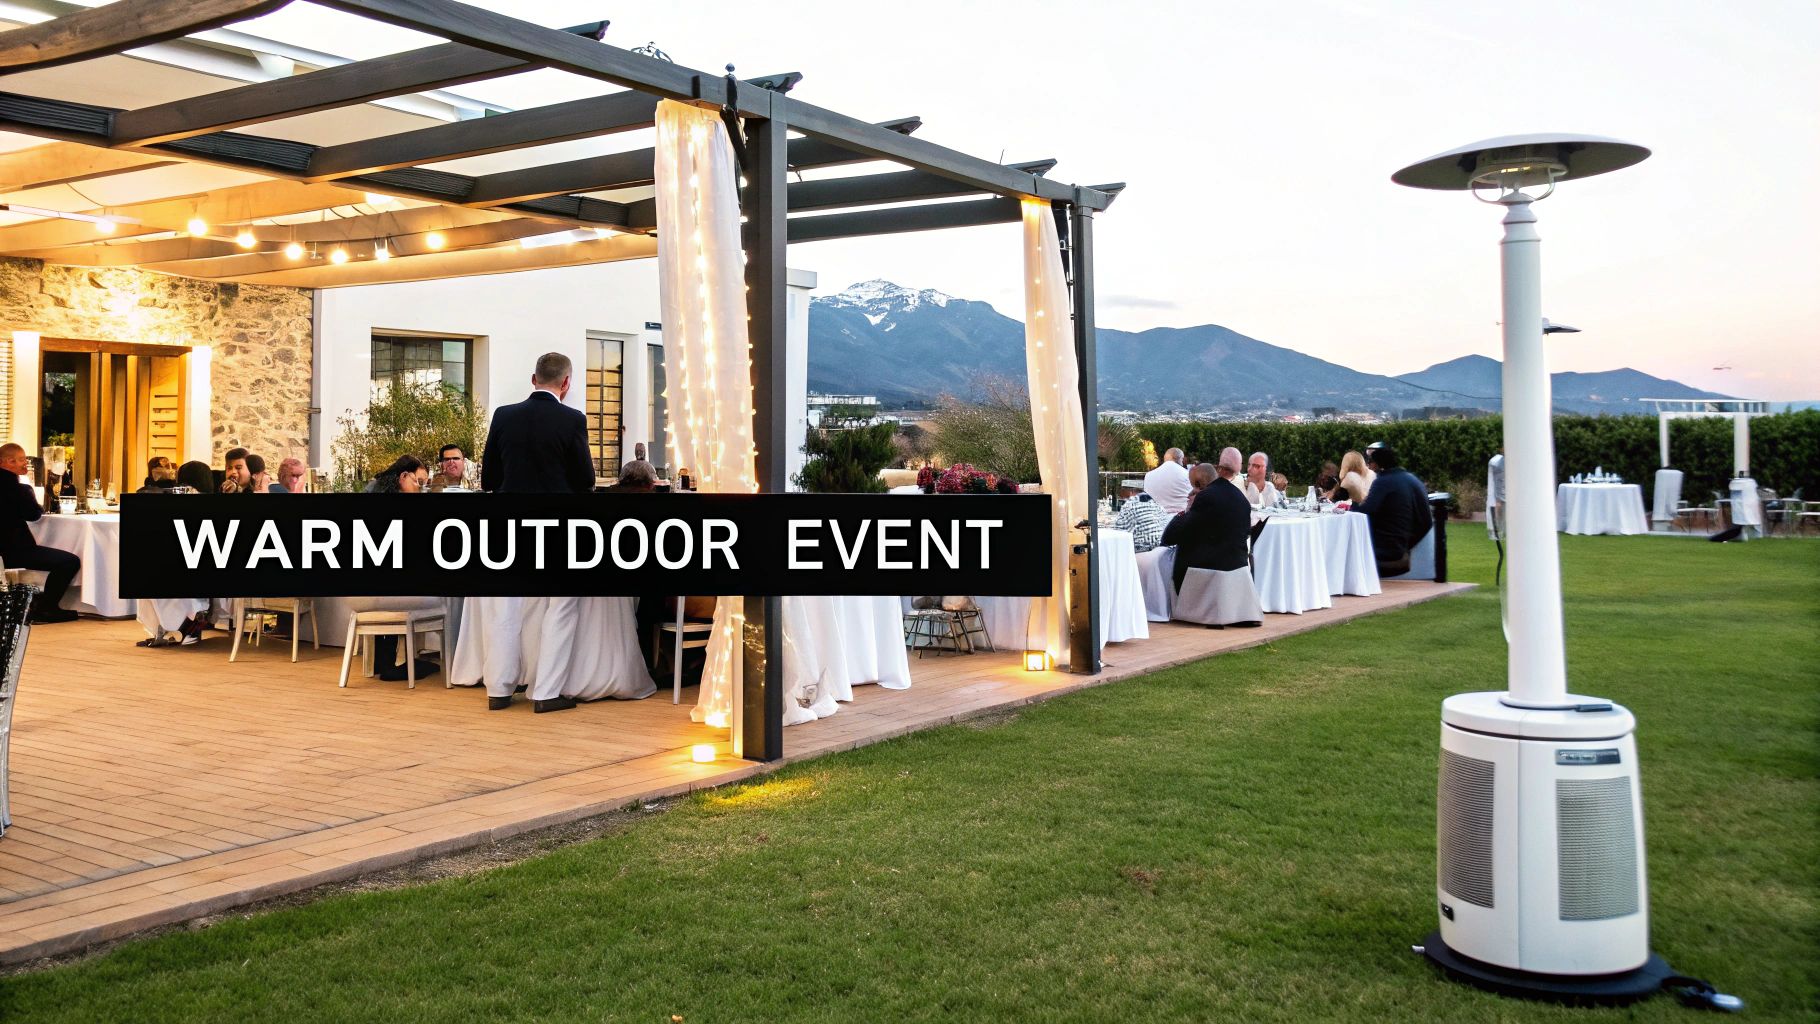
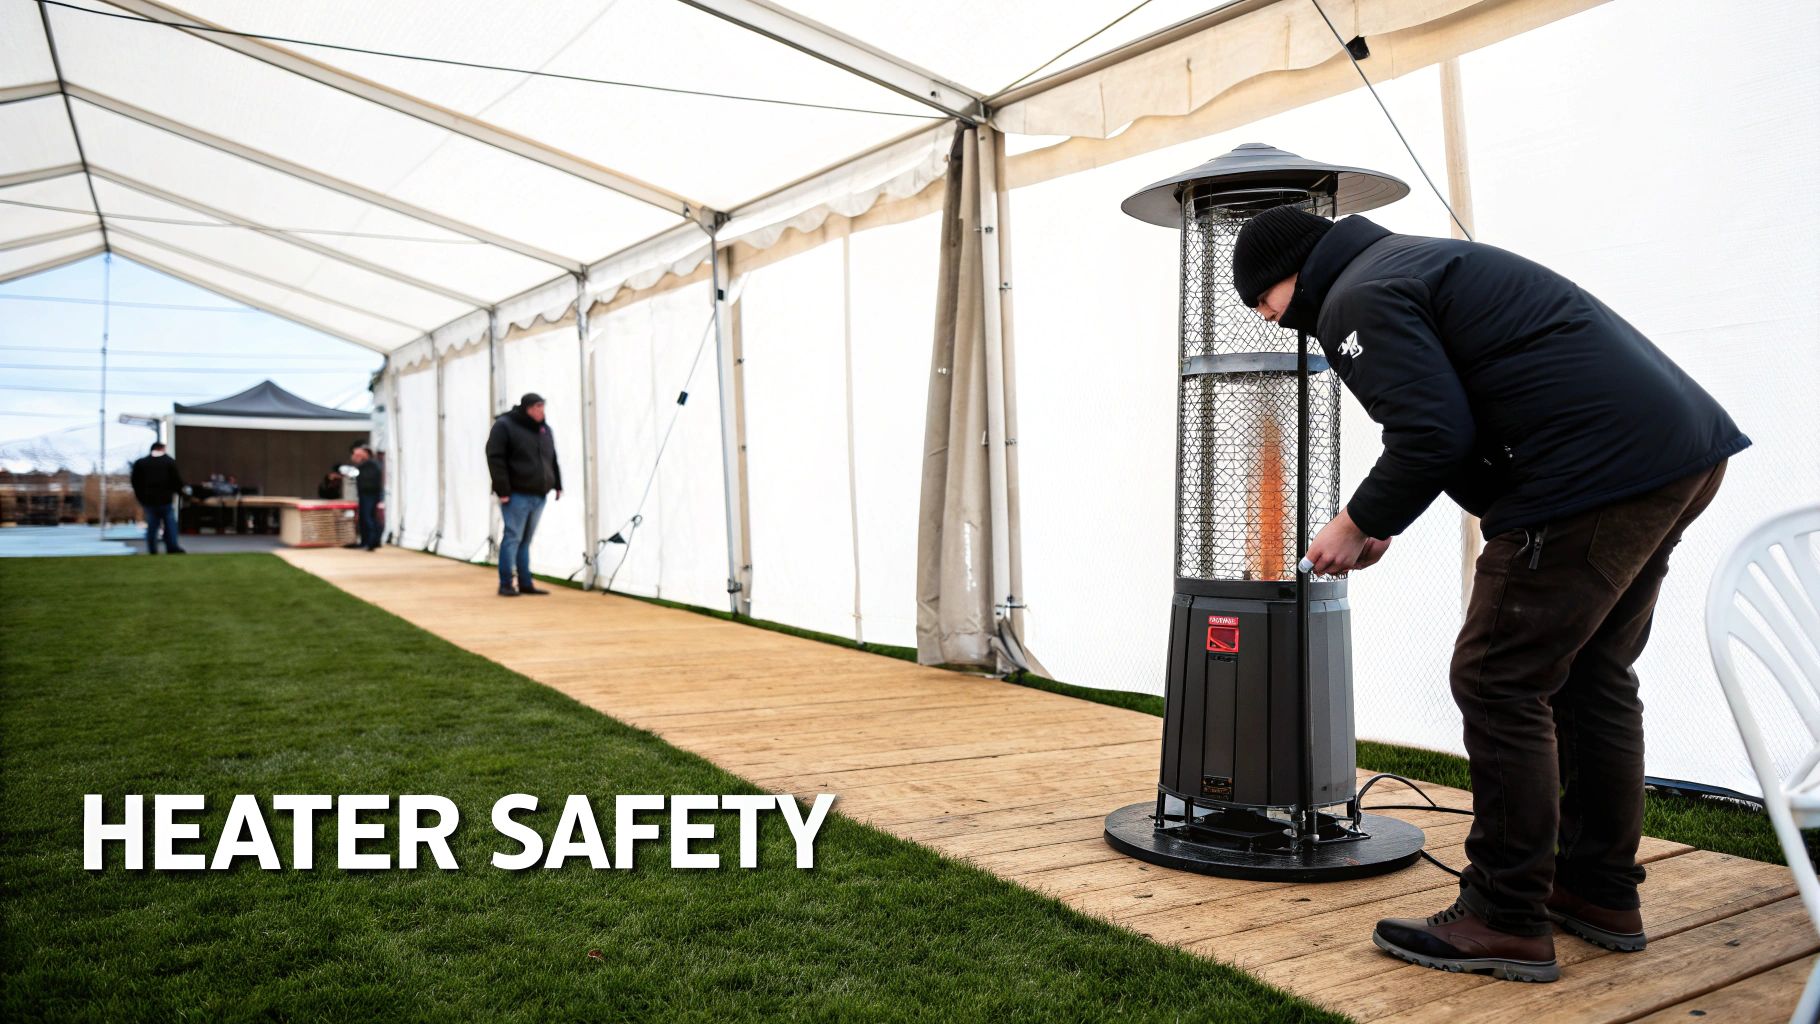
Can I Use a Hired Backdrop Outside?
You absolutely can! A lot of our backdrops look incredible in outdoor settings—think garden parties, beach weddings, or elegant functions on a wine farm. The key to getting it right is just a little bit of planning.
It’s really important you chat to us about your outdoor venue beforehand. There are a few things we need to factor in:
- The Cape Doctor: That famous Cape Town wind is no joke, especially near the coast.
- The Ground: Is it grass, sand, or paving? We need to know so we can bring the right gear to keep it steady.
- The Elements: We'll come prepared for whatever the weather might throw at us.
For all our outdoor setups, we use heavy-duty support structures and weights that are cleverly hidden away. This keeps your backdrop secure and looking perfect, come rain or shine.
Ready to find the perfect backdrop that makes your event pop? The ABC Hire team is here to help. Check out our collection and get a quote that’s tailored just for you at https://abchire.co.za.