As the year draws to a close, the pressure is on to organise a memorable year-end function that truly rewards your team for their hard work and dedication. Cape Town, with its breathtaking landscapes, world-class Winelands, and vibrant culture, offers a spectacular backdrop for any corporate celebration. Yet, sifting through the endless options to find the perfect combination of theme and location can be a daunting and time-consuming task. The challenge lies not just in finding a venue, but in creating an experience that feels fresh, engaging, and perfectly aligned with your company’s culture.
This comprehensive guide simplifies the entire planning process. We have curated an extensive list of exceptional year end function ideas and venues Cape Town has to offer, designed to inspire and impress. Forget generic parties; we delve into unique concepts, from sophisticated Winelands soirées under the stars and chic urban rooftop gatherings to interactive themed events that foster team connection.
Inside, you will discover dozens of premier venues across the city and surrounding winelands, each meticulously detailed with practical information to streamline your decision-making. We provide crucial insights on:
- Capacity and Vibe: Find the perfect fit for your team size and desired atmosphere.
- Practical Details: Get a clear idea of price ranges and indoor/outdoor capabilities.
- Activation Ideas: We pair each concept with specific, actionable furniture and equipment rental recommendations from ABC Hire, showing you exactly how to bring your vision to life.
Whether you’re planning an intimate dinner for a small team or a large-scale gala for the entire company, this resource is your ultimate tool for executing a flawless and unforgettable year-end celebration in 2024.
1. Bar Counters – ABC Hire
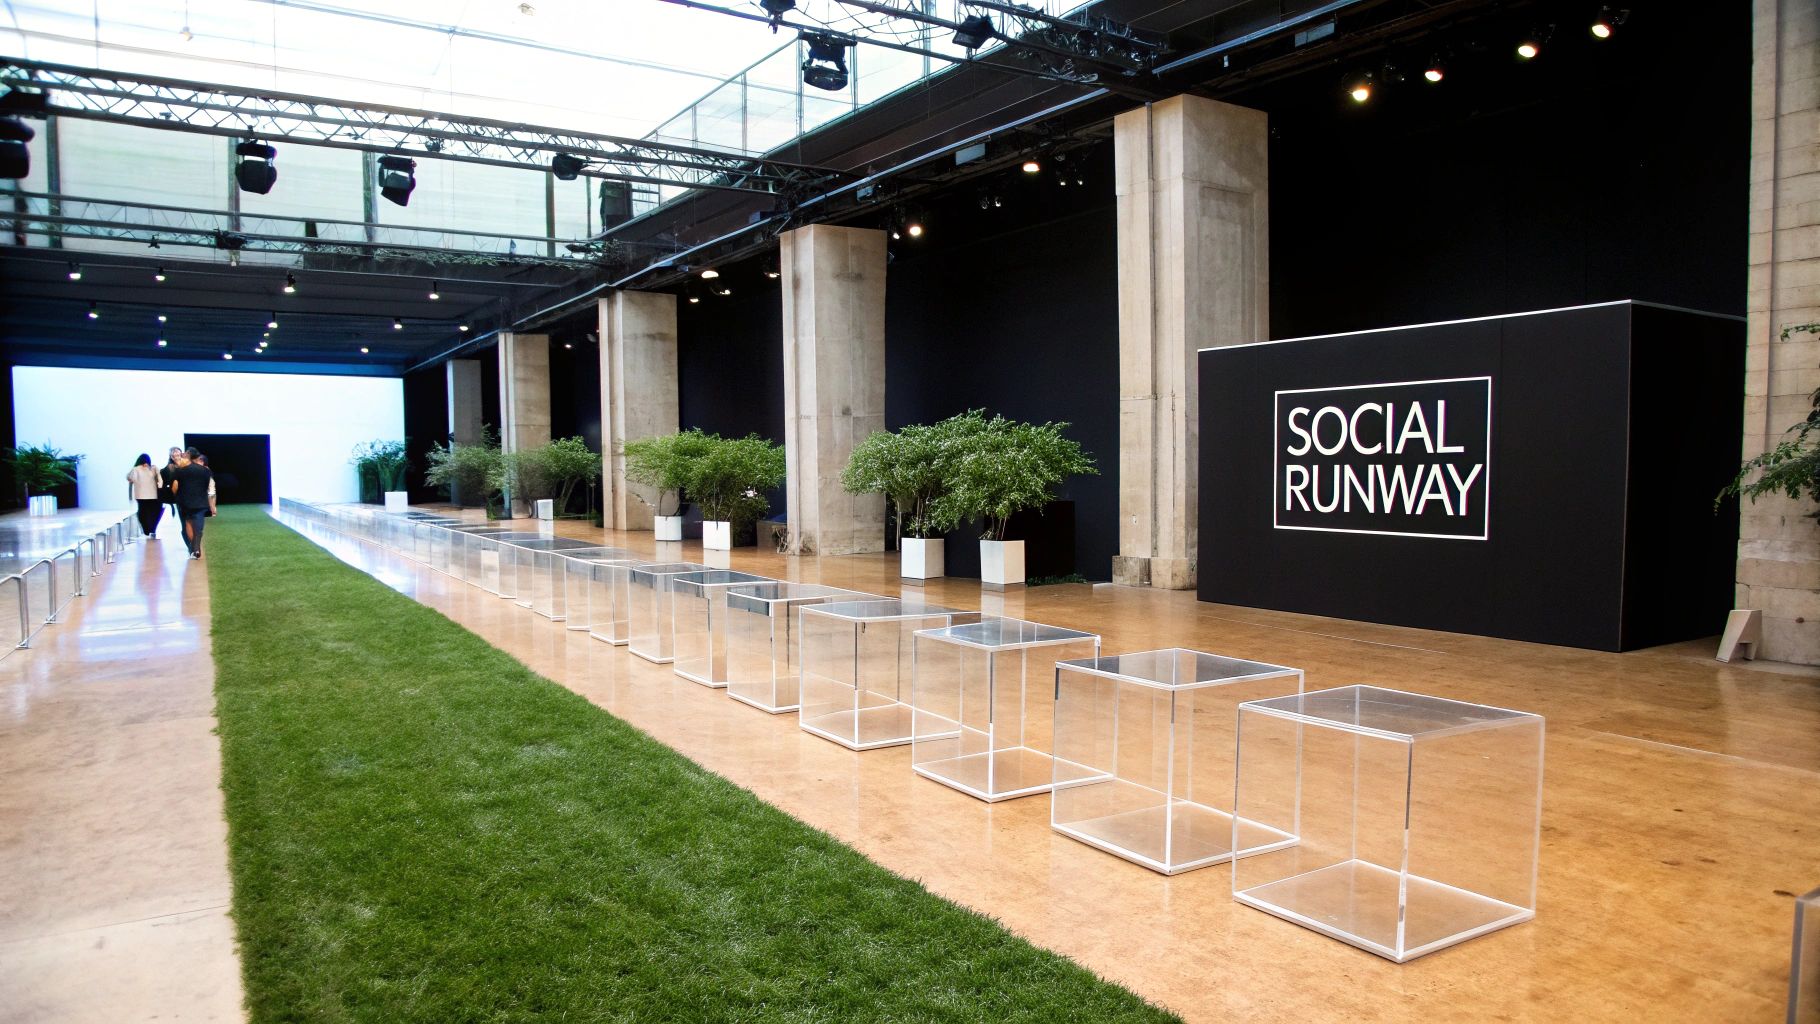
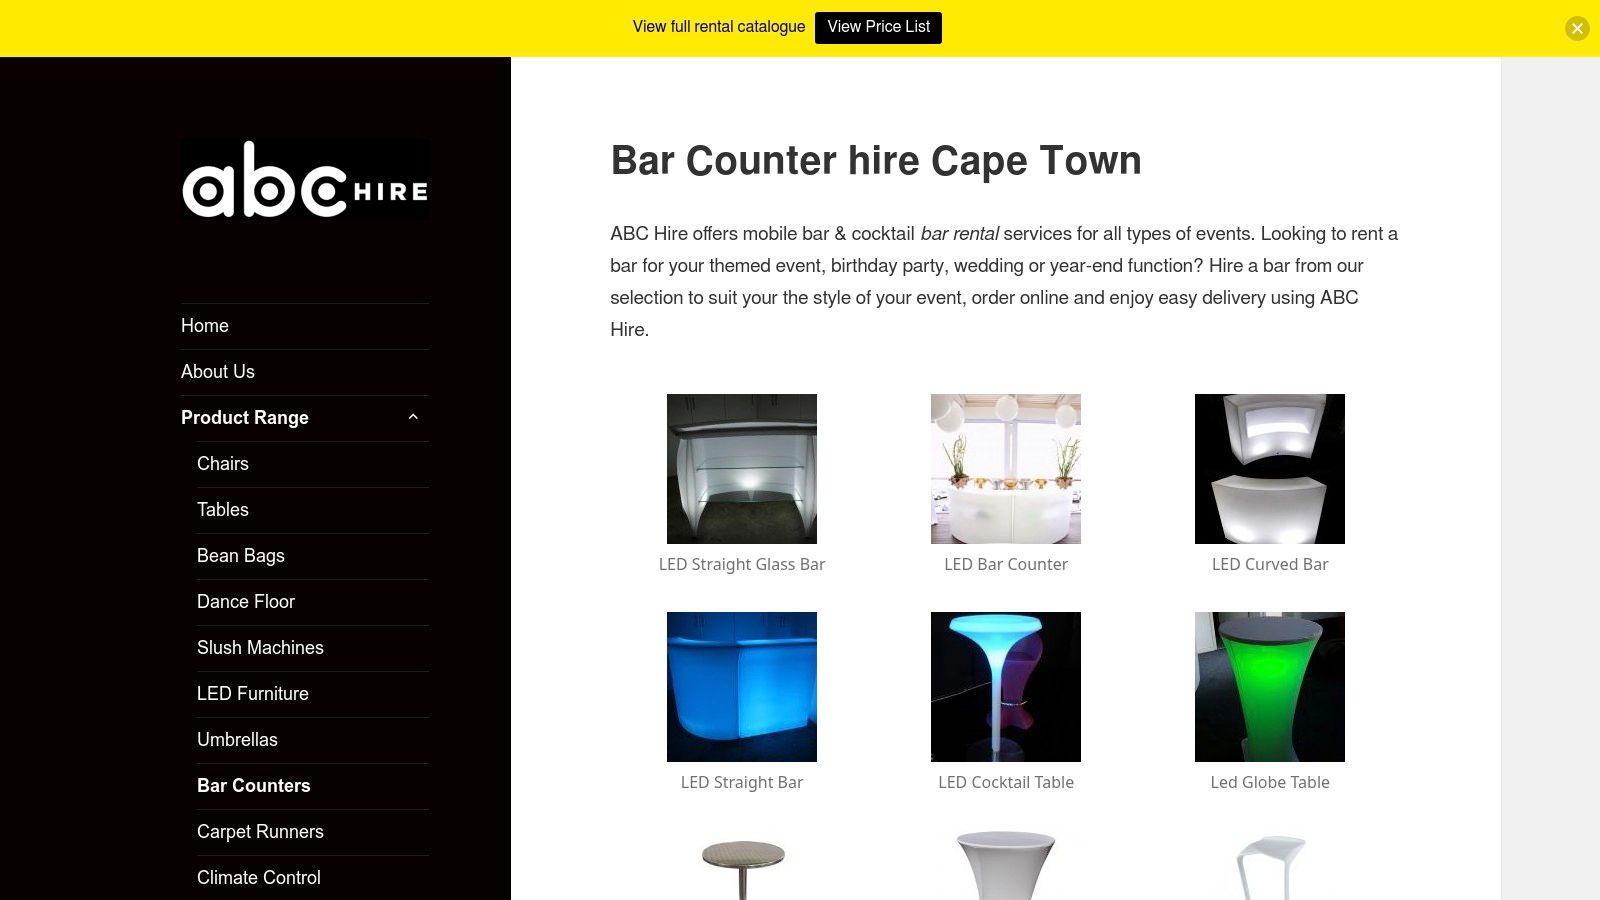
Finding a unique venue is only one part of planning an unforgettable year end function; creating an engaging and stylish atmosphere is what truly elevates the experience. ABC Hire’s mobile bar counter service offers a transformative solution, allowing you to establish a sophisticated social hub in any location. This is far more than just a place to serve drinks; it’s a centrepiece that defines the mood, encourages interaction, and adds a professional touch to your event. It’s an ideal choice for businesses looking for flexible and impactful year end function ideas in Cape Town that can adapt to any venue, from a blank canvas warehouse to an elegant winelands estate.
What makes this service a standout option is its versatility and cohesive approach. Instead of a generic trestle table, you can select a bar that perfectly aligns with your event’s theme and brand identity. This flexibility ensures your beverage service becomes an integrated part of the decor, not an afterthought.
Key Features & Strategic Advantages
ABC Hire’s selection is curated to meet diverse event needs, from high-energy corporate parties to refined celebratory dinners.
- Diverse Style Selection: Choose from sleek Glass Bars for a modern, minimalist feel, dynamic LED Illuminated Bars that create a vibrant party atmosphere after dark, or custom Branded Promo Bars to prominently display your company logo or event sponsors.
- Coordinated Furniture Packages: This is a significant advantage. ABC Hire offers matching cocktail tables, stools, and lounge pods, allowing you to create a complete, professionally styled bar area. This turnkey solution eliminates the hassle of sourcing furniture from multiple suppliers, ensuring a consistent and polished look.
- Complete Logistical Support: The service includes delivery, setup, and collection across Cape Town and the surrounding Winelands (Stellenbosch, Franschhoek, Paarl), managed by an experienced event team. This removes a major logistical burden from your planning process.
- Versatile Application: These bars are perfect for creating designated zones within a larger venue. You could set up a sophisticated gin bar in one corner, a vibrant cocktail station in another, or even a dedicated non-alcoholic beverage hub.
Practical Tips for Your Event
To maximise the impact of your mobile bar, consider the complete guest experience. Offering premium beverages can significantly enhance perception. For a daytime event or to provide a sophisticated non-alcoholic option, a dedicated coffee station is an excellent idea. When planning the offerings for your hired bar, considering specialized equipment is key. For a sophisticated coffee service, investing in a high-quality machine like the Rancilio Silvia Pro X Espresso Coffee Machine can significantly enhance your guests’ experience.
While the website provides a great overview, it’s advisable to contact ABC Hire directly to confirm specific dimensions, power requirements for LED units, and current stock availability, especially during the busy year-end season. For more insights into optimising your beverage service, you can explore their guide on mobile bar service to ensure every detail is covered.
Website: https://www.abchire.co.za/bar-counters/
2. SA-Venues – Western Cape Conference Venues
For corporate event planners tasked with finding the perfect year end function venue in Cape Town, SA-Venues serves as an invaluable digital directory. It aggregates a vast collection of hotels, wine estates, and dedicated function spaces across the Western Cape, acting as a comprehensive starting point for your search. Instead of individually searching for dozens of venues, this platform allows you to efficiently browse and shortlist multiple options from a single, organised database.
What makes SA-Venues particularly effective is its granular filtering system. You can narrow your search by specific Cape Town areas like the City Bowl, Constantia, or the Atlantic Seaboard, ensuring you find a location that is convenient for your team. Each listing provides essential details such as capacity charts for different layouts (banquet, cinema, schoolroom), key amenities, and photo galleries, which helps in quickly disqualifying venues that don’t meet your core requirements.
Using SA-Venues for Your Year-End Function Planning
The primary function of the website is to streamline the initial research and outreach phase. Once you have identified a few potential venues, you can use the direct enquiry buttons on each listing to send out a request for proposal (RFP) to all of them simultaneously. This efficiency is a significant time-saver compared to tracking down contact details for each venue individually.
Key Features and Considerations
| Feature | Description | Practical Tip for Planners |
|---|---|---|
| Extensive Listings | Covers a wide range of venues, from 5-star hotels to boutique wine farms. | Use the regional filters first to avoid being overwhelmed by the sheer number of options. Start with your desired suburb. |
| Detailed Profiles | Each venue has a page with capacity details, amenities, and photos. | Look for crucial amenities like air-conditioning for summer functions or power backup to avoid loadshedding disruptions. |
| Direct Enquiry | Contact forms send your query directly to the venue’s event coordinator. | Create a template for your enquiry that includes your preferred date, number of guests, and specific needs (e.g., A/V equipment, catering). |
A notable drawback is that pricing is almost always listed as “rates on request,” meaning you cannot compare budgets at a glance. You will need to wait for responses to your enquiries to get cost estimates. Similarly, live availability calendars are not a feature, so confirming your preferred date requires direct communication. Despite this, for building an initial list of potential year end function venues in Cape Town, SA-Venues is one of the most efficient tools available.
Website: https://www.sa-venues.com/westerncape-conferences.php
3. EventBookr – Western Cape Function Venues
EventBookr operates as a dedicated South African event-planning marketplace, offering a streamlined directory for those organising a year end function in Cape Town. It serves as a bridge between event planners and a curated list of venues and service suppliers. The platform is designed to simplify the discovery process, allowing you to filter options specifically for corporate events and connect directly with venue managers, making it an excellent all-in-one resource.
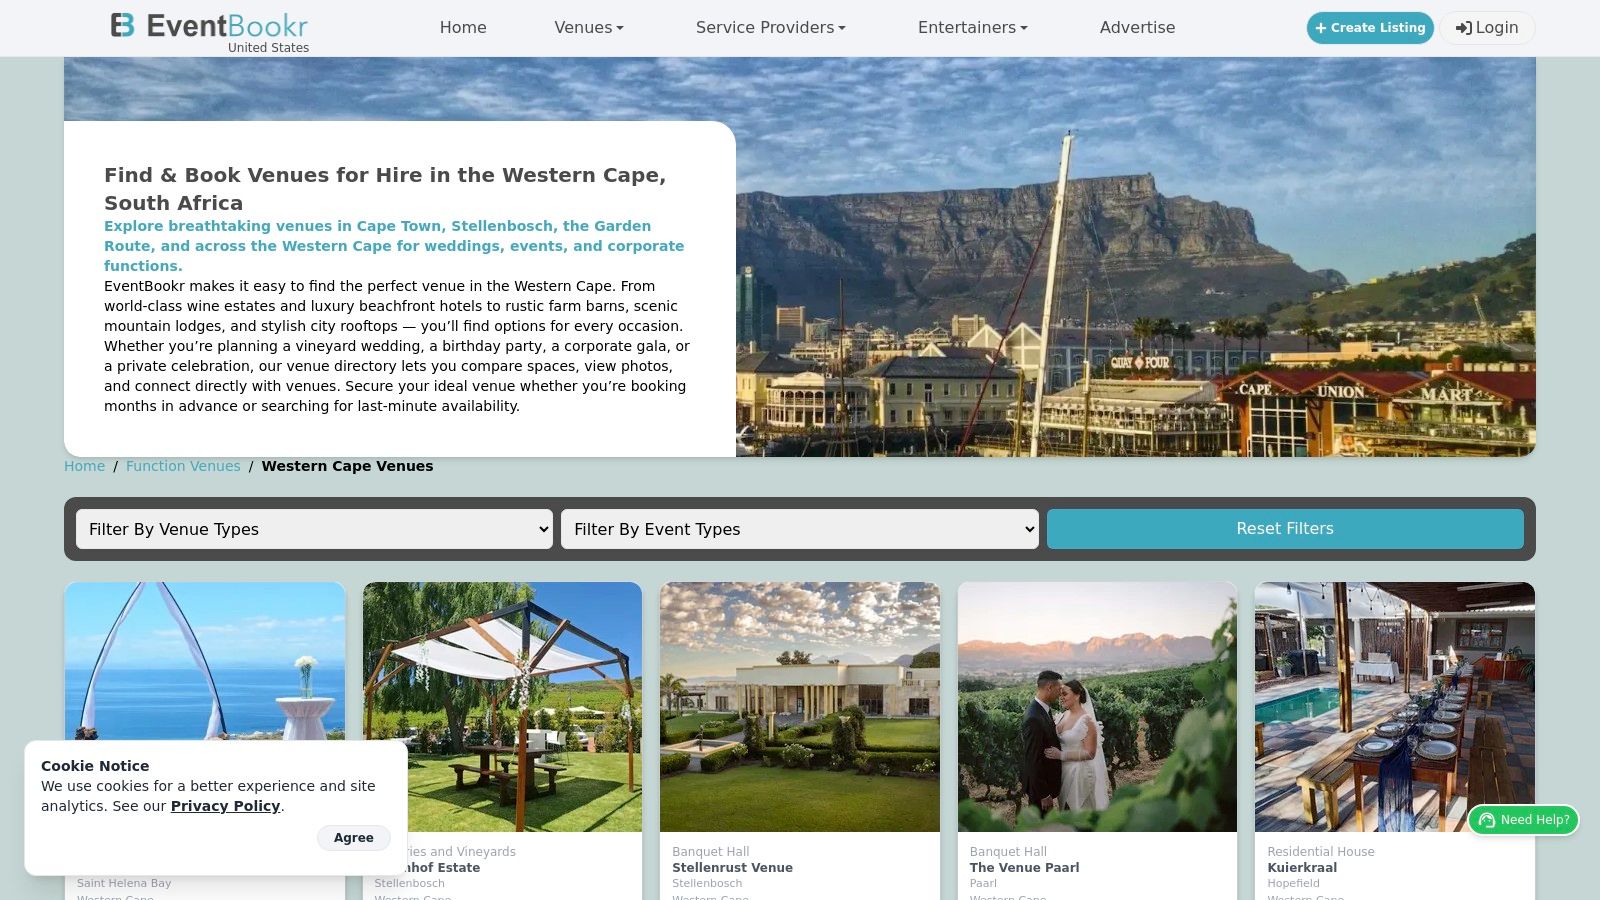
What sets EventBookr apart is its integration of venues with essential event services. Beyond just finding a location, you can browse and connect with caterers, décor specialists, and entertainers listed on the same platform. This feature is particularly useful for planners looking to build a complete event package from scratch, transforming the platform from a simple directory into a comprehensive planning hub for your end-of-year celebration.
Using EventBookr for Your Year-End Function Planning
The site’s strength lies in its user-friendly interface and purpose-built filters. You can immediately narrow down your search by selecting “Year End Functions” as the event type, ensuring all results are relevant. Each venue is presented on a clear card with key imagery and location info, allowing for rapid scanning and shortlisting. Once you find a suitable option, the platform facilitates a direct enquiry to begin the booking process.
Key Features and Considerations
| Feature | Description | Practical Tip for Planners |
|---|---|---|
| Integrated Services | Lists venues alongside a directory of event suppliers like caterers and DJs. | Use this feature to get quotes for a full package. When you enquire with a venue, also ask if they have preferred suppliers from the EventBookr list. |
| Event-Specific Filters | Allows filtering by event type, including a dedicated “Year End Functions” category. | Always apply this filter first to ensure the venues you see are actively seeking and equipped for corporate year-end events. |
| Visual Venue Cards | A clean, image-led layout makes it easy to quickly assess the vibe of a venue. | Focus on the lead image to gauge if the venue’s aesthetic matches your company culture before clicking for more details. |
A common limitation is that pricing is not displayed upfront; you must enquire to receive a quote. Some venue listings are also more detailed than others, so direct contact is often necessary to confirm specific capacities and amenities. However, for planners seeking a fast, efficient way to find and bundle services for year end function venues in Cape Town, EventBookr provides a uniquely integrated and valuable starting point.
Website: https://www.eventbookr.com/function-venues/western-cape
4. The Inside Guide – Year-End Parties in Cape Town (Ideas + Venues)
Unlike broad directories, The Inside Guide offers a curated, editorial approach to discovering year end function ideas and venues in Cape Town. It functions less like a database and more like a well-researched magazine article, presenting a handpicked selection of on-trend and popular options. This platform is ideal for planners looking for inspiration beyond the traditional hotel ballroom, focusing on unique experiences, restaurants with private dining, and activities that foster team engagement.
The strength of The Inside Guide lies in its ability to spark new ideas. The roundup is categorised into intuitive themes like “Beachfront Bliss,” “Rooftop Revelry,” and “Wine-Farm Feasts,” allowing you to browse concepts rather than just locations. Each recommendation includes a concise summary of the venue’s vibe and offerings, along with direct contact details or booking links, making it easy to move from inspiration to action.
Using The Inside Guide for Your Year-End Function Planning
The primary value of this website is brainstorming. It’s the perfect resource to consult when you’re looking for something fresh and exciting that your team hasn’t done before. Whether you’re considering an adventurous Scootour in the forest, a sophisticated wine-tasting experience, or a casual beachfront braai, The Inside Guide surfaces vetted options that are known for quality. Many of the featured ideas also tie into brilliant corporate team-building event ideas that can add more value to your end-of-year celebration.
Key Features and Considerations
| Feature | Description | Practical Tip for Planners |
|---|---|---|
| Curated Roundups | An editorially selected list of ideas and venues, from restaurants to outdoor adventures. | Use the article’s categories to brainstorm a theme first, then explore the specific venues listed under that theme. |
| Direct Contact Info | Most listings include direct website links, phone numbers, or enquiry forms. | Since this isn’t a booking platform, always contact the venue directly to confirm their current year-end packages and availability. |
| Mix of Activities | Features both traditional dining venues and experiential options like cooking classes or kayaking. | Consider an activity-based function for smaller teams to create a more memorable and engaging experience. |
A key consideration is that the list is a static article, not a live directory. This means some information, particularly pricing or specific package deals, may be outdated. You must verify all details directly with the venue. However, for generating a shortlist of exciting and pre-vetted year end function venues in Cape Town, The Inside Guide is an exceptional starting point that saves significant research time.
Website: https://insideguide.co.za/cape-town/year-end-functions/
5. Two Oceans Aquarium – Eventing/Functions (V&A Waterfront)
For companies looking to host a truly unforgettable year end function, the Two Oceans Aquarium website presents a unique and high-impact venue proposition. Situated in the bustling V&A Waterfront, this is not just an aquarium but a sophisticated event space that allows guests to celebrate surrounded by mesmerising marine life. The website serves as the primary portal for corporate planners, detailing the various event spaces, in-house services, and the unique ambiance that makes it one of Cape Town’s most sought-after venues.
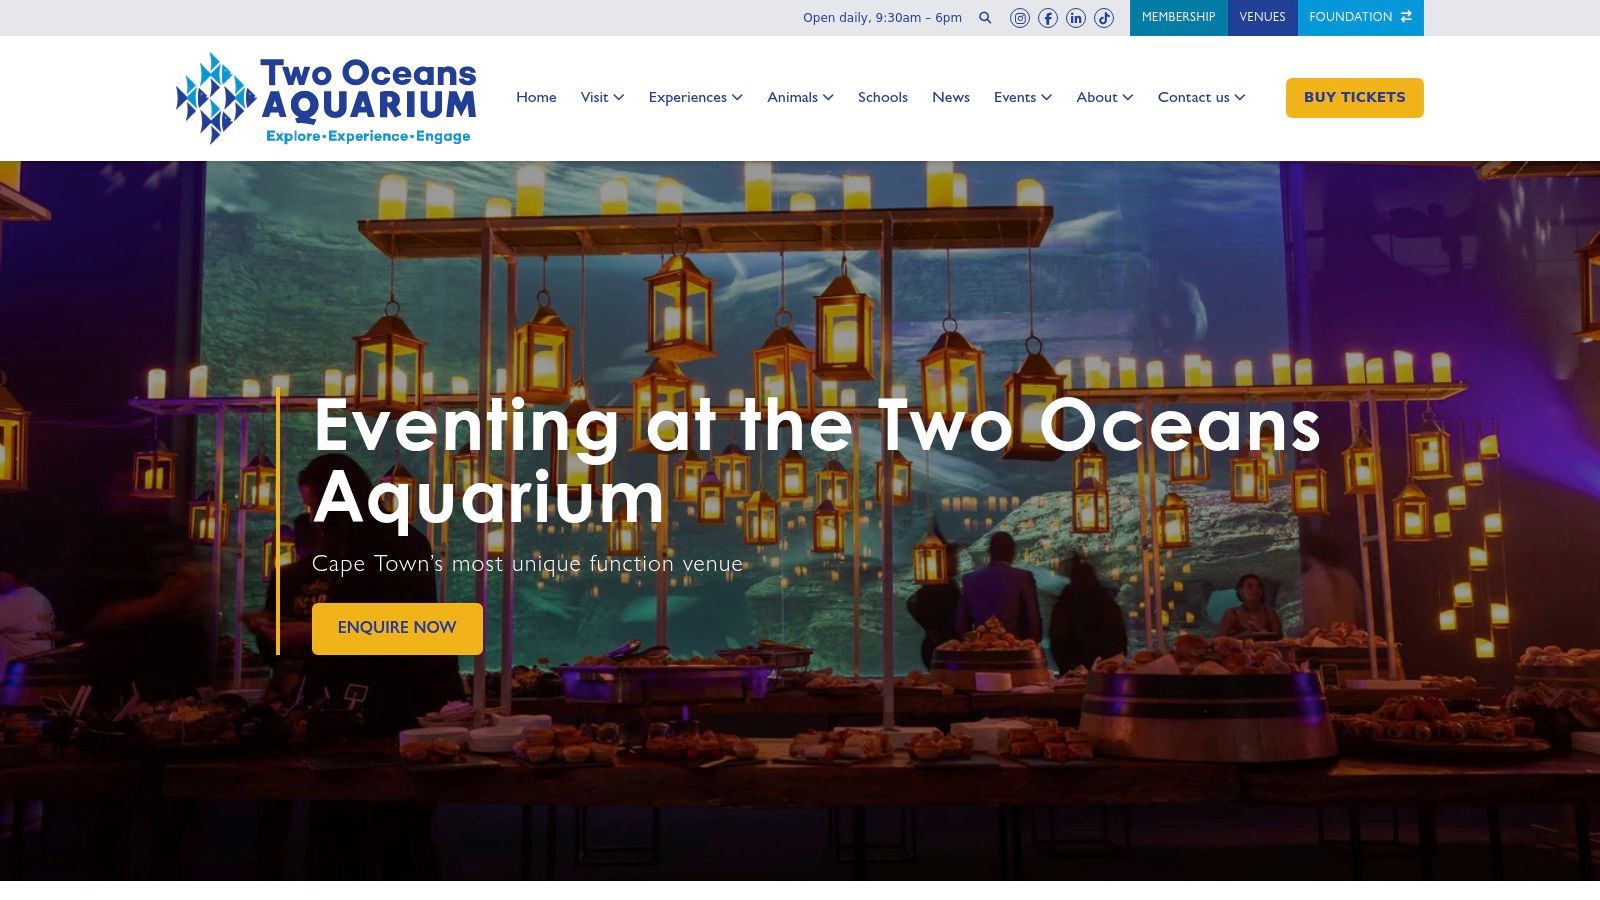
What sets the aquarium’s online presence apart is its clear communication of value. The website effectively showcases how its spaces, like ‘The Avenue’ or areas in front of the large-scale exhibits, can be transformed for elegant dinners, awards ceremonies, or cocktail functions. It highlights the full-service nature of their offering, including an in-house events team, sustainable catering, and comprehensive AV support, which simplifies the planning process significantly for corporate organisers.
Using the Two Oceans Aquarium Website for Your Year-End Function Planning
The website is designed to guide you from initial curiosity to a formal enquiry. You can explore the different venues virtually through photo galleries and detailed descriptions, understanding the capacity and ideal use case for each. The platform’s emphasis on sustainability is a key selling point for ESG-conscious companies. Once you have a vision, the site directs you to an enquiry form to connect with their dedicated events team, who manage the entire process from logistics to execution.
Key Features and Considerations
| Feature | Description | Practical Tip for Planners |
|---|---|---|
| Unique Underwater Ambiance | Events take place against the backdrop of world-class marine exhibits, providing a “wow-factor”. | Leverage the unique setting to reduce your decor budget. With such a stunning natural backdrop, minimal additions are needed. For ideas, explore options for event decor hire in Cape Town. |
| All-in-One Service | In-house team manages catering, AV, and coordination, simplifying logistics. | Provide the events team with a detailed brief, including your desired theme and run-of-show, to let them handle the technical and catering specifics. |
| Prime Location | Situated in the V&A Waterfront, it offers excellent access, security, and proximity to hotels. | Advise guests to use ride-sharing services or designated transport, as V&A Waterfront parking can be busy during peak season. |
This is a premium venue, so planners should anticipate higher per-head costs compared to standard conference halls. Its popularity also means availability, especially during the year-end peak season, is limited. It is crucial to book well in advance. Despite the premium price point, for a company seeking one of the most memorable year end function venues in Cape Town, the Two Oceans Aquarium offers an unparalleled experience.
Website: https://www.aquarium.co.za/functions
6. Time Out Market Cape Town – Group Events & Private Areas
For companies seeking a vibrant, food-focused, and distinctly modern year end function, the Time Out Market Cape Town’s events page is the gateway to a dynamic venue solution. Located at the V&A Waterfront, this curated food hall is more than just a place to eat; it is a cultural and culinary hub that can be leveraged for semi-private gatherings or large-scale exclusive events. The website provides a clear overview of how this bustling market can be transformed to host corporate groups, moving beyond the traditional sit-down dinner format.

What sets Time Out Market apart is its inherent variety and energetic atmosphere. Instead of being locked into a single caterer, a function here gives guests access to a dozen of Cape Town’s top chefs and kitchens under one roof. The platform’s unique offering of pre-loaded Event Cards allows employees to explore different food and drink vendors at their leisure, creating an interactive and personalised experience. This solves the common challenge of catering to diverse dietary preferences and tastes, making it a standout choice for year end function venues in Cape Town.
Using Time Out Market for Your Year-End Function Planning
The website is designed to facilitate enquiries for group bookings, from reserving a section for a small team to a full market buyout for up to 800 guests. Planners can review the different configurable spaces, such as the semi-private Studio, the lounge areas, or the main hall with its stage. The core function of the site is to initiate a conversation with their events team, who then help customise a package, including the cashless Event Cards and any specific A/V or entertainment requirements.
Key Features and Considerations
| Feature | Description | Practical Tip for Planners |
|---|---|---|
| Culinary Variety | Access to multiple acclaimed local food and bar vendors in one venue. | Pre-load Event Cards with a generous amount to encourage guests to explore and try multiple vendors throughout the event. |
| Scalable Spaces | Options range from semi-private areas to a full-venue buyout for ~800 guests. | For larger buyouts, utilise the built-in stage for awards, speeches, or live music to create a central focus for the evening. |
| Event Cards | A cashless system allowing guests to purchase their own food and drinks. | Use the Event Cards as part of a welcome pack. This adds a fun, interactive element right from the start of the function. |
A key consideration is that even in a semi-private booking, you will be part of the market’s ambient buzz, as it is not a traditional, fully enclosed private venue unless you opt for a full buyout. Pricing is also bespoke and requires a direct enquiry through their website to get a customised quote based on your group size, date, and specific needs. Despite this, the venue’s unique, food-forward concept and minimal need for additional décor make it a compelling and hassle-free option for a memorable year-end celebration.
Website: https://www.timeout.com/time-out-market-cape-town/events-groups
7. Hotel Verde Cape Town Airport – Year-End Function Packages
For companies prioritising sustainability and all-in-one convenience, Hotel Verde’s website presents a compelling offering for year-end functions. Positioned as ‘Africa’s Greenest Hotel’, this venue near Cape Town International Airport offers turnkey packages that combine event spaces, catering, and on-site coordination. The website is specifically geared towards corporate planners, clearly outlining their coordinated services, which is ideal for teams who need a seamless, managed event experience from start to finish.
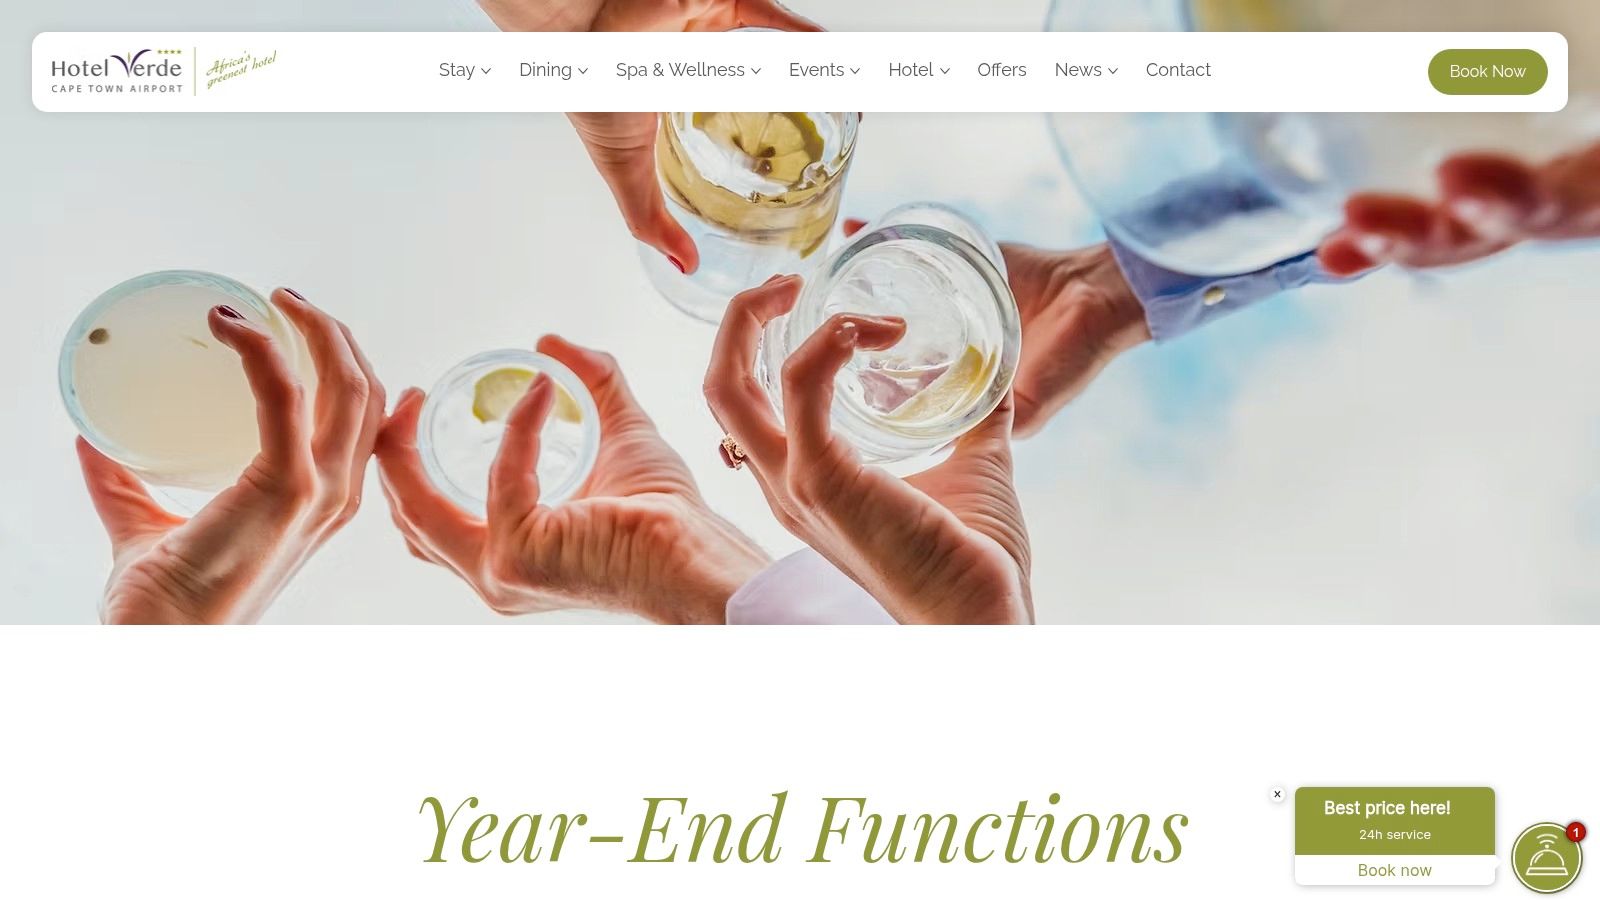
What sets Hotel Verde apart is its strong eco-conscious ethos, which can align perfectly with a company’s corporate social responsibility (CSR) or Environmental, Social, and Governance (ESG) goals. The website details their flexible event spaces and integrated facilities, including a restaurant, bar, and spa. This makes it an excellent choice for companies with out-of-town attendees who require accommodation alongside the function venue, consolidating all needs into one sustainable and practical location.
Using Hotel Verde’s Website for Your Year-End Function Planning
The website is designed to be a direct booking and information portal. Planners can review the different year-end function packages, which often include set menus, welcome drinks, and standard decor. The site provides starting prices (e.g., “from R300 per person”), offering a useful baseline for initial budget discussions. The main call to action is to get in touch with their events team via a contact form or direct details, who then assist with tailoring a package to your specific requirements.
Key Features and Considerations
| Feature | Description | Practical Tip for Planners |
|---|---|---|
| All-Inclusive Packages | Curated packages combine venue hire, catering, and basic setups for a set price. | Ask the coordinator what is included in the base package and what constitutes an add-on to avoid unexpected costs. |
| Sustainability Focus | The hotel operates on renewable energy and zero-waste principles. | Highlight this unique aspect in your event invitations; it can be a positive talking point and reflect well on your company’s values. |
| On-Site Accommodation | The hotel provides rooms, ideal for teams travelling to Cape Town. | Enquire about group booking discounts for accommodation if you have several team members needing to stay overnight. |
A potential drawback is the location; while highly practical for airport access, it lacks the scenic appeal of a Winelands estate or a V&A Waterfront venue. Additionally, the advertised package menus are seasonal, so it is crucial to confirm the current offerings and pricing directly with the events team. Despite this, for organisations looking for streamlined year end function ideas and venues in Cape Town with a strong green credential, Hotel Verde offers a unique and highly efficient solution.
Website: https://www.hotelverde.com/year-end-functions
7-Way Comparison: Cape Town Year-End Function Ideas & Venues
| Option | Implementation Complexity (🔄) | Resource Requirements (⚡) | Expected Outcomes / Impact (📊 ⭐) | Ideal Use Cases & Key Advantages (💡) |
|---|---|---|---|---|
| Bar Counters – ABC Hire | Low — turnkey delivery and simple onsite setup (confirm specs) | Requires local delivery, power for LED and coordinated furniture | 📊 High visual/brand impact; ⭐ Great for atmosphere and photos | Weddings, launches, private parties — flexible styles (LED/glass/promo), coordinated furniture |
| SA-Venues – Western Cape Conference Venues | Low–Medium — directory-driven shortlisting; follow-up needed | Minimal (web access); time for enquiries and rate confirmations | 📊 Efficient multi-venue comparison; ⭐ Broad coverage across Cape Town/Winelands | Corporate RFPs and shortlist building — many listings, amenity filters |
| EventBookr – Western Cape Function Venues | Low — searchable marketplace with enquiry flow | Minimal online browsing; vendor follow-up for full specs/pricing | 📊 Fast matching of venues and suppliers; ⭐ Integrates services for package building | One-stop planning for venues + suppliers — useful for package creation |
| The Inside Guide – Year-End Parties in Cape Town | Very low — editorial curation and contact links | Minimal; best for ideation and direct outreach | 📊 Strong idea generation; ⭐ Curated, on-trend venue suggestions | Brainstorming and concept development — diverse experiential options |
| Two Oceans Aquarium – Eventing/Functions | Medium — coordinated with in-house events team and AV | High — premium pricing, early booking, venue-specific constraints | 📊 Very high “wow” and memorable impact; ⭐ Strong single-vendor logistics | Awards nights and high-impact celebrations — unique setting, sustainability options |
| Time Out Market Cape Town – Group Events & Private Areas | Medium — configurable spaces and vendor coordination | Medium — event cards/vendor arrangements; custom quotes for buyouts | 📊 Scalable, food-centric events (small → full buyout); ⭐ Built-in culinary variety | Casual-premium year-end parties and large groups — minimal décor, diverse food options |
| Hotel Verde Cape Town Airport – Year-End Packages | Low–Medium — turnkey hotel packages with on-site coordination | Medium — venue + accommodation costs; seasonal menus | 📊 Comfortable, end-to-end events with lodging; ⭐ Strong sustainability credentials | Out-of-town teams needing accommodation and events — ESG-aligned, coordinated services |
Bringing Your Vision to Life: Final Touches for an Unforgettable Event
As we’ve explored, Cape Town and the surrounding Winelands offer a spectacular canvas for your year-end celebration. From the underwater wonder of the Two Oceans Aquarium to the vibrant, culinary energy of Time Out Market and the sustainable elegance of Hotel Verde, the perfect backdrop for your team’s success story awaits. This guide has aimed to demystify the planning process, providing a curated selection of venues and innovative ideas to spark your imagination.
We have navigated through diverse themes, from sophisticated cocktail evenings and relaxed bohemian gatherings to high-energy themed galas. The key takeaway is that the most memorable events are born from a clear vision that is meticulously executed. Choosing the right venue is the foundational first step, but the magic truly happens in the details that follow.
From Concept to Celebration: The Crucial Next Steps
Once you have secured your ideal location, the focus shifts to transforming that space into an immersive experience. This is where the practical elements of event planning become paramount, turning your chosen theme from a concept on paper into a tangible reality for your guests. The success of your year end function ideas and venues cape town search hinges on this final, crucial stage.
Consider the journey your guests will take from the moment they arrive. What is the first thing they see? How does the layout encourage interaction and flow? These are the questions that define the atmosphere and ultimately, the success of your function.
Here are the final, actionable steps to ensure your event is seamless:
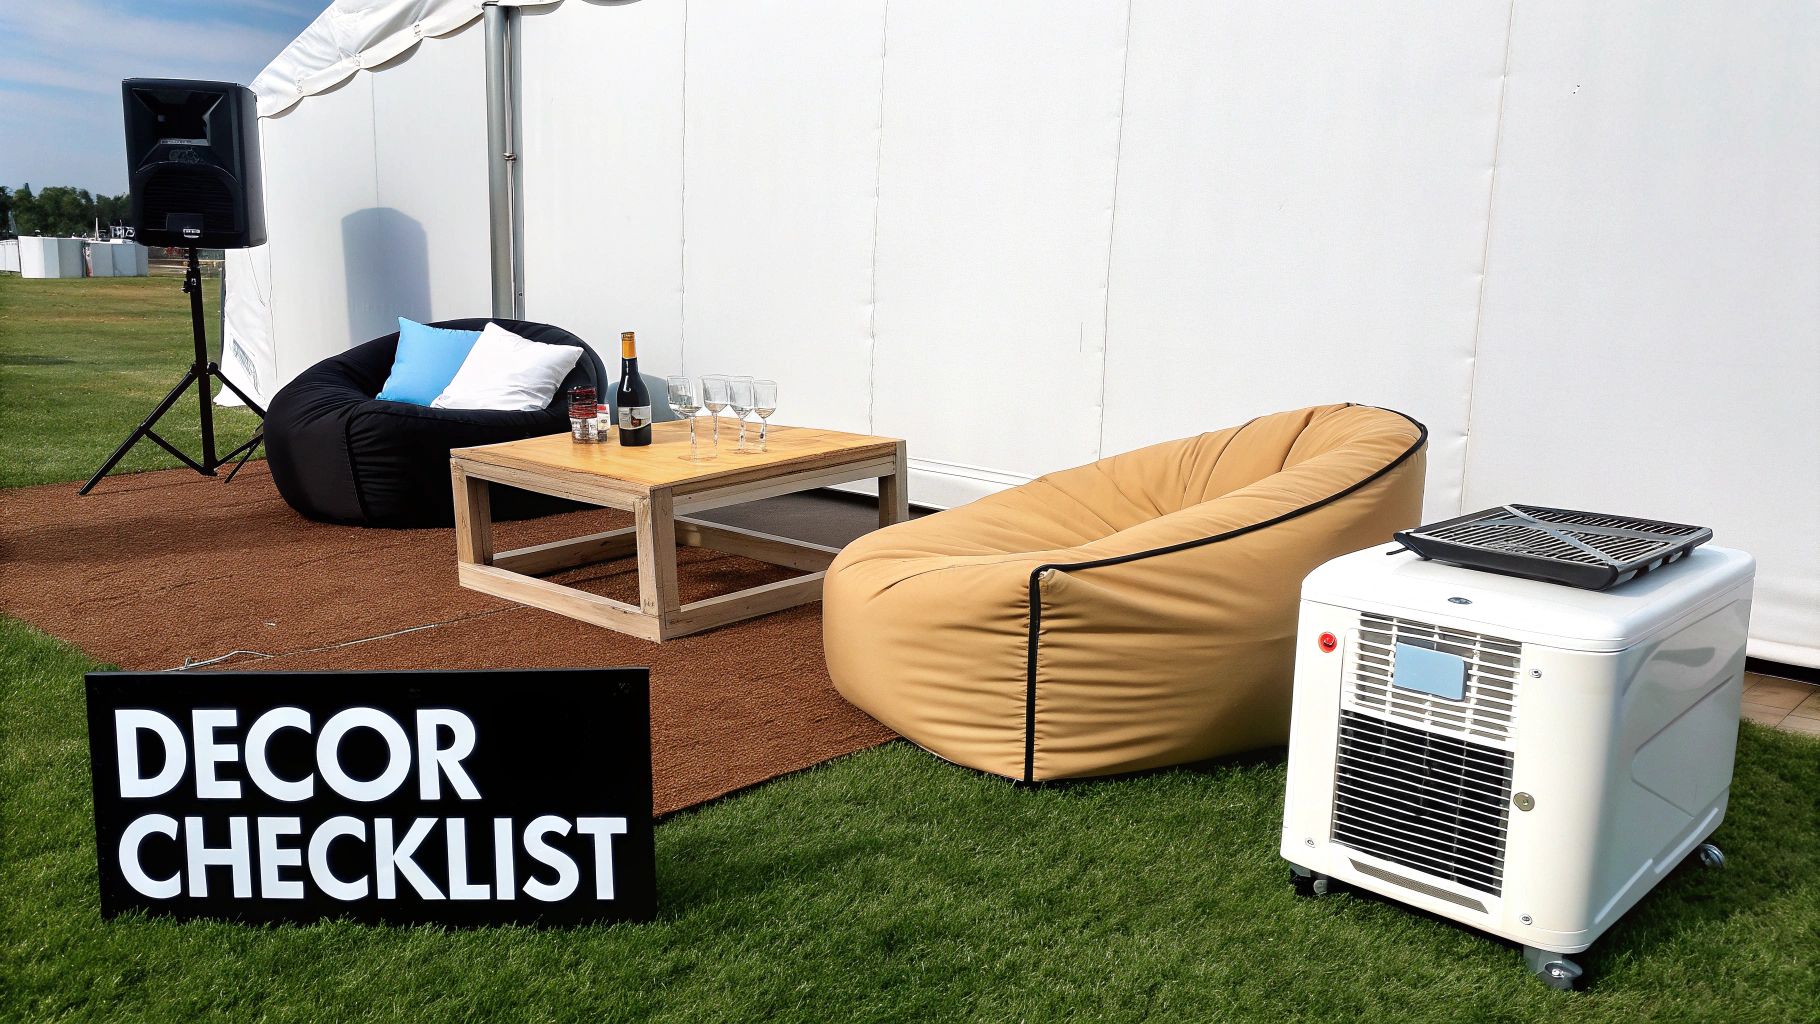
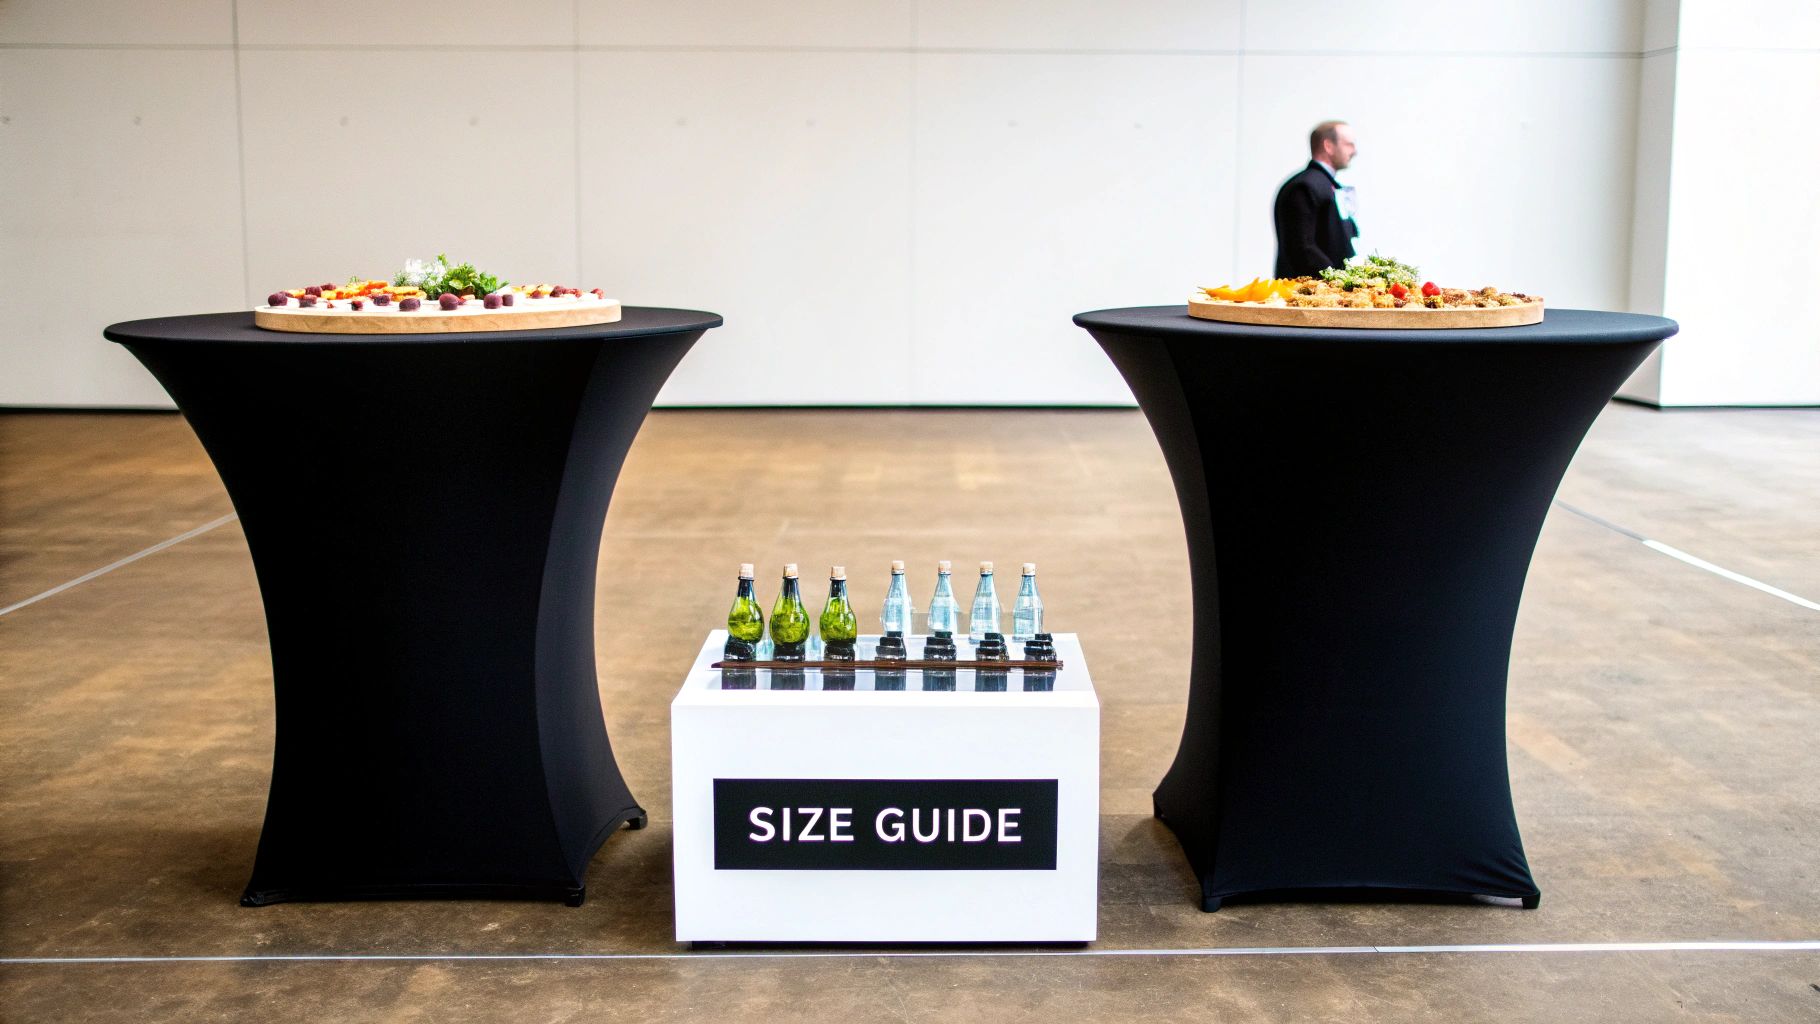
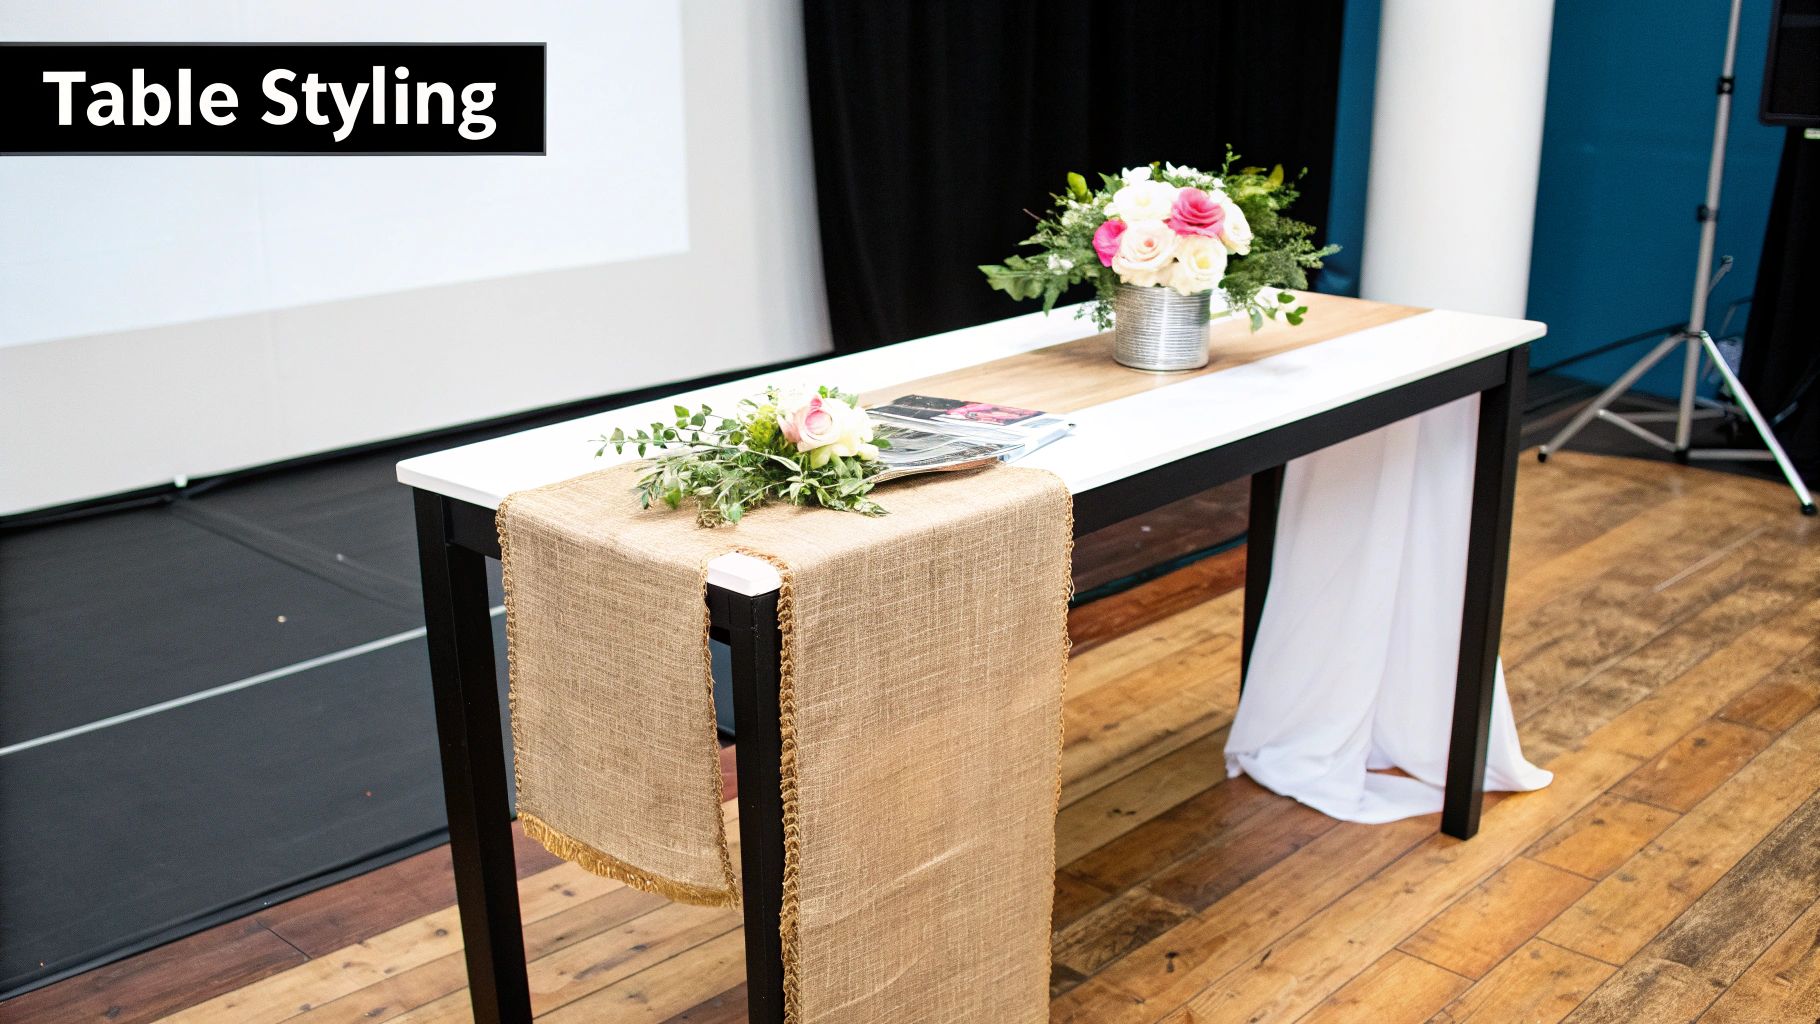
- Finalise Your Theme and Décor: Revisit your chosen theme. If you’ve opted for a “Glitz and Glamour” evening, think about sequin tablecloths, dramatic centrepieces, and sophisticated lighting. For a “Summer Festival” vibe, consider casual seating like beanbags and pallet furniture, colourful stretch tents, and interactive food stations.
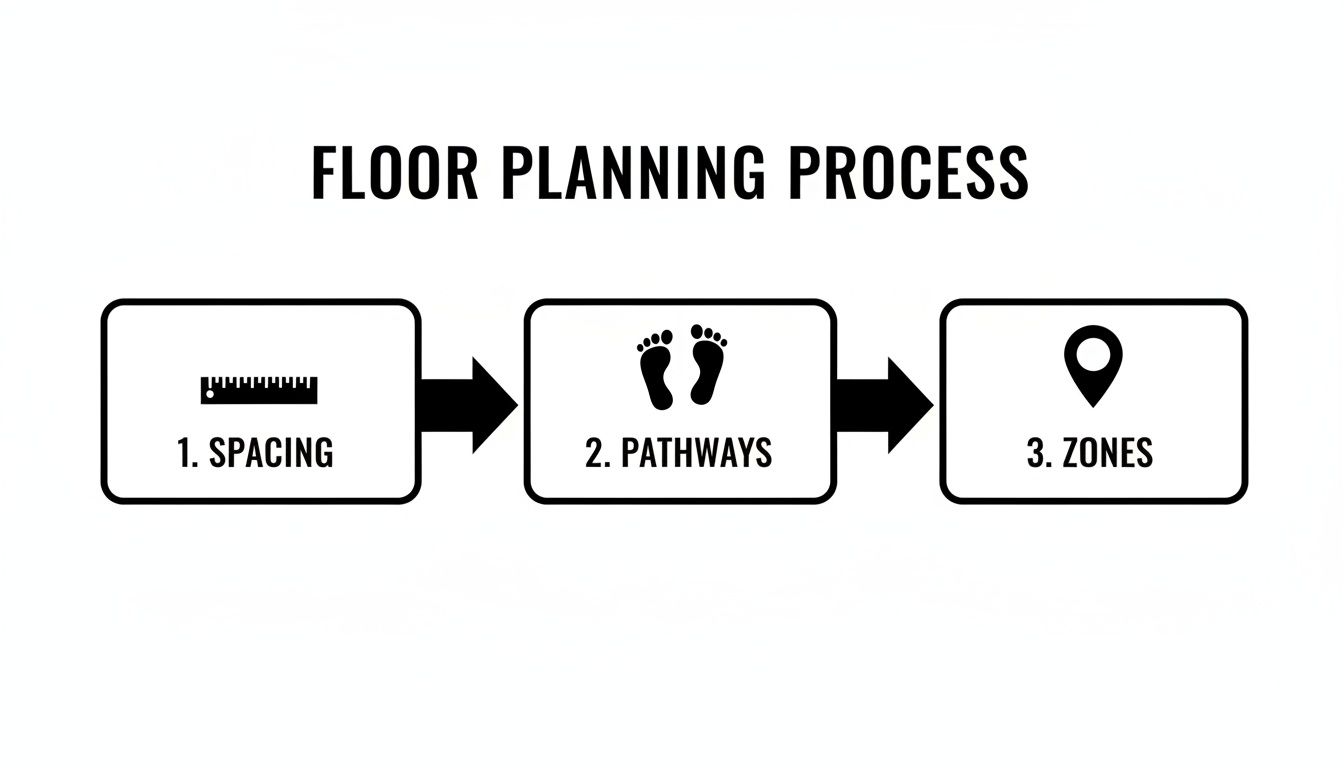
- Map Out the Guest Experience: Walk through the event timeline from your guests’ perspective. Ensure there are comfortable seating areas for conversation, a clear and stylish bar area to prevent queues, and a well-defined space for speeches or entertainment. The layout should feel intuitive and welcoming.
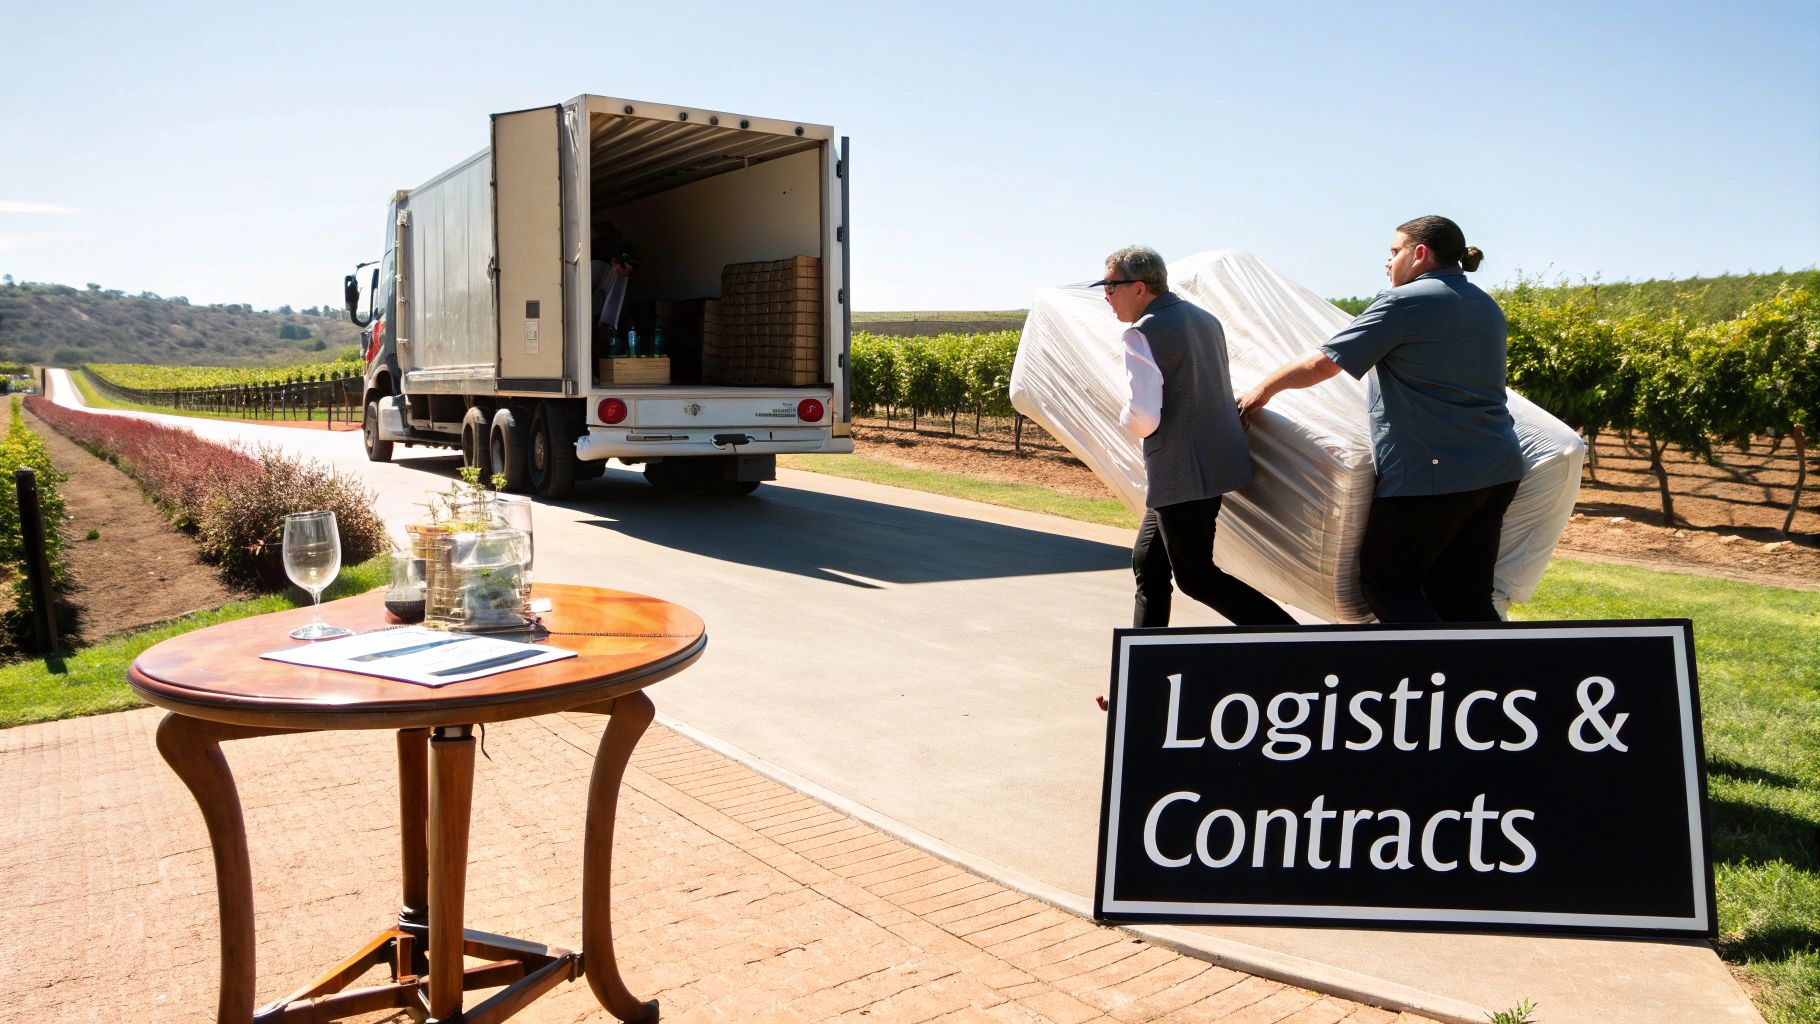
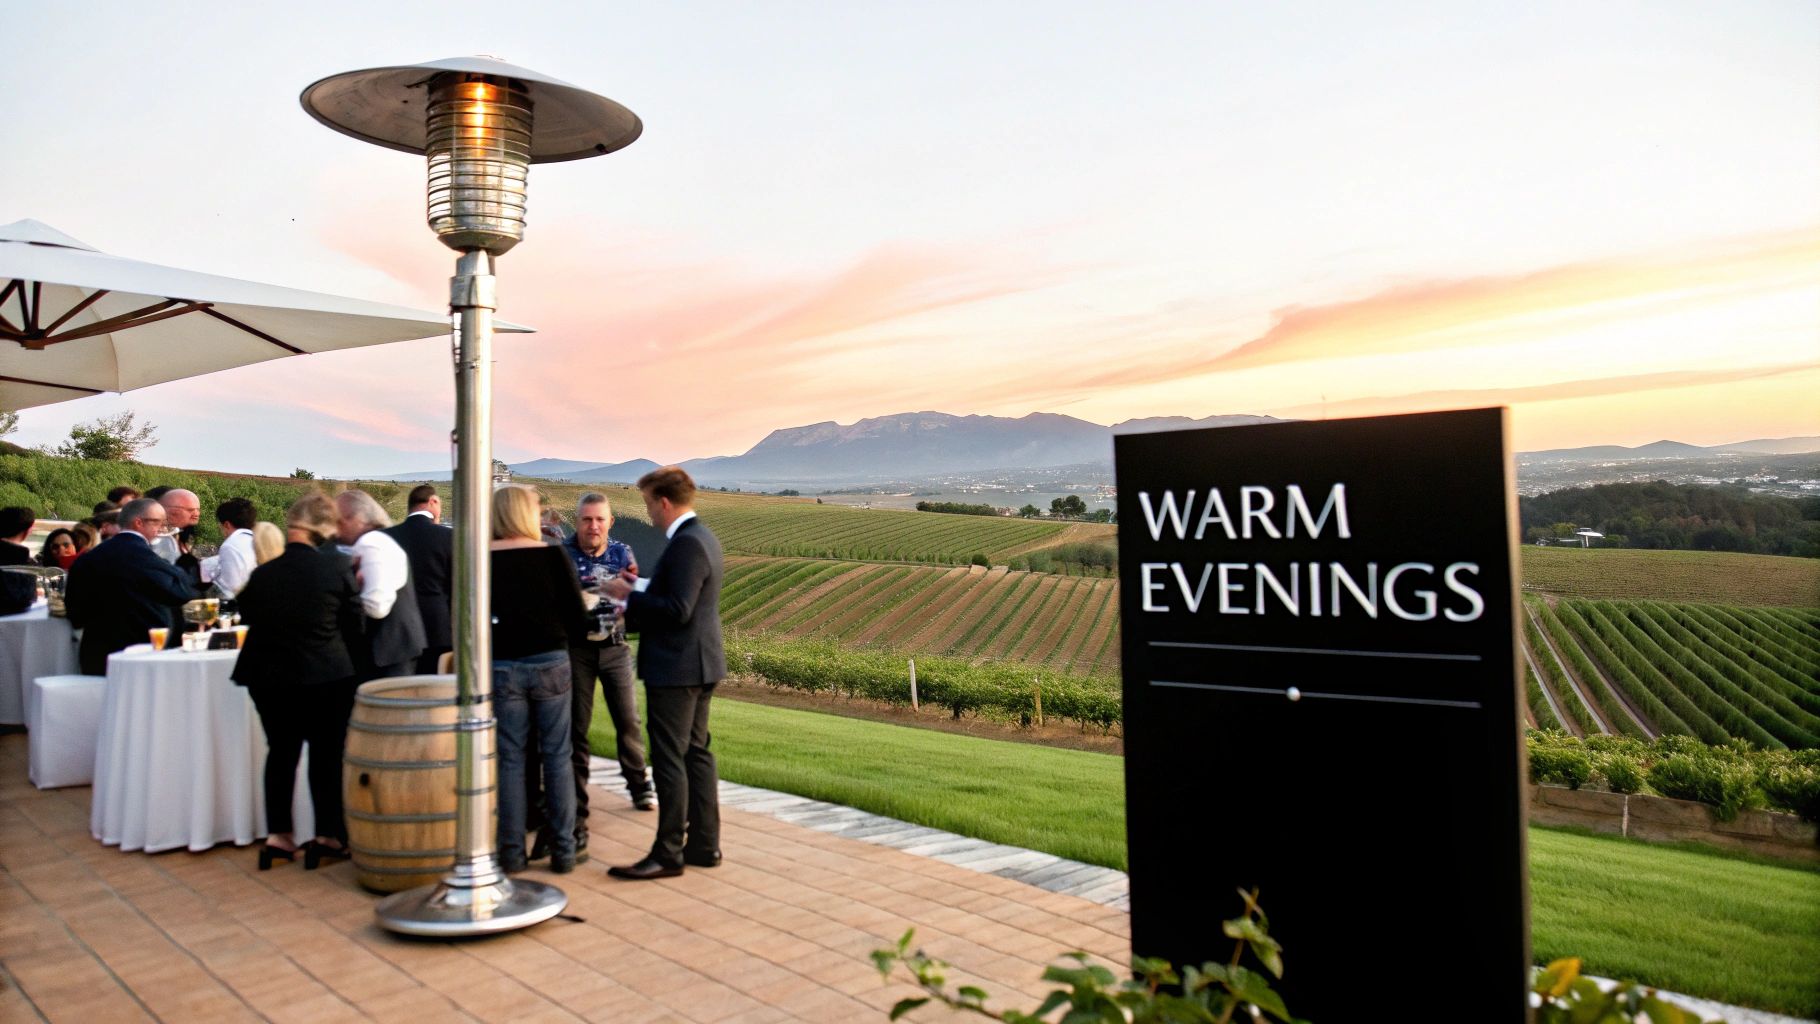
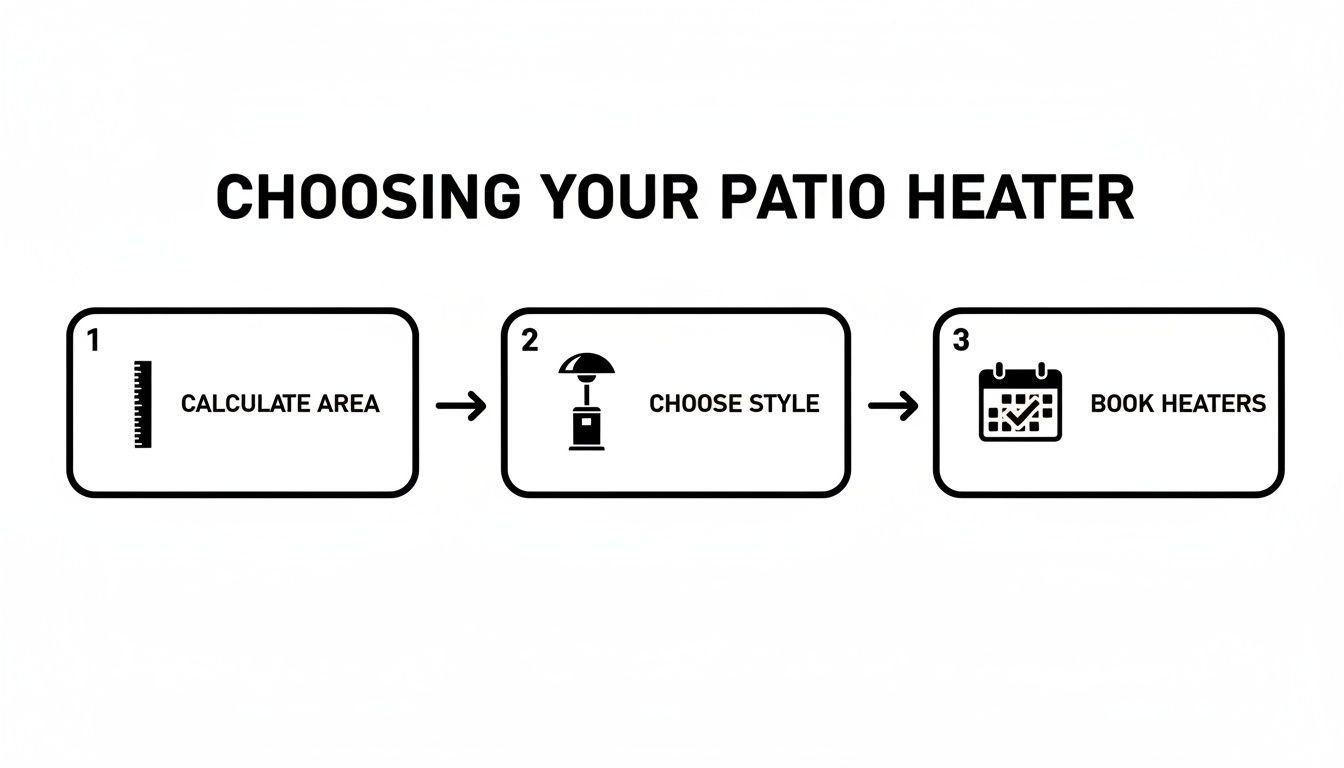
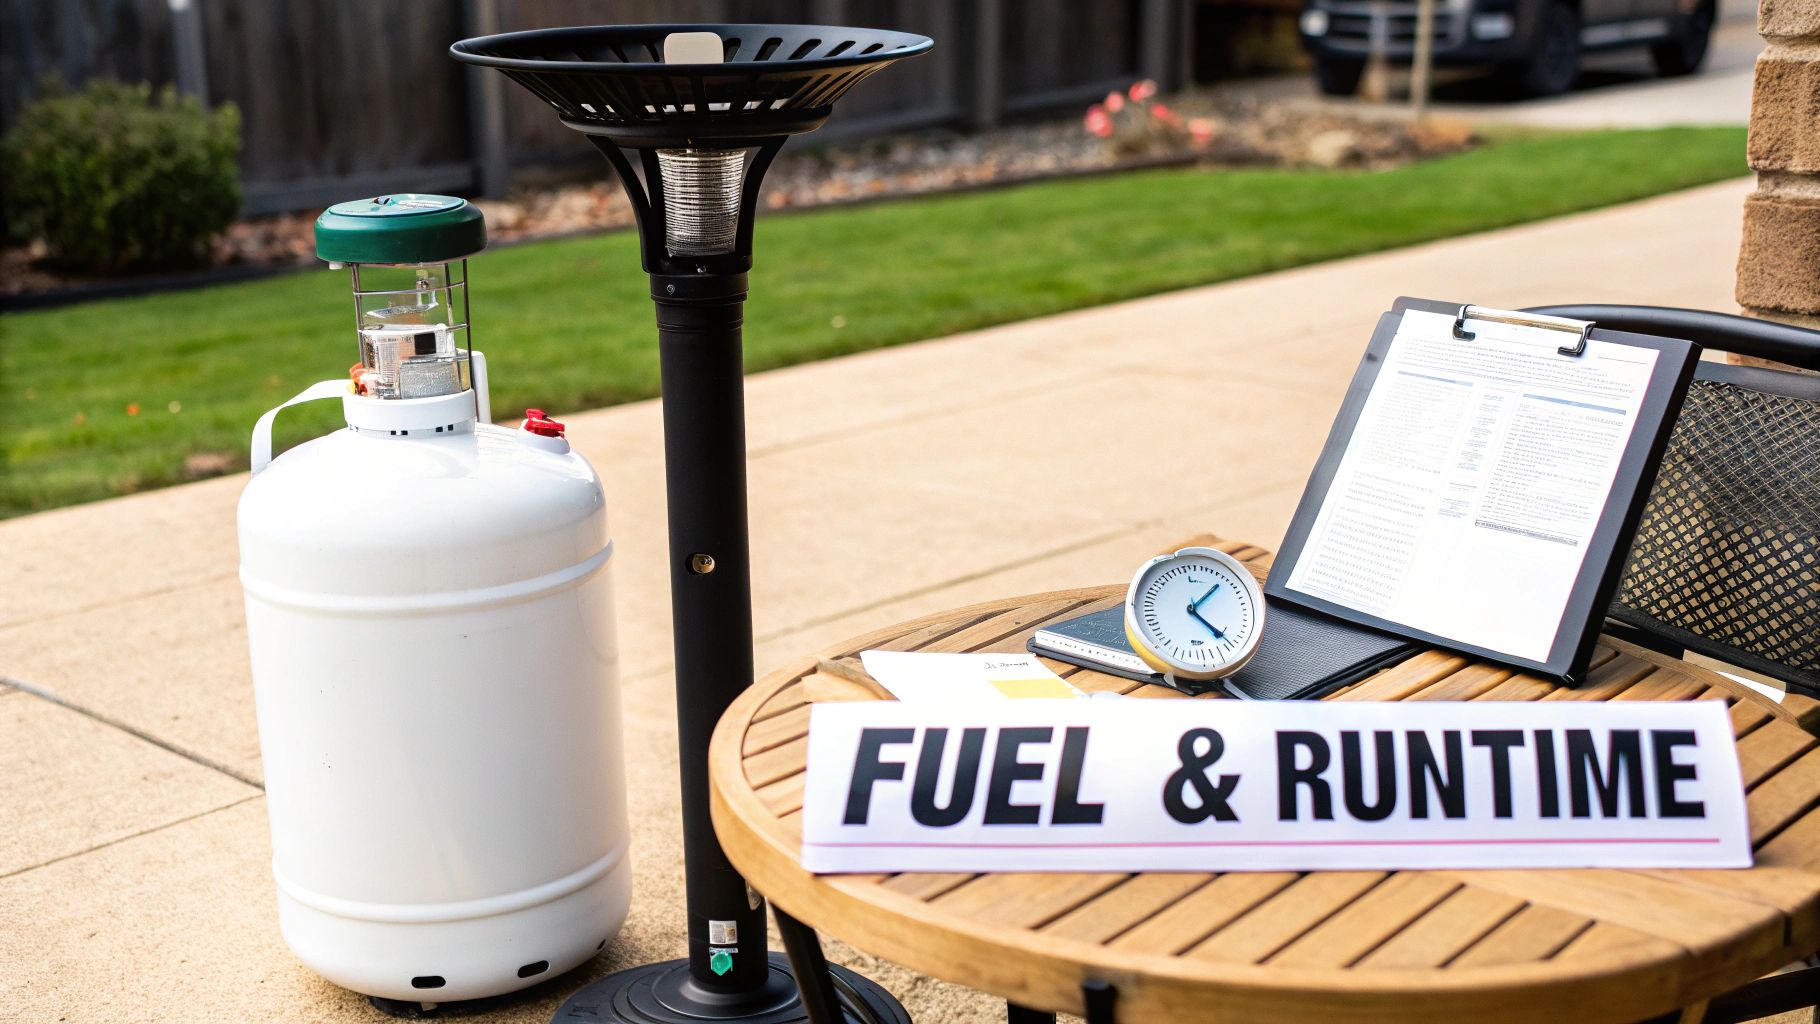
- Master the Logistics: This is where attention to detail pays off. Confirm power supply for lighting and sound, plan for climate control (heaters for a cool evening or fans for a warm day), and ensure your catering team has everything they need to operate efficiently. As you bring your vision to life, a thorough catering supplies checklist can be invaluable in ensuring all practical aspects for an unforgettable event are covered.
The Power of a Professional Partner
Bringing all these elements together can feel overwhelming. This is why partnering with a reliable and experienced equipment hire company is not a luxury; it’s a strategic necessity. A company like ABC Hire doesn’t just provide furniture; they provide the building blocks of your event’s atmosphere.
Key Insight: Your choice of furniture and equipment is as important as your choice of venue. It dictates the comfort of your guests, the flow of your event, and the overall aesthetic that brings your theme to life.
By entrusting the logistical heavy lifting to experts, you free yourself up to focus on what truly matters: your team, your guests, and celebrating a year of hard-won achievements. The right partner will understand your vision and provide high-quality, stylish, and functional solutions, from elegant bar counters and lounge pods to the essential marquees and dance floors that complete the picture.
Your 2026 year-end function is an opportunity to thank your team and build momentum for the year ahead. With careful planning, a touch of creativity, and the right partners by your side, you can deliver an event that is not just attended, but remembered.
Ready to turn your incredible Cape Town year-end function ideas into reality? Let ABC Hire provide the quality furniture, marquees, and equipment to build your perfect event from the ground up. Visit ABC Hire to explore our extensive catalogue and get a quote for a seamless and unforgettable celebration.