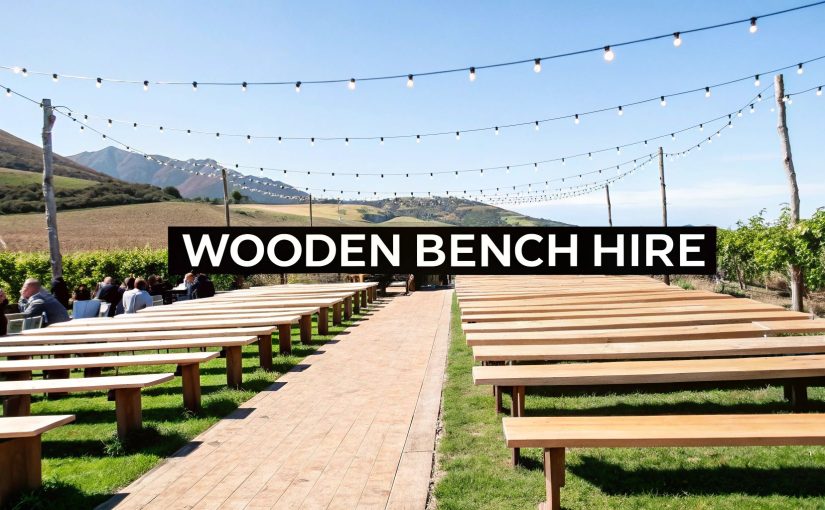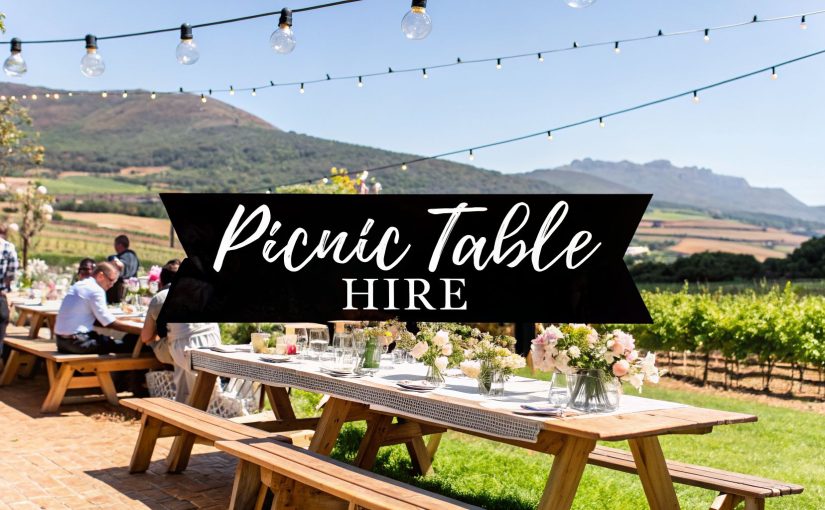
Wooden picnic tables are the heart of any relaxed, communal gathering. They have a way of instantly creating a warm and inviting atmosphere that few other furniture pieces can match. For anyone planning an event in and around Cape Town, hiring these tables is one of the simplest ways to bring a touch of rustic charm to any setting.
Why Choose Wooden Picnic Tables for Your Event?
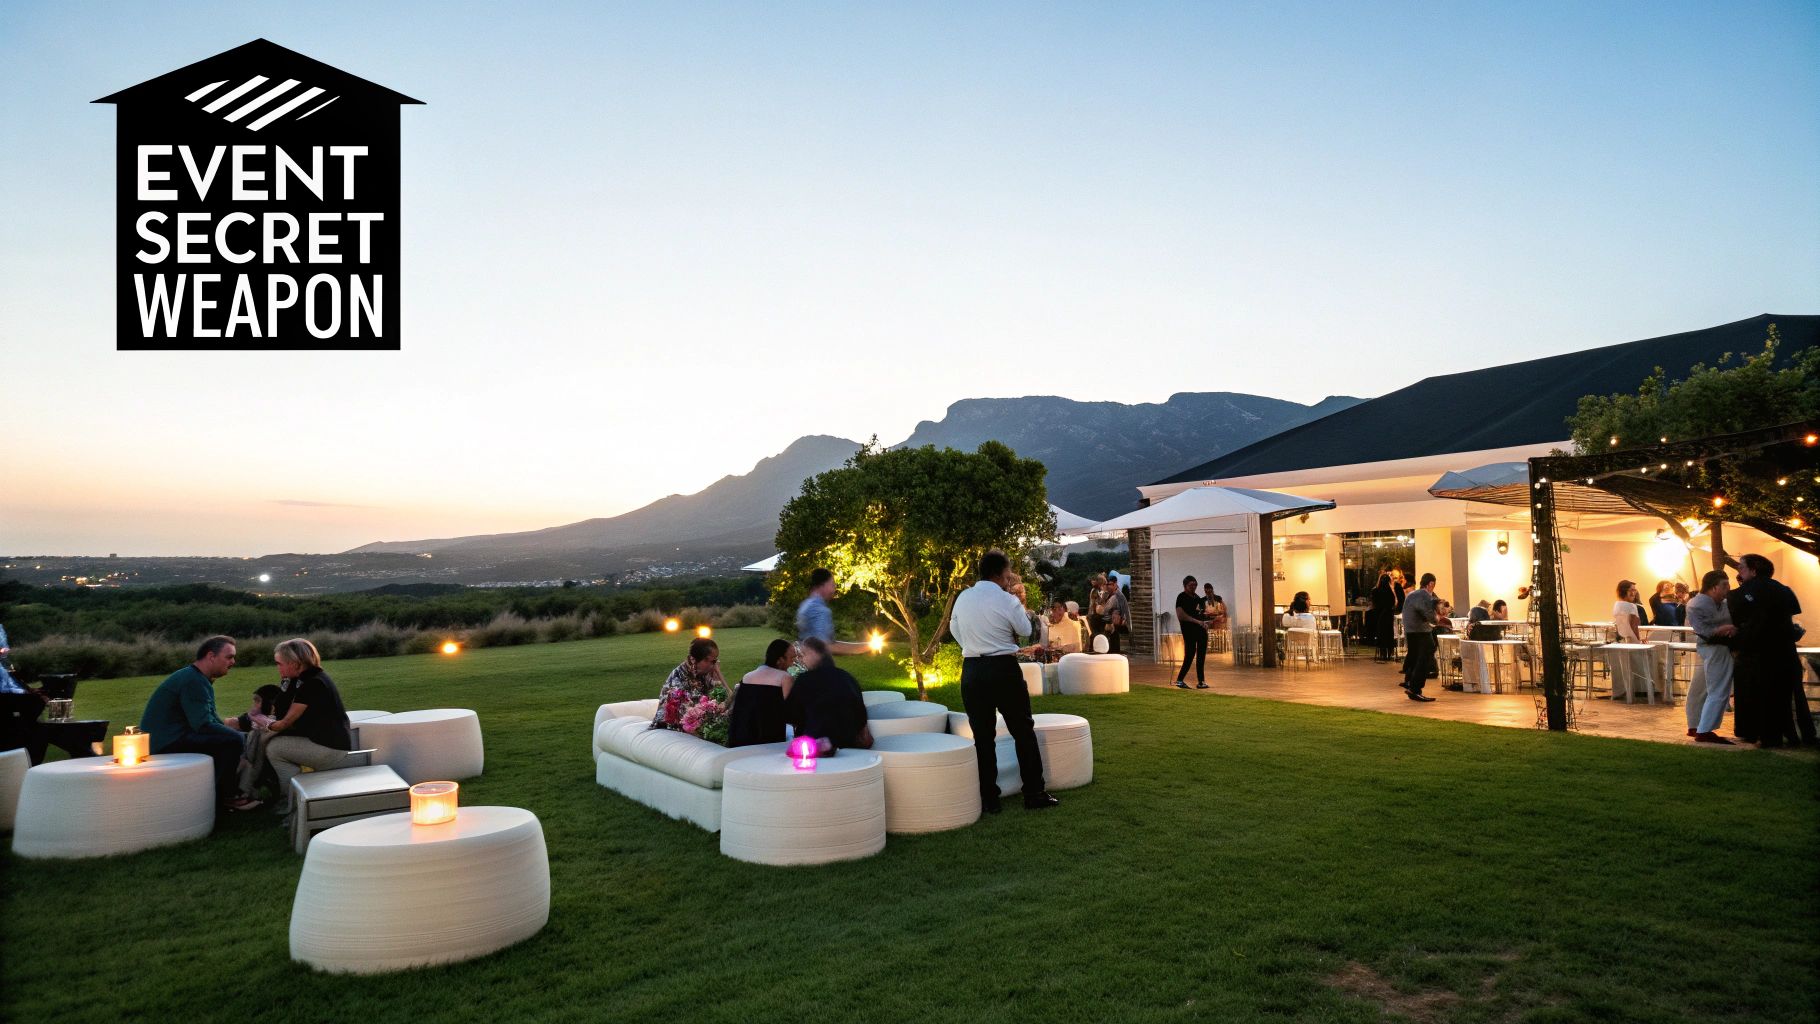
Picture your event space for a moment. Maybe it’s a sun-drenched lawn in the Winelands or a chic urban courtyard right in the city. Now, imagine rows of natural wooden picnic tables dotted across the landscape. They do so much more than just provide a place to sit; they set a specific tone—one of casual sophistication, warmth, and shared experience.
Unlike individual chairs and tables, which can sometimes create little social islands, these communal tables actively encourage guests to mingle and chat. This is one of their greatest strengths. They create a "family-style" dining vibe that feels less formal and more engaging, making them perfect for breaking the ice at corporate functions or fostering a real sense of togetherness at a wedding. Their solid, grounded presence adds a natural, earthy element that just works, beautifully complementing outdoor venues from rustic farm settings to elegant garden parties.
The Power of Atmosphere
The right furniture doesn't just fill a space; it creates a feeling. Wooden tables have a timeless appeal that plastic or metal alternatives just can't replicate. The natural grain and texture bring an organic element to your décor, softening the whole look and feel of the event.
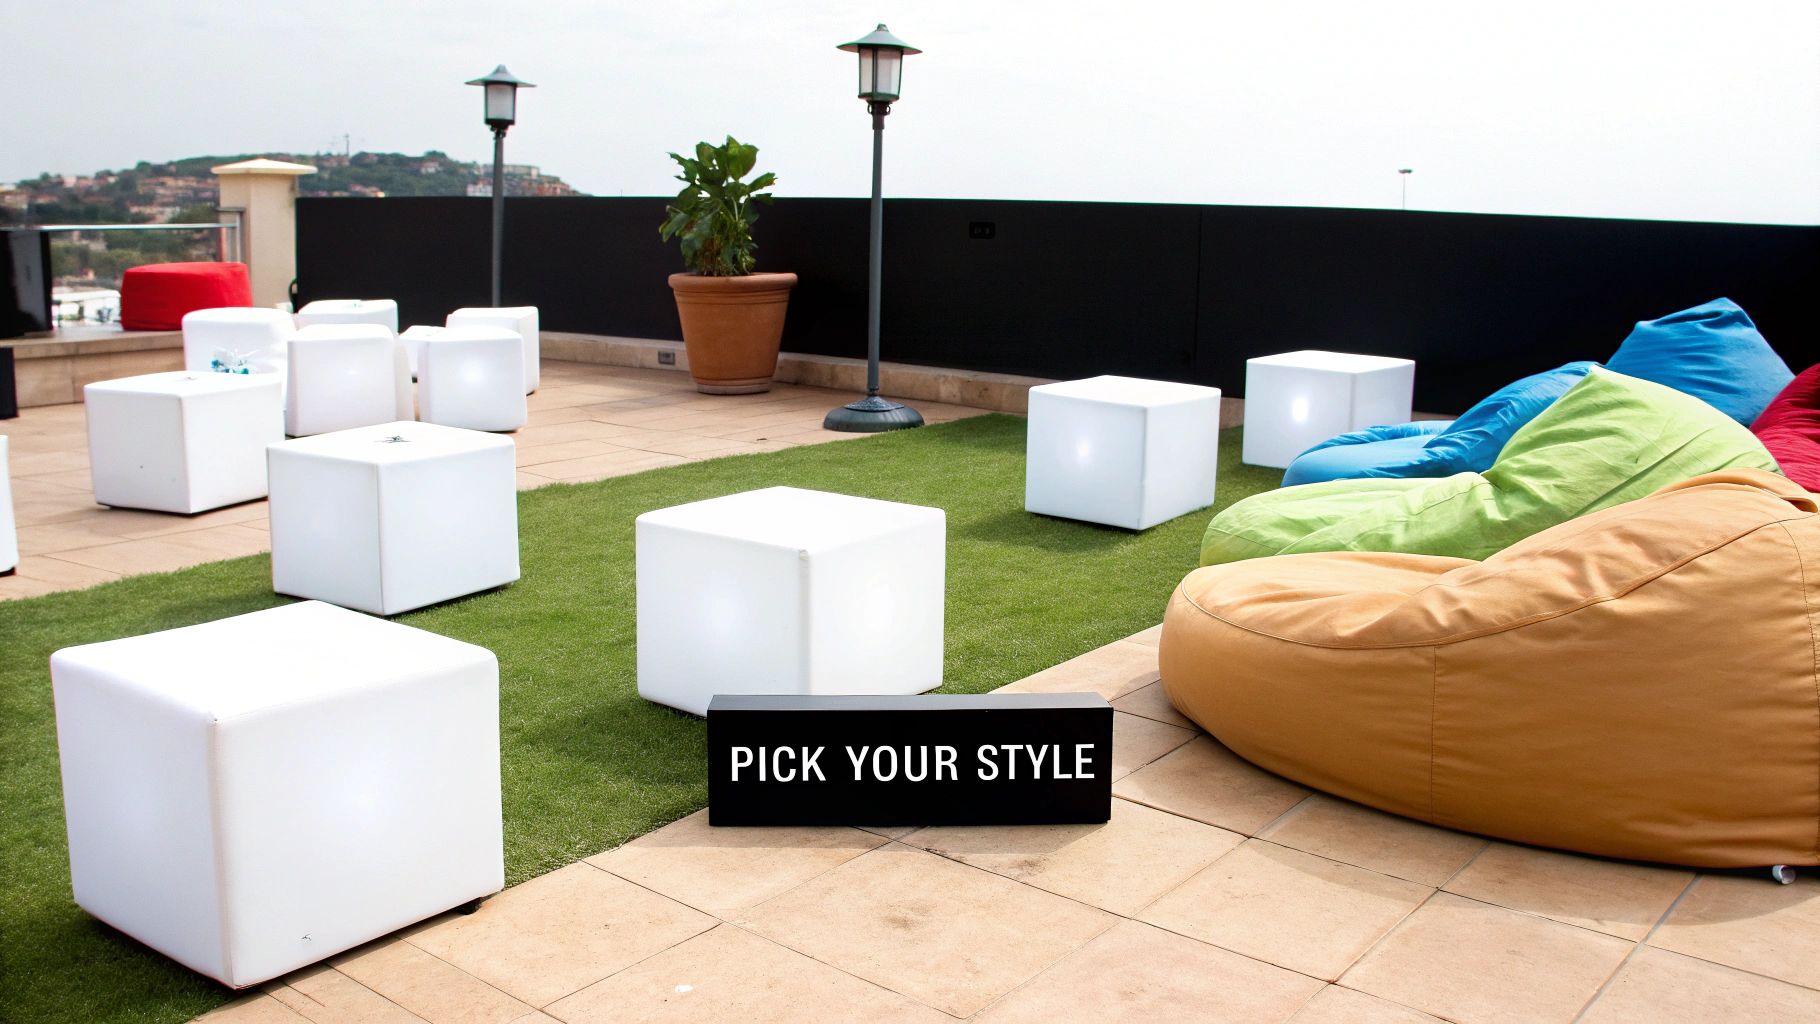
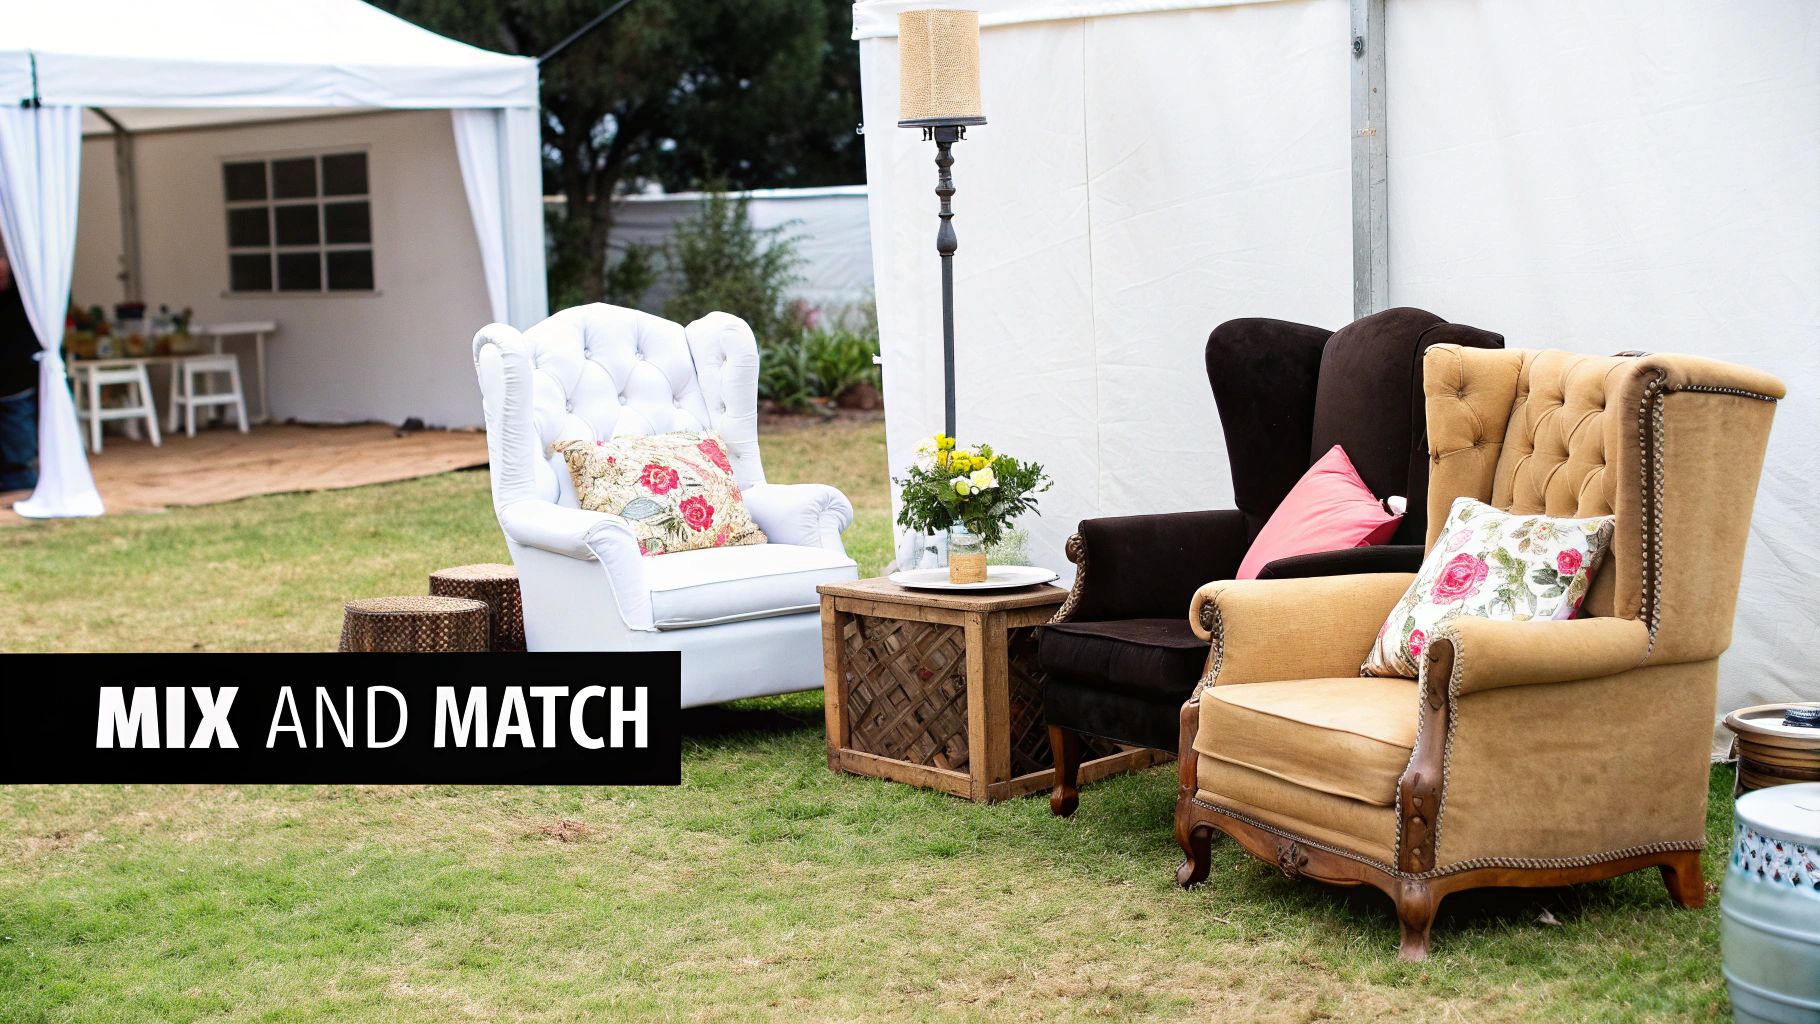
This aesthetic versatility means they can be styled in countless ways:
- Rustic Charm: For a wedding in Stellenbosch or Franschhoek, you can dress them up with simple linen runners, wildflowers, and candles to create a romantic, country scene.
- Modern Simplicity: In a more contemporary setting, you can leave their clean lines unadorned, letting the natural beauty of the wood make a statement on its own.
- Festive Fun: For birthdays or festivals, they serve as a robust and practical base for colourful decorations, games, and shared food platters.
The vibe is casual, classic, and inviting. It says, “all are welcome to sit here and enjoy the day together.” It’s amazing how this simple piece of furniture can build a sense of community and make guests feel instantly at ease.
Ultimately, choosing wooden picnic tables is a deliberate design choice that puts connection and ambience first. They are more than just functional items; they are foundational pieces that help shape your guests' experience, turning a simple get-together into a memorable, shared occasion. This guide will walk you through everything you need to know about hiring them for your next Cape Town event.
Picking The Perfect Wooden Picnic Table
Choosing the right wooden picnic table for your event is a bit like an artist picking the right canvas; it really sets the stage for the entire masterpiece you're creating. The style, the wood, and the size you go for will shape the atmosphere, your guests' comfort, and the whole look and feel of the day. This isn't just about ticking a box on a logistics list—it's about finding furniture that fits the story of your event.
When you picture a wooden picnic table, you're probably thinking of the classic A-frame design. It’s a timeless look for a reason. That sturdy, familiar structure just feels nostalgic and instantly creates a relaxed, traditional vibe. This style is an absolute all-rounder, looking just as at home at a casual family braai as it does at a school sports day or a rustic wedding in the Winelands.
But if you’re planning a more polished or modern event, you’ll find plenty of contemporary designs with sleeker lines and a more refined finish. These tables might have separate benches or minimalist frames, giving you a clean, elegant look that works beautifully with more sophisticated décor. The trick is to pick a style that complements your theme, not one that fights it.
Material And Durability For The Cape Climate
The type of wood is a huge factor, especially for outdoor events here in the Western Cape where the weather can turn on a dime. For rental tables in South Africa, locally sourced, treated pine is a fantastic and practical choice. Pine is not only a sustainable option, but it’s also tough enough to handle the wear and tear of a busy event.
What really makes the difference is professional treatment. This process makes sure the timber can stand up to moisture, insects, and our harsh sun, keeping it looking great all day long. When you hire professionally maintained wooden picnic tables, you get all the charm of natural wood without any of the worry. This focus on quality is a big part of why our local furniture industry is thriving. In fact, the South African furniture market was valued at a massive USD 2.40 billion in 2023, with wood products leading the way thanks to our love for quality local timber.
Thinking about how timber holds up in other outdoor structures, like when you build your own raised wooden garden beds, gives you a good idea of why choosing properly treated wood is so important.
Getting The Size And Seating Capacity Right
Now for the practical stuff: how many people can you actually fit at each table? Standard picnic tables are usually designed for six to eight people. This is one of their biggest perks—the communal seating naturally gets people talking and mingling.
To help you plan, we've put together a simple guide. It's a quick way to match our standard table sizes with your guest count and layout plans.
Wooden Picnic Table Seating Capacity Guide
| Table Length | Seats per Table | Ideal For |
|---|---|---|
| 1.8-metre table | 6 guests | Smaller, more intimate groups or kids' tables (3 per side). |
| 2.4-metre table | 8 guests | The standard for most events, seating 4 guests per side. |
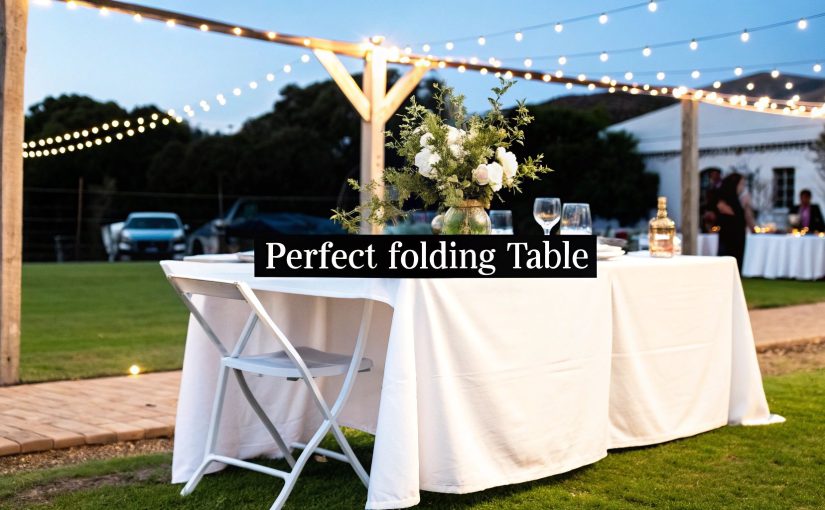
It’s always a good idea to allow for a little elbow room rather than trying to squeeze people in. A comfortable guest is a happy guest, after all! If you’re looking for options that offer even more flexibility, take a look at our guide on folding picnic tables: https://www.abchire.co.za/blog/folding-picnic-tables/
It all comes down to the interplay between style, material, and size. When you get that right, you’re not just hiring a table—you’re creating a space that invites people to connect and enjoy the moment.
This is what it’s all about. The chart below shows just how much these tables can add to an event, with connection and atmosphere being the top benefits.

As you can see, helping guests connect is the biggest win, followed closely by creating a fantastic atmosphere. Making a smart choice here ensures you get all these benefits at your own gathering.
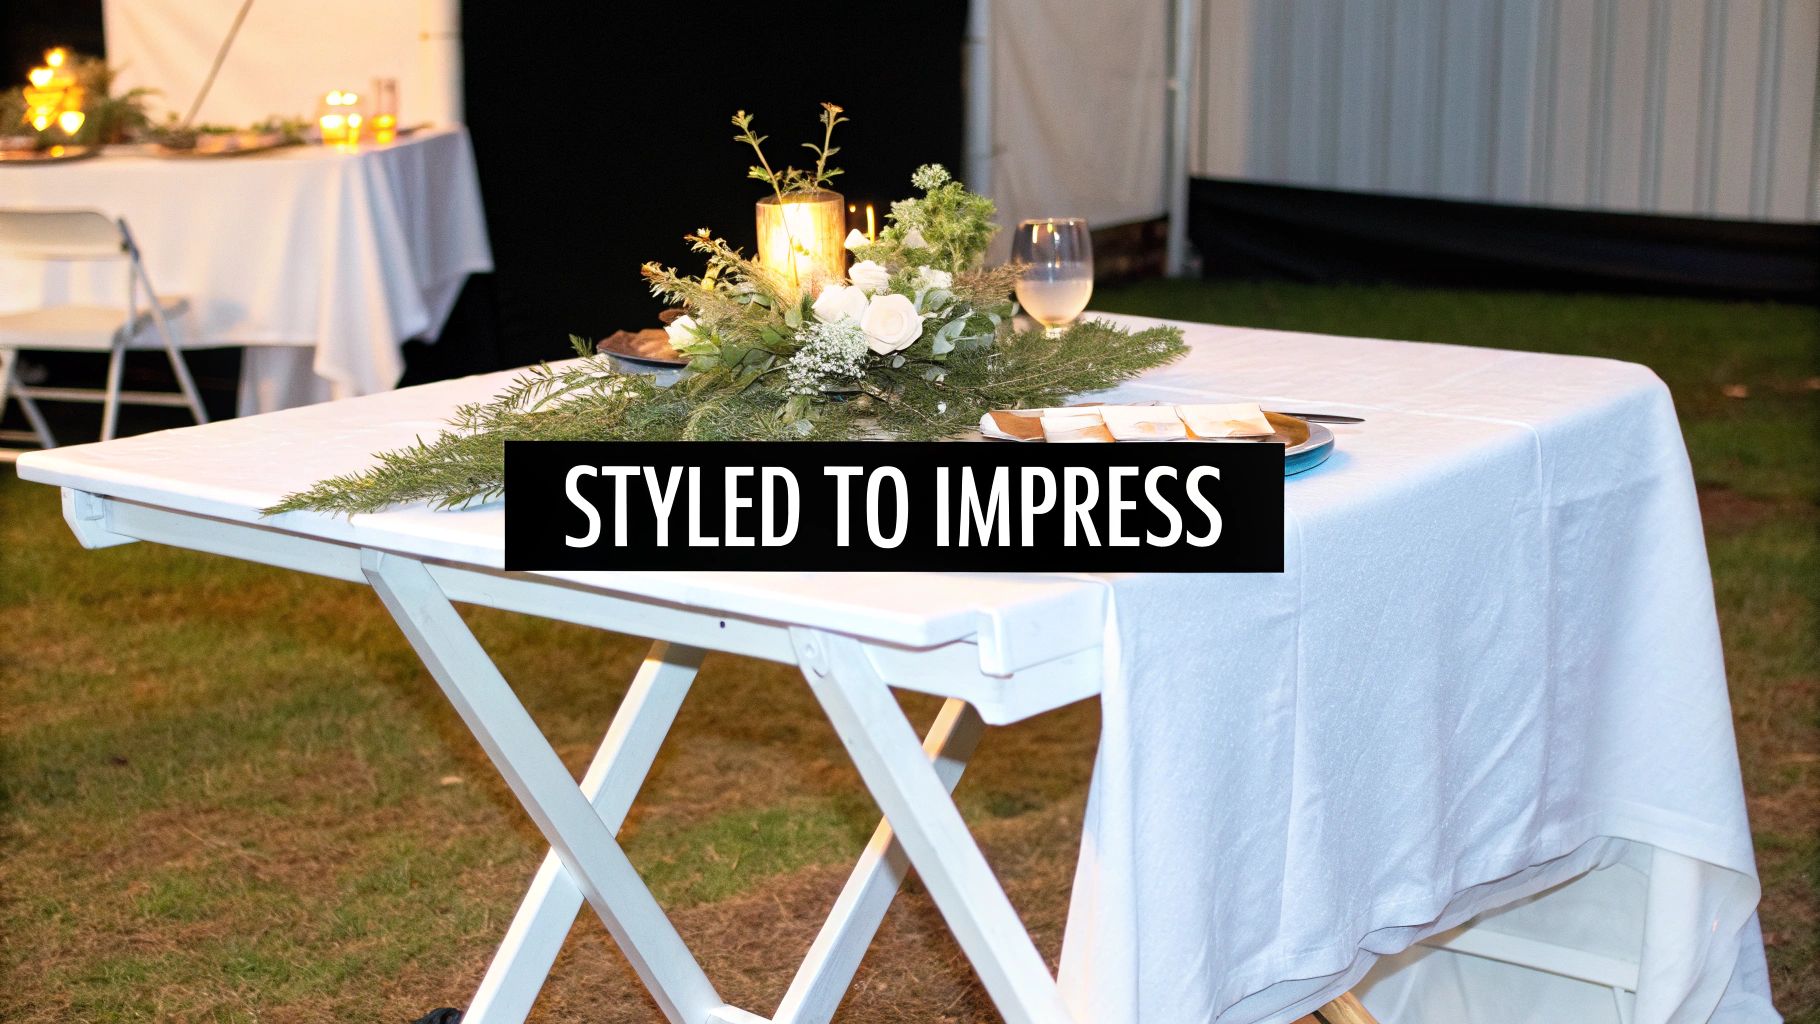
Styling and Decorating Your Picnic Tables

Think of a wooden picnic table as a blank canvas, just waiting for you to bring your event’s personality to life. Its simple, functional design and warm wood tones are the perfect starting point for almost any theme you can dream up. With a bit of creative flair, you can transform it from a humble table into a breathtaking centrepiece for your occasion.
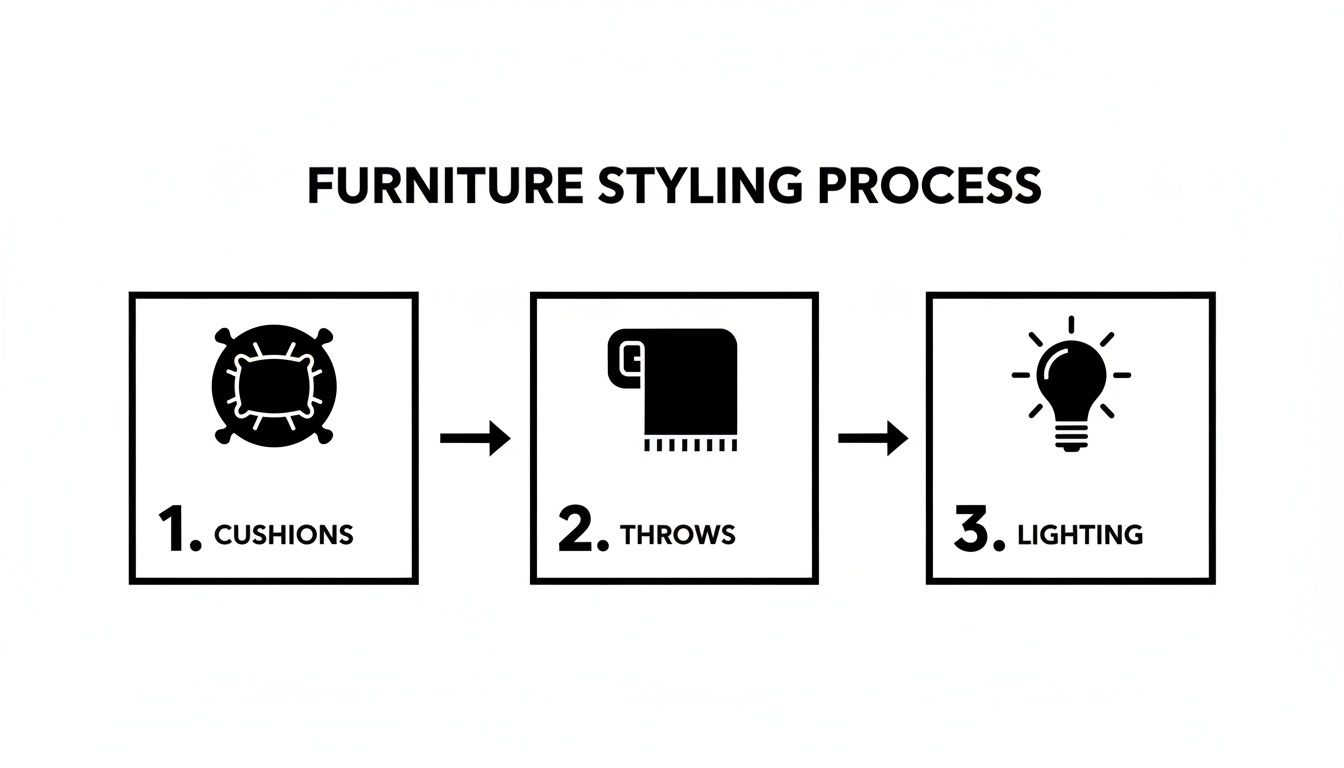
Whether you're planning a romantic wedding in the Winelands or a chic corporate gathering, the secret is to build your look in layers. You start with a base and then add textures, colours, and lighting to create an atmosphere that feels both intentional and effortlessly charming.
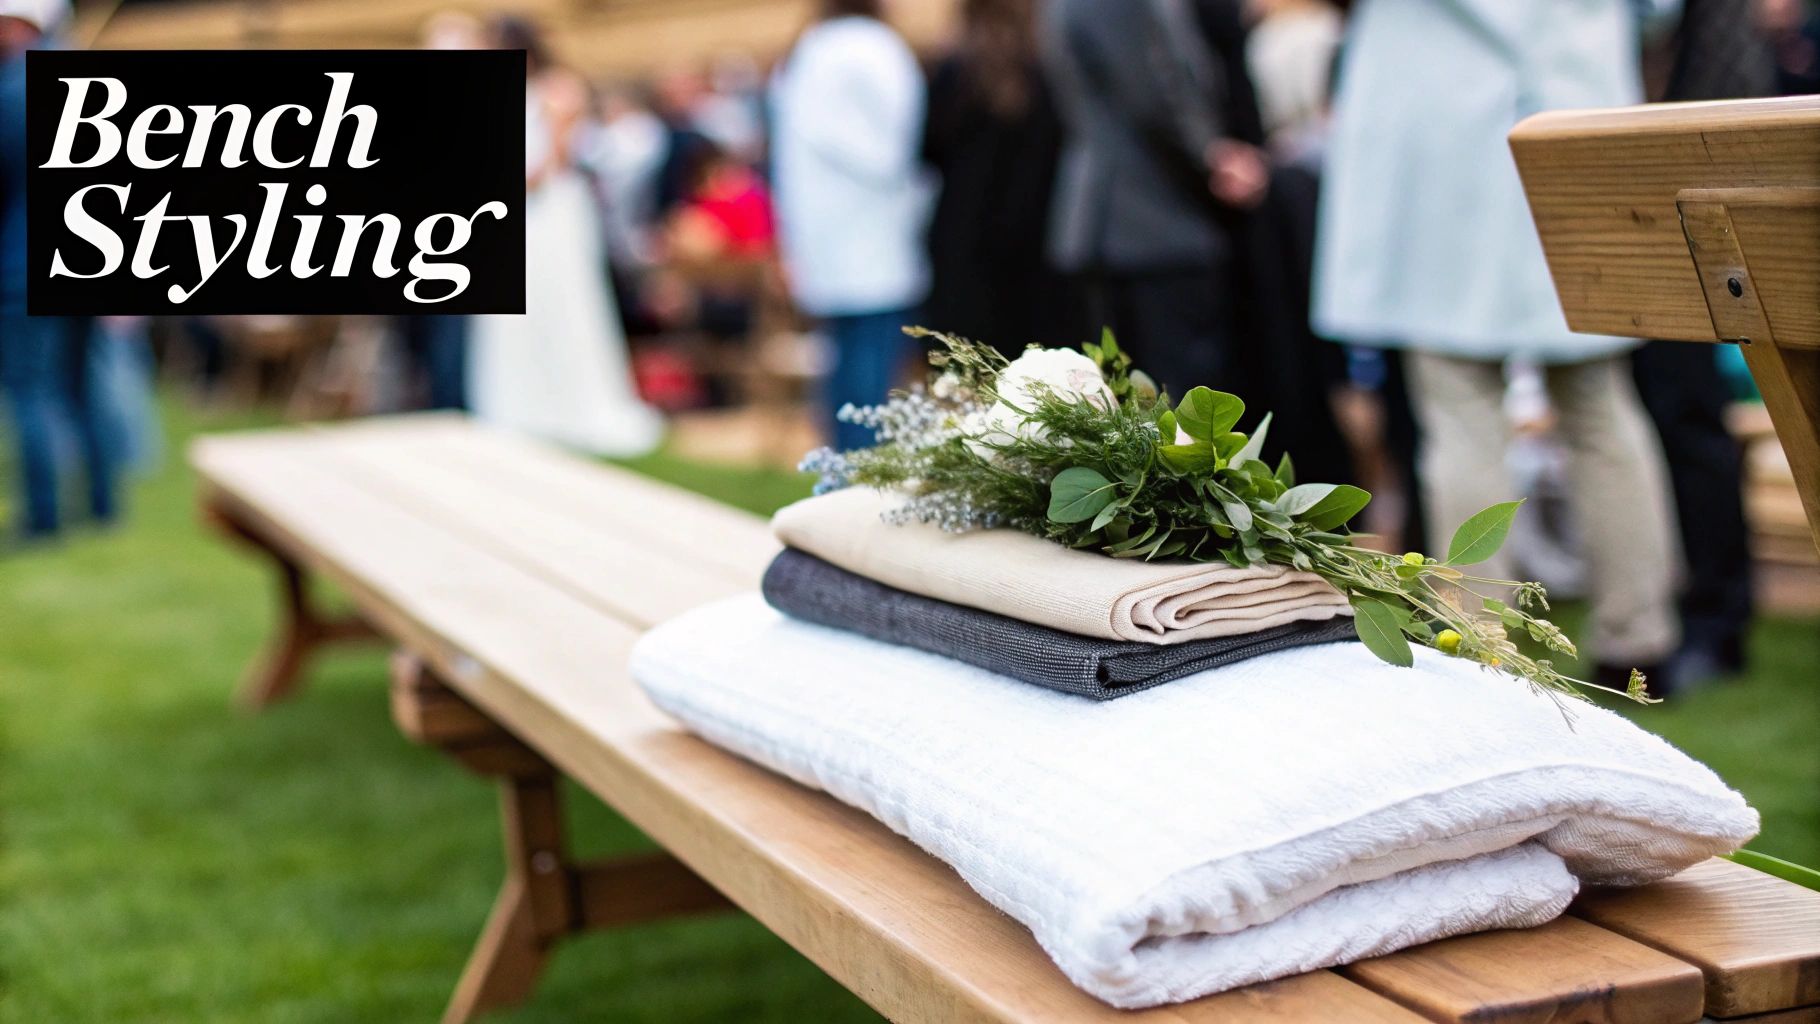
Setting The Foundation With Linens
The first layer to consider is fabric. Linens can instantly soften the strong lines of a wooden table and introduce your event's colour palette. Forget those stiff, old-fashioned tablecloths; modern event styling is all about texture and movement.
Linen or Hessian Runners: A runner down the centre of the table is a classic for a good reason. It adds a touch of sophistication without hiding the beautiful wood grain underneath. For a rustic-chic wedding in Stellenbosch, a natural hessian runner creates an earthy, organic feel.
Cheesecloth Draping: If you’re going for a more bohemian or whimsical vibe, try loosely draping cheesecloth. Its light, airy texture adds a dreamy quality, especially when it catches a gentle breeze at an outdoor event.
Individual Placemats: For a cleaner, more minimalist style, placemats are a great alternative. Woven jute placemats add texture, while simple linen options offer a more modern and defined look for each setting.
Creating Ambiance With Centrepieces And Lighting
Once your fabric base is down, it’s time to add some height and drama with centrepieces. This is where you can really let your event’s theme shine. The trick is to create visual interest without blocking conversation across the table.
For a farm-to-table feel, you could use clusters of small vases filled with local fynbos or wildflowers. This feels authentic to the Cape Town setting and adds a natural, unstructured beauty. For a more formal corporate event, a single, elegant floral arrangement or a series of modern candle holders can make a more polished statement.
Lighting is absolutely crucial for setting the mood, especially for events that run into the evening.
Candlelight: Nothing creates a warm, intimate glow quite like candles. Use a mix of pillar candles and tea lights in glass votives or hurricane lamps to protect the flames from the wind.
Fairy Lights: Weaving delicate fairy lights through your centrepieces or along a runner adds a touch of magic as the sun goes down.
Overhead Lighting: Don’t forget to look up! Stringing festoon lights above the wooden picnic tables defines the dining area and bathes the entire space in a soft, inviting light.
A well-styled table does more than just look good; it makes guests feel special and considered. It shows that every detail of their experience has been thoughtfully planned to create a cohesive and memorable atmosphere.
To really complete the look and feel, exploring essential picnic accessories can make a huge difference in both style and function.
Final Touches With Place Settings
The final layer is the place settings themselves. These are the details your guests will interact with up close, so they play a huge role in the overall experience.
Your choice of crockery, cutlery, and glassware should tie everything together. For instance, stoneware plates and matte black cutlery give off a modern, rustic vibe, while classic white porcelain and polished silver feel more timeless. A sprig of rosemary or a personalised name card tied to a linen napkin is a simple touch that adds heaps of charm. It’s these small details that turn a simple table into a beautifully curated dining experience.
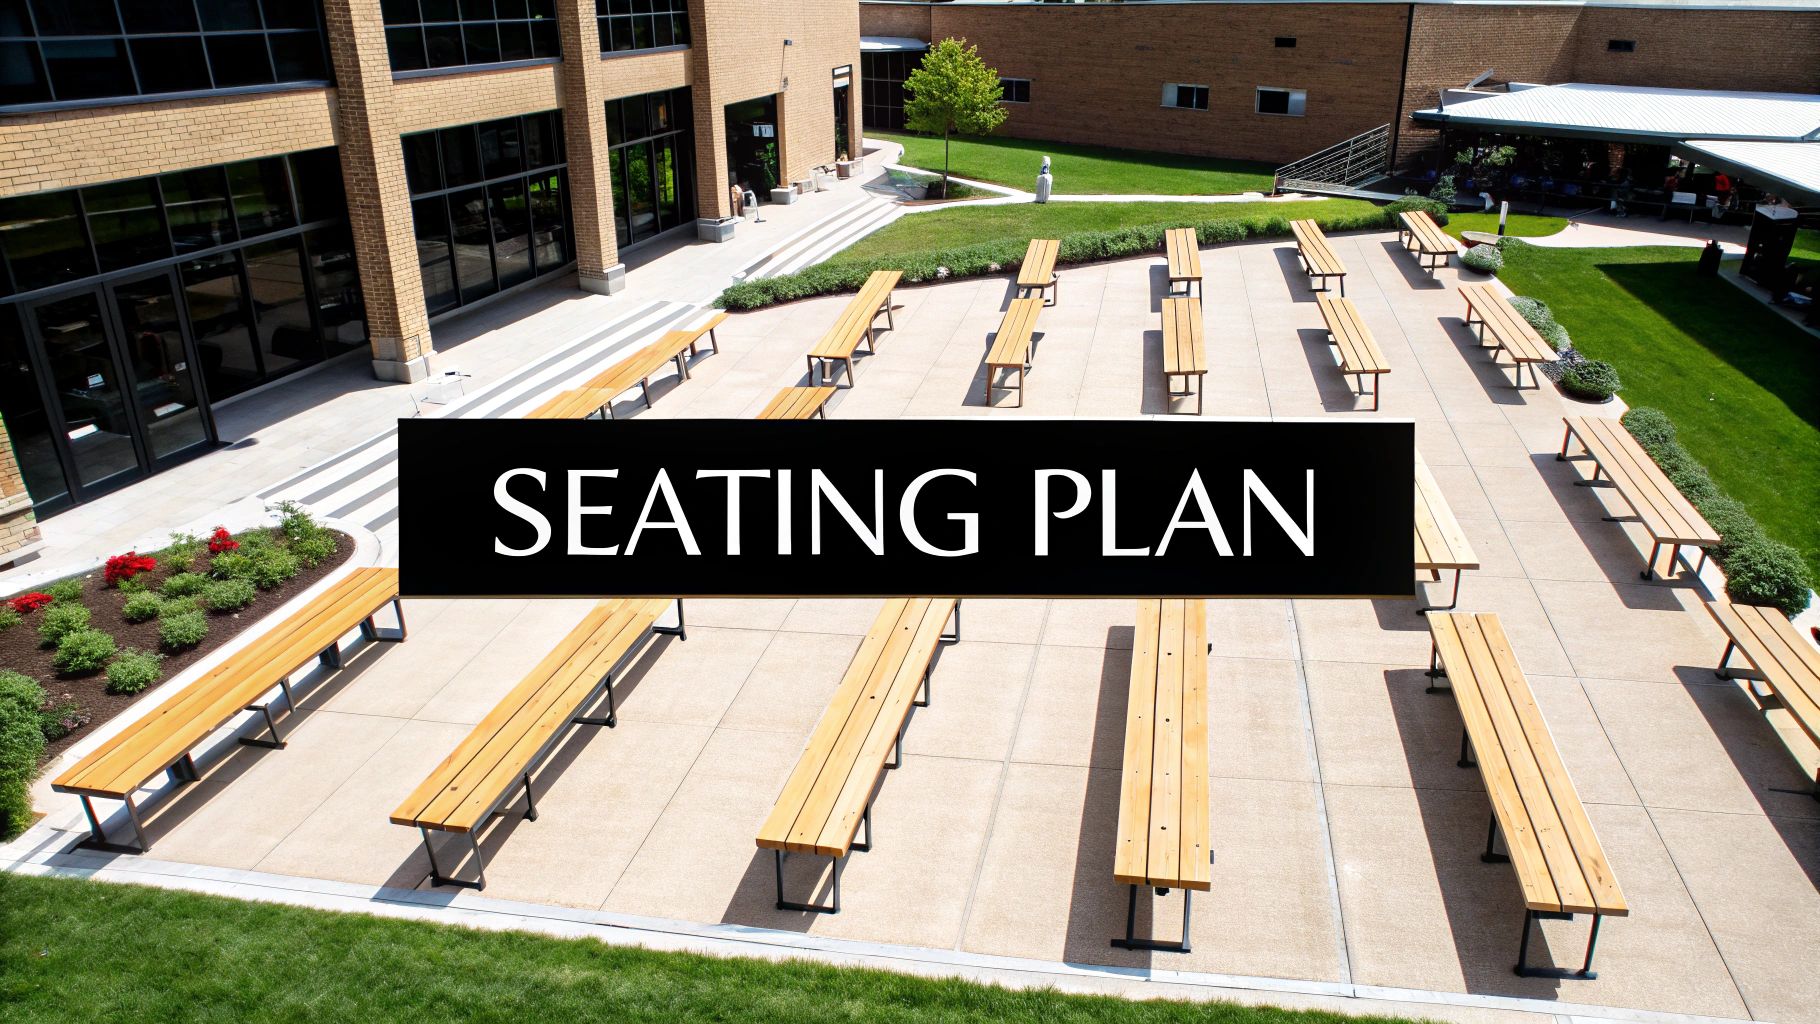
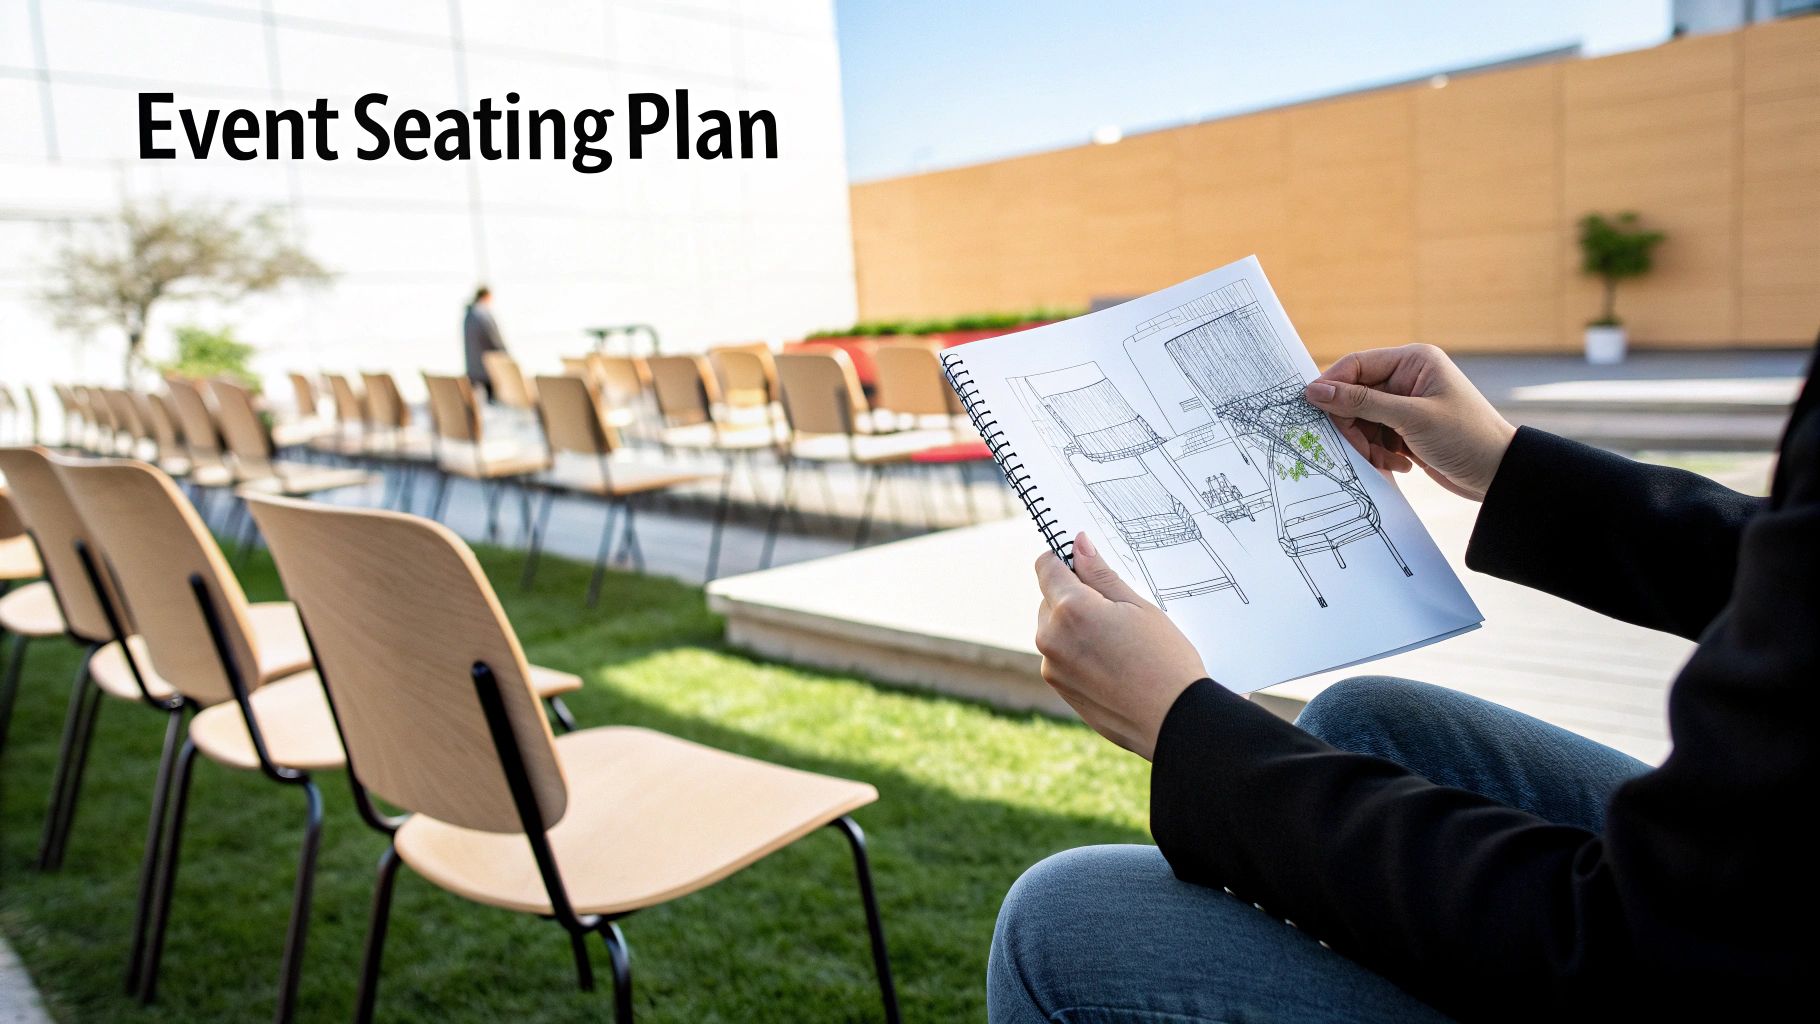
Optimizing Your Event Layout and Flow

A great event layout is the secret ingredient behind a brilliant guest experience. It’s so much more than just plonking down your furniture; it’s about choreographing movement, sparking conversation, and making the whole venue feel effortless and inviting. When you’re arranging wooden picnic tables, the goal is to create a space that just flows, guiding people from one spot to another without them even thinking about it.
Think of yourself as a landscape architect for your party. You’re designing pathways, creating little moments and views, and setting up different zones for all the activities you have planned. This is how you turn a simple get-together into something truly dynamic, whether you're working with a huge lawn in Franschhoek or a cosy rooftop in the city.
The first thing to do? Walk the space. Get a feel for its natural perks and potential problems. Where's the entrance? Where are the best views? Where are people likely to get stuck in a bottleneck? This initial walkthrough is everything—it tells you exactly where to put your main dining area, social hubs, and all the functional bits like the bar or food stations.
Creating Distinct Event Zones
Zoning is your best friend when it comes to managing the vibe and flow of an event. By grouping tables and activities together logically, you create dedicated areas for different purposes. It’s a simple trick that stops crowding and helps guests find what they’re looking for, whether that's a quiet chat or the dance floor.
- The Dining Zone: This is where the main action happens. Arrange your wooden picnic tables here to create the perfect atmosphere for the meal.
- The Social Hub: Pop a few tables near the bar or in a spot with a great view, just a little way from the main dining area. This gives guests a relaxed space to stand, chat, and mingle with a drink in hand.
- The Activity Area: If you’ve got lawn games, a photo booth, or other entertainment, give them their own dedicated space. This keeps the energy high without bothering guests who’d rather just sit and talk.
This separation is key. It makes sure the buzz from the social hub doesn’t overpower the more chilled-out dining zone, letting different moods live happily side-by-side at the same event.
The best layouts feel completely effortless. They guide guests through the space so naturally that everything just feels like it’s exactly where it’s meant to be.
Thinking about placement also means thinking about the ground underfoot. One of the best things about picnic tables is how stable they are. Their built-in benches and wide footprint mean they work brilliantly on uneven ground like grass or gravel, where normal chairs would just sink or wobble.
Mastering Table Configurations
How you actually arrange your tables has a massive impact on the social dynamics of your event. Different layouts can either get everyone mingling in one big group or create space for more private conversations. It all comes down to the atmosphere you’re trying to create.
Long Banquet Rows: Placing tables end-to-end creates that classic, grand feasting-hall look. It’s a fantastic choice for weddings or big celebratory dinners because it builds a real sense of community and shared experience.
Scattered Clusters: Arranging tables in smaller, separate groups gives off a more casual, café-style vibe. This layout is perfect for corporate networking events or relaxed parties where you want guests to break off into smaller conversation groups.
U-Shape or Square Formation: This setup is ideal for events that have a central focus, like a speaker, a performance, or a presentation. It makes sure everyone has a good view while still feeling connected to the rest of the group.
No matter which layout you go for, never forget the golden rule: leave plenty of room to move. You need clear, wide pathways between tables and zones so that guests and staff can get around easily without tripping over each other. A good rule of thumb is to leave at least 1.5 metres between rows of tables. It's this kind of thoughtful planning that takes an event from good to truly unforgettable.
Planning for Weather and Outdoor Conditions
Anyone who has hosted an outdoor event in the Western Cape knows you have to respect its famously unpredictable weather. One minute you’re soaking up the Stellenbosch sun, the next a cool breeze or a sudden shower rolls in. This is why planning for the elements isn't just a backup idea; it’s a crucial part of making sure your event goes off without a hitch.
Luckily, good quality furniture like wooden picnic tables can be your first line of defence. Their natural stability and weight make them a fantastic choice for all sorts of outdoor surfaces. Unlike flimsy plastic chairs that can sink into soft grass or wobble on uneven ground, the solid base of a picnic table gives your guests a sturdy, reliable place to sit.
Ensuring Stability on Any Surface
The real magic of a classic wooden picnic table is in its simple, strong design. With the benches attached, the weight is spread out evenly, making them perfect for outdoor spots where normal furniture would be a nightmare. This is a massive plus for event planners.
- Grassy Lawns: You can place them right on the grass without worrying about chair legs sinking into the soil and becoming wobbly or unstable.
- Gravel Patios: The wide points of contact mean they sit securely on gravel or stone surfaces, stopping that annoying wobble you get with standard dining sets.
- Uneven Ground: For rustic venues with natural, bumpy terrain, these tables offer a level of stability that’s tough to get with separate tables and chairs.
This adaptability means you can confidently plan your layout almost anywhere, from a perfect garden to a rustic farm setting, knowing your seating will be safe and comfortable for everyone.
Built to Withstand the Elements
Besides being stable, the durability of professionally treated wooden picnic tables is a game-changer. When you hire from a reputable company, you're not just getting a piece of wood; you're getting furniture that’s built for the outdoors and ready to handle the Cape’s climate.
This resilience comes from how they're made. Top South African suppliers, for instance, often use first-grade SABS structural timber and coat it with a water-based exterior marine varnish. Through special dip treatments that ensure 100% penetration, these tables are built to resist moisture from evening dew or a light drizzle, keeping them looking great all through your event. You can learn more about these robust manufacturing standards at benchesafrica.co.za.
Planning for weather isn't about fearing the worst; it's about having smart solutions in place so you can focus on your guests. A combination of durable furniture and a solid contingency plan creates peace of mind.
Of course, even the best table can't stop a proper downpour. This is where your backup plan and your rental partner are essential. A professional supplier can do more than just drop off tables; they can help you prepare for any weather. Chat with them about options like stretch tents or gazebos for shelter. And if the forecast is calling for a scorcher, have a look at our guide on hiring umbrellas in Cape Town to keep your guests cool.
By choosing the right furniture and working with an experienced team, you can make sure your beautiful outdoor event runs smoothly, no matter what the sky has in store.
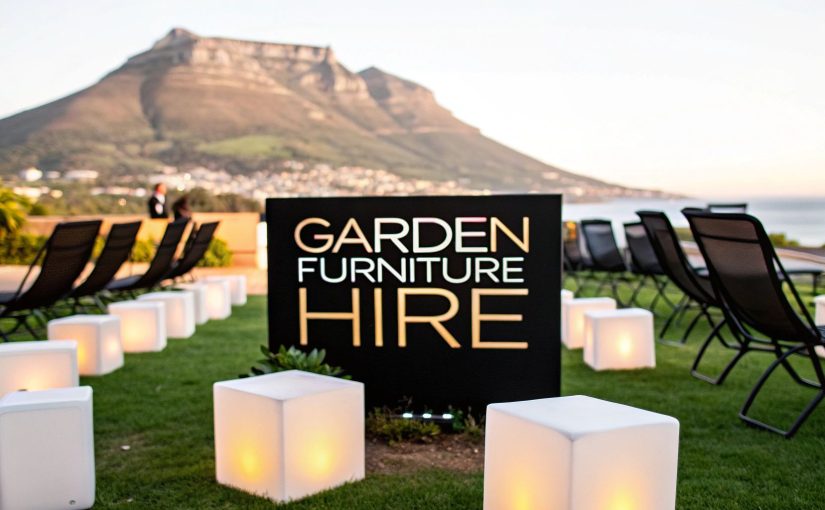
Navigating the Picnic Table Rental Process
Hiring wooden picnic tables should be one of the easiest parts of planning your event. When you know the key steps—from the first call to the final collection—the whole thing can be surprisingly smooth and stress-free. It’s best to think of it as a partnership with your rental company; clear communication is everything.
The process always starts with getting a quote, but a good hire company will need a bit more than just the number of tables you're after. To give you an accurate price, they need to see the bigger picture of your event. So, it helps to have a few key details ready from the get-go.
Key Information for Your Rental Quote
To get a spot-on quote and avoid any last-minute headaches, try to have this info on hand:
- Event Date and Times: This is non-negotiable for checking availability, especially during the busy season here in the Cape.
- Venue Address: The location is a major factor in delivery logistics and costs, whether you're in the middle of Cape Town or out in the Winelands.
- Venue Access Details: Give them a heads-up about any potential challenges. Think stairs, narrow garden paths, or a long haul from the delivery truck to where you want the tables. It helps the team plan properly.
- Desired Delivery and Collection Times: Let them know your ideal windows for drop-off and pickup so it all fits neatly into your event schedule.
Getting this initial chat right lays the foundation for a successful hire. If you want to dive deeper into the different styles available, you might find our guide to wooden tables and chairs for hire useful.
Understanding Pricing and Booking
When the quote arrives, take a moment to see what’s included. Most professional quotes will break everything down, but it never hurts to double-check. A standard hire fee for wooden picnic tables usually covers a one-to-three-day period.
Your pricing will typically be made up of a few parts:
- Item Hire Fee: This is the base cost for renting each table.
- Delivery and Collection Fees: These are worked out based on the distance to your venue and the labour involved.
- Setup and Breakdown: Always ask if this service is included or if it's an optional extra. A professional setup ensures the tables are placed exactly where you want them, safely and securely.
The demand for great outdoor furniture is definitely on the rise. In fact, projections for the South African outdoor furniture market show steady growth, expected to peak at 5.58% in 2027. This really shows how much people value creating beautiful, functional spaces for their outdoor events. You can read more on the South African outdoor furniture market outlook if you're interested.
To make sure you get the tables you want, especially for popular dates, it's smart to book well in advance. A 50% deposit is pretty standard across the industry to confirm your booking. The final balance is then usually due just before your event.
A clear, detailed rental agreement is the sign of a truly professional hire company. It protects both you and them, spelling out all the responsibilities, costs, and timelines so there are no surprises.
By having your details ready and understanding the logistics, you can tick this part of your event plan off your list with confidence. That leaves you free to focus on the more creative details
Your Picnic Table Hire Questions, Answered
When you're pulling together the final details for your event, a few practical questions about furniture hire always come up. Getting those sorted early on means less stress and a smoother-running day. We get it.
Here are the answers to the most common queries we hear from event planners and hosts about hiring our wooden picnic tables.
How Much Does It Cost to Hire Wooden Picnic Tables?
The final cost really comes down to three things: how long you need the tables for, how many you’re hiring, and where your event is happening. Most of our hire fees cover a one-to-three-day period, which works perfectly for weekend weddings, festivals, or corporate family days.
Your quote will clearly break down:
- The hire fee for each table.
- A delivery and collection charge, which is based on the travel distance to your Cape Town or Winelands venue.
- An optional setup and breakdown fee if you’d prefer our team to handle all the placement and packing away.
How Many People Can Sit at a Standard Picnic Table?
This is probably the most critical question for planning your layout! Our standard 2.4-metre wooden picnic tables are designed to comfortably seat eight guests – four on each side.
If you’re planning a smaller, more intimate get-together or want to set up a dedicated kids' area, our 1.8-metre tables are a fantastic choice, seating six guests just as comfortably. A good rule of thumb is to always prioritise a bit of elbow room; your guests will thank you for it!
Nailing down the true capacity and logistics of your furniture hire is the secret to a seamless event. It takes the guesswork out of planning and frees you up to focus on creating a fantastic experience for your guests.
What Is Your Policy for Bad Weather?
We all know how quickly Cape Town’s weather can turn. That’s why our wooden picnic tables are treated with a professional marine-grade varnish, making them tough enough to handle a bit of light rain or morning dew without any trouble. They're built for the outdoors.
That said, for any serious downpours or wind, we always recommend having a backup plan. We can easily work with you to arrange a stretch tent or gazebo to keep everyone dry and comfortable, ensuring the party goes on no matter what the weather decides.
What Are the Delivery and Collection Procedures?
We keep our logistics as simple and straightforward as possible. We'll coordinate a convenient delivery window with you before the event. The one thing we really need from you is clear info about venue access – think stairs, narrow garden paths, or a long carry from the parking area. Giving us a heads-up helps our team come fully prepared.
Our crew will deliver the tables right where you need them. If you've chosen our setup service, we’ll place them according to your floor plan. Once your event is over, we’ll be back at the pre-arranged time to collect everything quickly and efficiently.
Ready to bring a warm, inviting feel to your next event? ABC Hire has a beautiful selection of perfectly maintained wooden picnic tables, ideal for any occasion in Cape Town and the Winelands. Explore our range and get a quote today!