Your arch for Wedding: Guide to the perfect backdrop

Of all the decorative pieces you’ll choose for your wedding, the arch is arguably the most important. Think about it – it’s more than just a pretty frame. It’s the heart of your ceremony, the exact spot where you’ll exchange vows, and the backdrop for some of the most emotional and cherished photos of your life. A great arch can completely transform a space, turning it into a sacred, personalised setting that anchors your entire wedding theme.

Why Your Wedding Arch Is the Heart of Your Ceremony

Let’s be real, the wedding arch is the main character of your ceremony decor. It’s where you’ll say your “I dos,” share that first kiss as a married couple, and create memories that will literally last a lifetime. An arch does so much more than just look good; it sets the entire mood and tells a story about your unique style as a couple. This one piece has the power to completely define your ceremony space.

Whether you’re picturing rustic charm in the Winelands or chic, modern elegance in a city venue, the right arch solidifies your vision. It’s a non-negotiable for any couple wanting a truly memorable and visually stunning ceremony.

More Than Just a Pretty Frame

A wedding arch plays several crucial roles, making it an essential part of your big day:

  • It creates a focal point. An arch naturally draws everyone’s eyes to the most important spot—the two of you.
  • It anchors your theme. From boho pampas grass to classic roses, the arch instantly communicates your wedding’s aesthetic.
  • It symbolises a new beginning. Traditionally, walking through an arch represents crossing the threshold into a new life together, adding a beautiful layer of symbolism to your vows.

This is especially true here in South Africa, where outdoor ceremonies are incredibly popular. With around 26% of South African couples choosing garden-style venues, the wedding arch has become a central feature. Couples often set aside between ZAR 16,000 to ZAR 30,000 for florals, which usually includes a breathtaking arch installation filled with gorgeous, locally sourced flowers. You can find more details like this in these wedding industry statistics on saradoesseo.com.

Your arch is the silent witness to your vows and the frame for your future. It’s the visual anchor that ties every other element of your ceremony together, ensuring your photos are as magical as the moment itself.

Choosing the right arch comes down to a few key decisions around style, budget, and logistics. It’s just one piece of the puzzle, of course, and our guide on how to plan a wedding can help you see how everything fits together. Let’s walk through everything you need to know.

Choosing Your Ideal Arch Shape and Material

Before you even think about adding a single flower, the actual structure of your wedding arch sets the entire mood for your ceremony. It’s the skeleton of your backdrop. Feeling a bit lost in all the options? Let’s break down how to find the perfect frame for your vision by looking at how shape and material come together to create a specific feeling.

The shape of your ceremony arch is a huge visual statement. It’s not just about what looks pretty; different forms create completely different emotions. A classic rounded arch, for instance, is timeless and romantic. Its gentle curve frames a couple perfectly, suggesting continuity and forever – no wonder it’s a go-to for traditional celebrations.

On the other hand, a square or rectangular arch gives you clean, modern lines. This shape feels more grounded and structured, creating a bold and contemporary frame. It’s a fantastic choice for industrial-chic venues or against a dramatic natural backdrop where its sharp angles create a beautiful contrast.

Matching Shape to Your Wedding Style

To get it right, think about your venue and the overall theme you’re going for. A rustic wooden arch, for example, feels completely at home at a winelands wedding, blending in with the vineyards and countryside charm. A sleek gold moongate (a full circle arch), however, could be the perfect glamorous touch for a sophisticated city wedding.

Here are a few popular shapes to consider:

  • Triangle or A-Frame: This edgy shape brings a bohemian or rustic feel. It symbolises strength and stability, making it a brilliant choice for an outdoor or forest ceremony.
  • Hexagon: A modern favourite, the hexagon adds a unique geometric element that feels contemporary and stylish without being too harsh.
  • Asymmetrical: Perfect for creative and unconventional couples. An asymmetrical arch breaks from tradition, creating dynamic visual interest and a sense of organic, flowing movement.

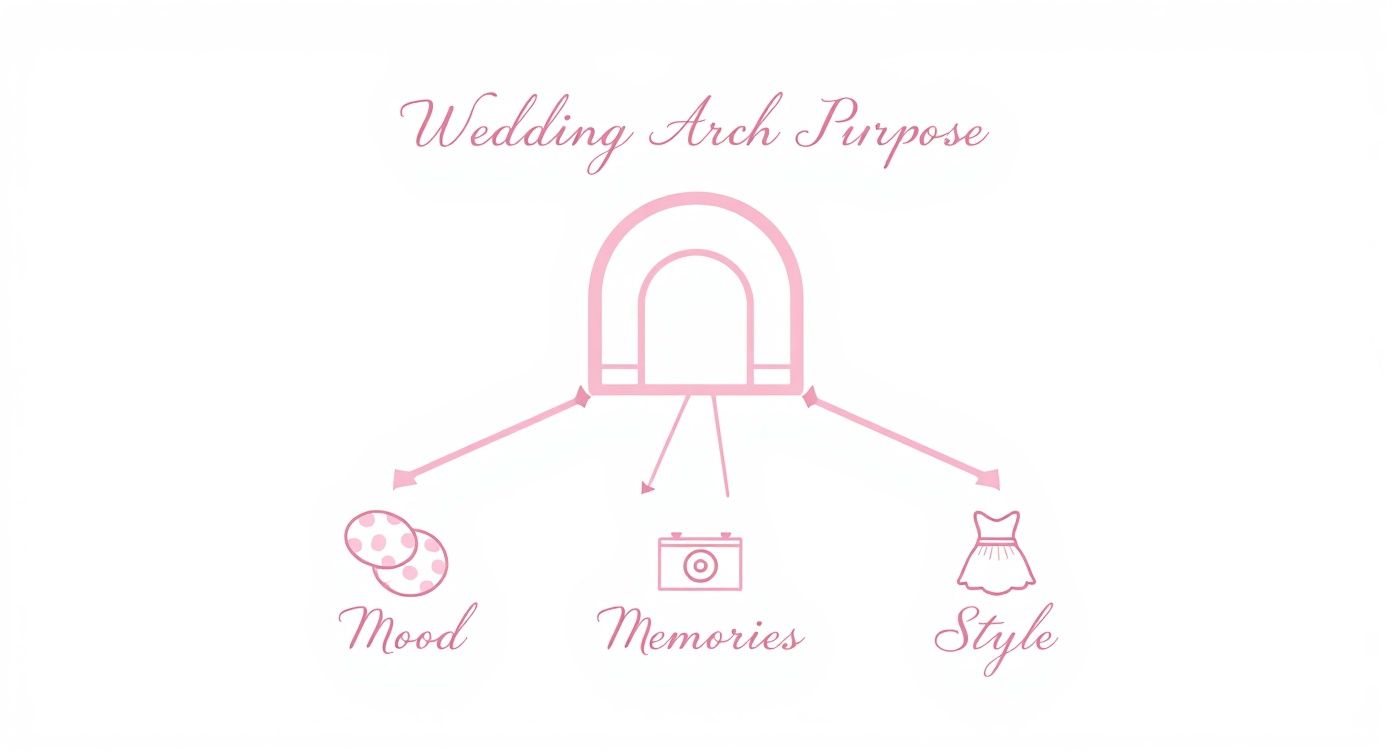
This quick diagram shows just how much the arch’s structure influences the mood, memories, and style of your ceremony.

Infographic about arch for wedding

As you can see, the arch is a central piece that ties together your decor choices, photographic style, and your personal aesthetic.

Selecting the Right Material

The material of the arch is just as important as its shape. A heavy, dark wood arch feels earthy and grounded, while a minimalist copper or gold metal frame feels light, airy, and modern. Metal arches are also incredibly versatile—they can be styled up for a glamorous affair or left bare for a more industrial look.

Consider these options:

  • Wood: Perfect for rustic, bohemian, or beach weddings. Its natural texture adds so much warmth.
  • Metal: Ideal for modern, classic, or industrial themes. Gold, copper, and black are popular finishes that really pop.
  • Acrylic: For a truly contemporary and almost invisible look, a clear acrylic arch makes your flowers and decor look like they’re floating in mid-air.

Need a hand matching your dream arch to your venue? This quick guide should help.

Wedding Arch Style and Venue Pairing Guide

Arch Style Best Suited Venue Material Aesthetic Feel
Classic Round Garden, Ballroom, Chapel Metal or Wood Timeless, Romantic, Soft
Modern Square Industrial Loft, City Rooftop Metal (Black/Gold) Bold, Structured, Contemporary
Rustic Triangle Forest, Winelands, Farm Natural Wood Earthy, Bohemian, Grounded
Glam Moongate Modern Hotel, Beach Resort Metal (Gold/Copper) Chic, Luxurious, Statement
Boho Hexagon Botanical Garden, Barn Light Wood or Metal Unique, Stylish, Geometric

Ultimately, your choice should feel like a natural fit for the space you’ve chosen.

Your choice of arch is more than just a decor decision; it’s an extension of your personality. It should feel authentic to you as a couple and enhance the natural character of your chosen venue.

Think about the story you want your wedding to tell. Do you see a fairytale romance framed by a floral-draped circle, or is your modern love story better defined by a bold, geometric shape? By aligning the shape and material with your personal style and venue, you create a ceremony backdrop that isn’t just beautiful, but deeply meaningful too.

Renting, Buying, or DIY-ing Your Wedding Arch?

This is the big question every couple bumps into: do we rent, buy, or just build the thing ourselves? Honestly, there’s no magic answer. The best choice really comes down to your budget, your timeline, and just how much you want to get your hands dirty.

Let’s unpack each option so you can figure out what feels right for you.

The Sheer Convenience of Renting

For most couples, renting an arch is easily the most convenient and stress-free route. Think about it: a professional hire company handles absolutely everything. They deliver it, set it up perfectly, and then whisk it away after the last guest has gone home.

This leaves you free to actually enjoy your wedding day, knowing the main feature of your ceremony is sturdy, beautiful, and in expert hands. You also get access to a huge range of professionally built structures that would be far too complicated or expensive to buy outright.

If you’re planning a wedding in a popular spot, your options are endless. A quick look at services for decor hire in Cape Town, for instance, shows you everything from rustic wooden frames to sleek, modern metal hoops.

Here’s why it’s such a popular choice:

  • Zero logistical headaches: Delivery, setup, and removal are all part of the service.
  • Professional quality: You know the arch will be stable, safe, and look incredible in your photos.
  • So much choice: You can browse a whole catalogue of styles without having to commit to owning one.

Buying an Arch as a Forever Keepsake

Buying your wedding arch turns it from a one-day prop into a beautiful, lasting memento. Just picture that gorgeous wooden frame from your “I do’s” standing in your garden a few years from now, covered in climbing roses. It’s a wonderfully romantic reminder of where it all began.

Of course, this path comes with a few practicalities. You’ll need to figure out how to transport it and where to store it before the wedding (and after!). You’ll also be the one in charge of setting it up on the day. While you can always sell it later, that takes time and effort you might not have post-honeymoon.

Here’s a thought: If you love the idea of having a piece of your wedding day as a permanent fixture in your home, buying could be the perfect sentimental choice. But if you see it becoming just another thing to deal with later, hiring is probably a smarter move.

The Personal Touch of a DIY Project

Going the DIY route gives you complete creative control and can be a great way to save a bit of cash. For a fairly simple wooden arch, the materials might only set you back around ZAR 1,000 to ZAR 1,500. It’s a fantastic opportunity to build something that is one-hundred-percent you.

But—and this is a big but—you have to be realistic. A DIY wedding arch demands time, the right tools (think mitre saws and drills), and a decent level of skill to make sure it’s safe. Before you dive in, have an honest chat with your partner. Do you really have a spare weekend in the crazy run-up to the wedding to build, sand, and paint an arch? A wobbly arch is a safety hazard you definitely don’t need on your big day.

Bringing Your Arch to Life with Flowers and Decor

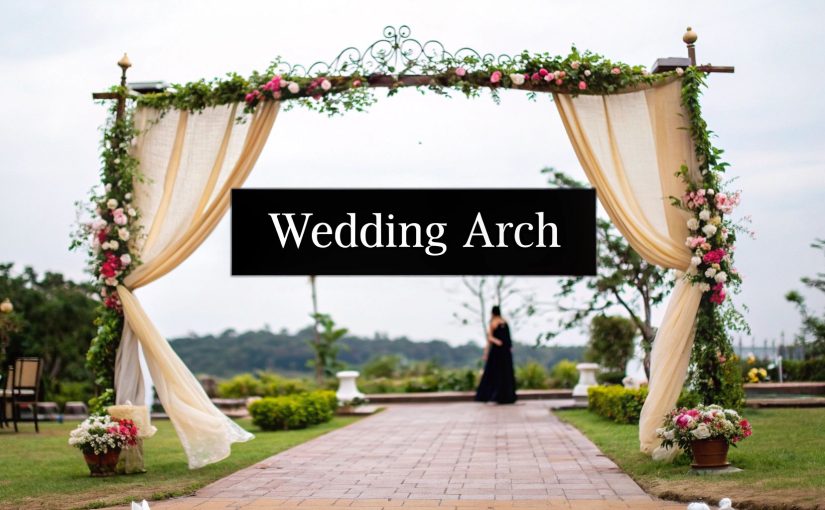
Lush floral arch for wedding ceremony

Okay, so you’ve picked the perfect arch structure. Now for the fun part—making it yours. This is where a simple frame transforms into a breathtaking centrepiece for your ceremony, packed with your unique style and personality.

Styling an arch for those once-in-a-lifetime photos is about so much more than just adding a few flowers. It’s a chance to play with texture, create depth, and set the emotional tone for your vows. This is the final touch that brings your whole vision together.

The Art of Floral Design

Flowers are nearly always the star of the show, but how you use them is what truly makes a difference. You absolutely don’t need to cover every square inch of the frame to make a powerful statement. In my experience, strategic placement often has a far bigger impact and is a lot kinder to your budget.

Here are a few popular approaches I’ve seen work beautifully:

  • Asymmetrical Clusters: This is a very modern and dynamic look. A large, lush floral arrangement is fixed to one corner or side of the arch, with a smaller, delicate cluster on the opposite side to create balance. It feels wonderfully organic and really draws the eye.
  • The Full Lush Look: For that timeless, romantic feel, you can’t go wrong with covering the entire arch in greenery and blooms. It creates an enchanting garden gateway that’s incredibly impactful, especially for an outdoor ceremony.
  • The Grounded Arch: This is such a stunning and unique approach. Instead of attaching flowers to the arch itself, they are arranged at the base, creating an effect that looks like they are growing up around you. It perfectly frames the couple as if you’re standing in a wildflower meadow.

Your floral design doesn’t have to be symmetrical to be balanced. An asymmetrical arrangement can create incredible visual interest and movement, guiding your guests’ eyes exactly where you want them to be—on you.

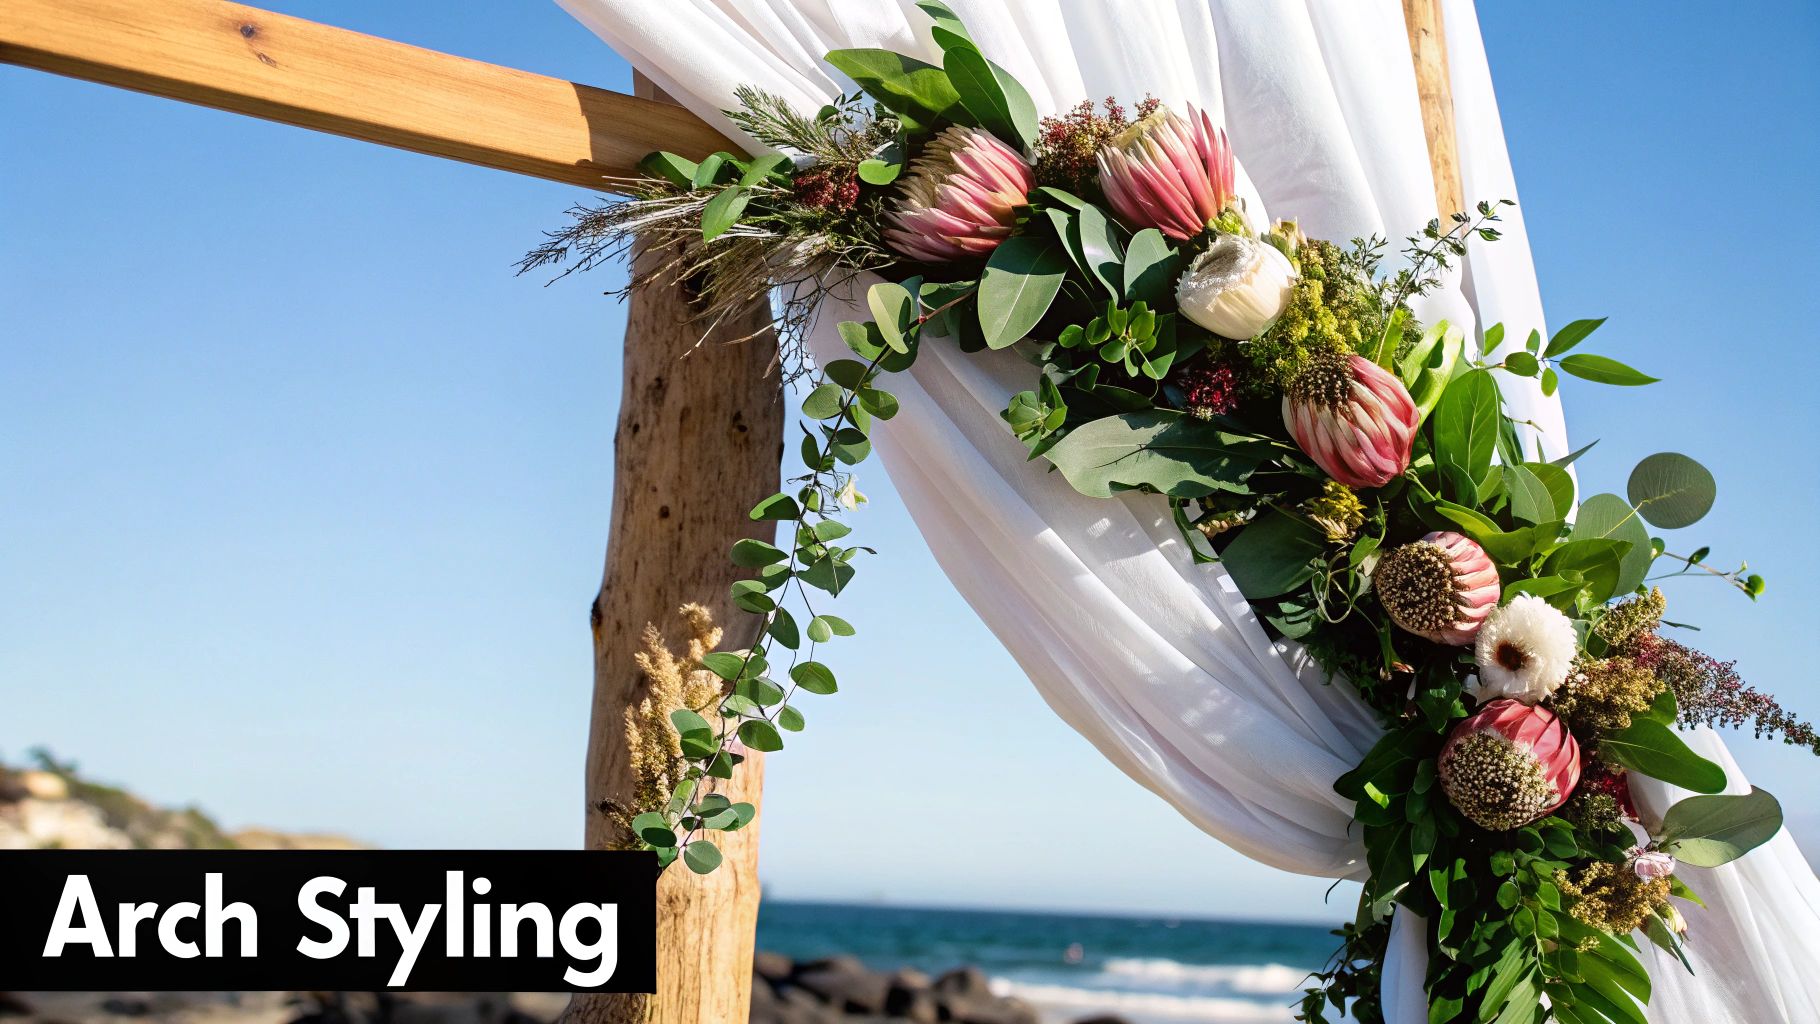
For a distinctly South African touch, why not incorporate our beautiful local flora? A King Protea makes a bold, magnificent statement, while delicate fynbos adds incredible texture and a real sense of the Cape landscape.

Beyond the Blooms: Adding Texture and Light

While flowers are often the main event, other decorative elements can elevate your arch from beautiful to truly unforgettable. Mixing in different textures and materials is what adds that extra layer of personality.

Think about how different materials can weave your wedding theme into the arch itself. Flowing fabrics like chiffon or organza are perfect for softening the hard lines of a wooden or metal frame, adding a touch of romance as they catch the breeze. This works especially well for beach or garden weddings.

If you’re leaning towards a bohemian or rustic aesthetic, pampas grass is a fantastic choice. Its feathery plumes add amazing texture and a free-spirited vibe. Dried elements like preserved eucalyptus, bunny tails, and palm spears also introduce different shapes and tones that are just gorgeous.

Creating an Evening Ambiance

Is your ceremony taking place later in the day? If so, lighting becomes a non-negotiable part of your decor. The right lighting can transform your arch into a magical, glowing backdrop as the sun goes down.

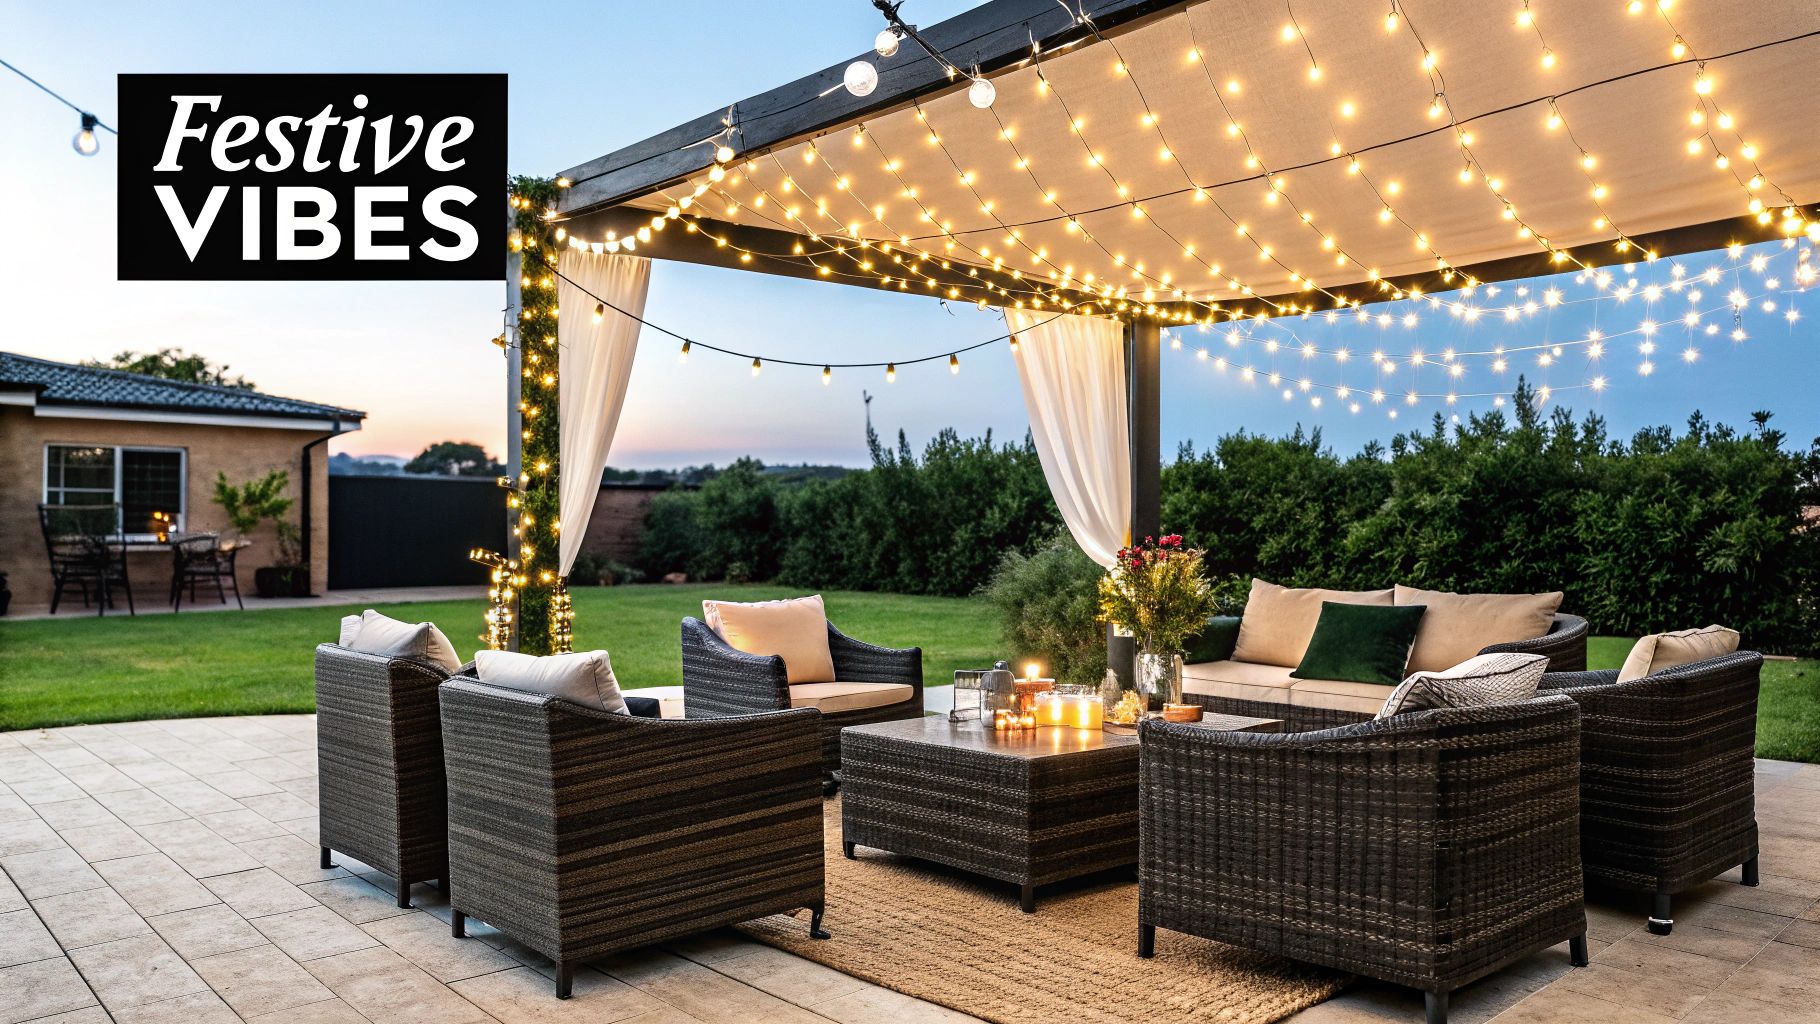
  • Fairy Lights: Twinkling fairy lights woven through flowers or draped with fabric create instant romance and wonder. They cast a soft, ambient glow that looks incredible in photos.
  • Edison Bulbs: For a more industrial or modern-rustic vibe, hanging Edison bulbs at different heights creates a stylish, warm, and inviting atmosphere.
  • Candles: There’s nothing more romantic than candlelight. Placing pillar candles inside lanterns at the base of the arch adds a classic, intimate glow.

The key is to combine these elements thoughtfully. You could pair a lush floral cluster with draped chiffon for a classic look, or mix pampas grass with the warm glow of fairy lights for a boho-chic vibe. Getting creative with lighting can be a real game-changer; our guide on using a fairy light curtain for events has some brilliant ideas you can adapt for your arch.

By layering florals, fabrics, and light, you create a multi-dimensional backdrop that truly brings your ceremony space to life.

Working with Your Vendors for a Flawless Setup

Wedding vendors coordinating the setup of an arch for wedding

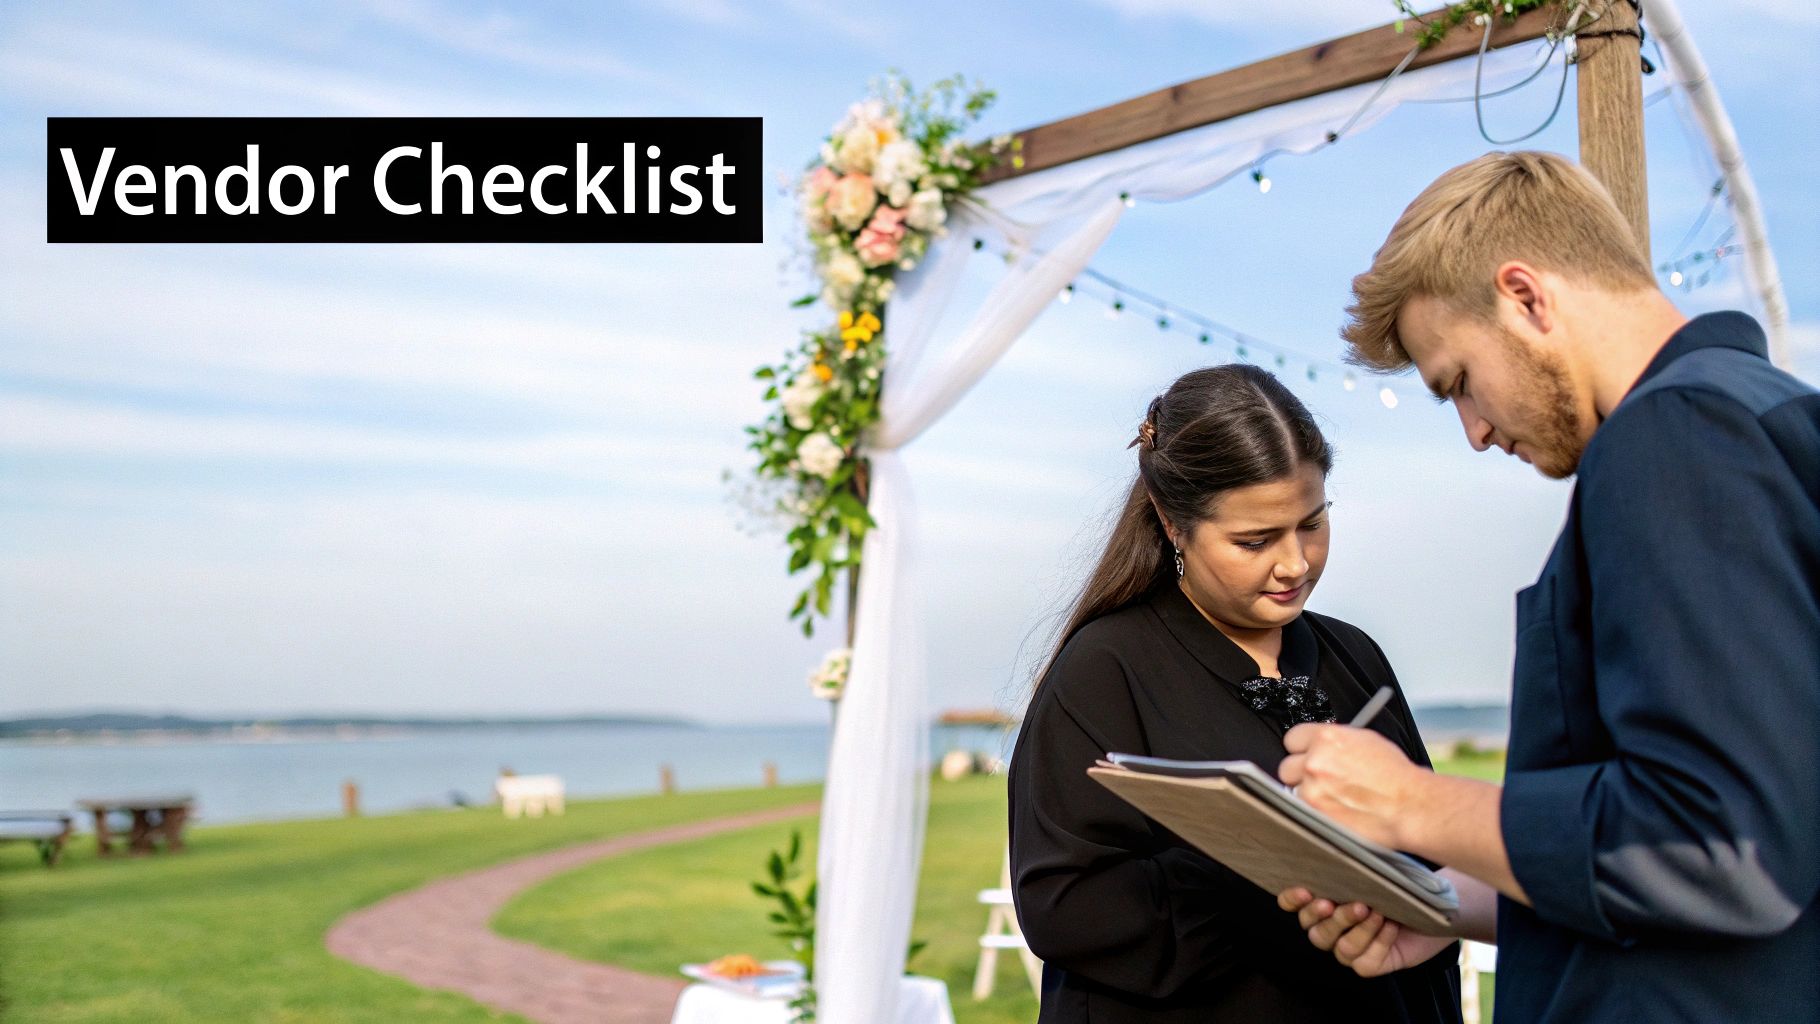
Getting that stunning wedding arch from a mood board into reality is all about teamwork. You can have the most beautiful design in mind, but if your vendors aren’t communicating, things can get messy. This is where a little bit of coordination becomes your best friend for a stress-free day.

Think of it like a relay race. The rental company brings the arch frame, passing the baton to the florist, who then has to work within the venue’s rules. If one person stumbles, the whole setup can be delayed.

Good coordination just means everyone knows exactly what they need to do—from placing the last flower to packing it all away at the end of the night. It’s how you avoid those last-minute surprises and can actually focus on, you know, getting married.

Questions for Your Venue Manager

The first person to speak to is your venue manager. They are the gatekeeper of the space and know all the dos and don’ts. Before your florist or rental company even show up, you need to get the lowdown from them. A quick chat can save you from major headaches later.

Make sure to ask these crucial questions:

  • Placement Rules: Are there any off-limits areas? Some venues are very particular about their lawns or floors.
  • Attachment Rules: How can we hang things? Are nails, staples, or heavy-duty tape a no-go? Your florist absolutely needs to know this.
  • Timings: What time can vendors get in to start setting up, and when does everything need to be gone? Nail down those delivery and collection windows.

Getting these details sorted first gives your other vendors a clear brief to work with, ensuring your arch for wedding is both beautiful and rule-abiding.

Aligning with Your Florist and Rental Company

Once you know the venue’s rules, it’s time to get your creative team in sync. Your florist and rental company need to be on the same page about delivery, assembly, and breakdown. It’s a mistake to assume they’ll just figure it out between themselves.

The smoothest wedding days I’ve seen are always the ones with meticulous behind-the-scenes planning. Clearly defining who does what for the arch setup and breakdown isn’t just a nice-to-have—it’s essential.

Here’s a quick checklist to run through with them:

  1. Who builds it? Will the rental company assemble the arch structure and leave it ready for flowers, or does the florist’s team handle the entire thing from start to finish?
  2. Who breaks it down? Clarify who takes the flowers off and who collects the actual arch. This is especially important if it needs to be collected late at night.
  3. What’s the rain plan? If you have to move the ceremony inside, are your vendors ready to pivot and set up the arch in the backup spot?

By leading these conversations, you become the glue that holds it all together. This little bit of proactive planning is your ticket to a seamless setup, letting you relax and enjoy the moment.

Your Common Wedding Arch Questions Answered

When you’re deep in the wedding planning trenches, it’s only natural for a few questions to pop up, especially about something as central as your ceremony arch. From budgeting concerns to the dreaded “what if it rains?” panic, let’s tackle some of the most common queries we hear from couples. Getting these answers sorted will help you move forward with confidence.

You want every single detail to be just right, and that means understanding the costs upfront. It’s usually one of the first things couples ask when they start exploring their options.

How Much Does It Cost to Rent a Wedding Arch in South Africa?

The cost to hire a wedding arch in South Africa can really vary, depending on the style, what it’s made of, and how you want it decorated. To give you a general idea:

  • Basic Frame Hire: For a simple, unadorned wooden or metal arch frame, you can expect to pay anywhere from ZAR 800 to ZAR 1,500.
  • Fully Decorated Arch: If you’re dreaming of an arch styled with lush, fresh flowers and beautiful fabrics by a professional, the price typically ranges from ZAR 4,000 to ZAR 15,000, and sometimes more if you have your heart set on rare flowers or a very complex design.

Our best advice? Always ask for a detailed quote that breaks down delivery, setup, and collection fees so there are no surprises later on.

What Is Our Plan B if It Rains on Our Wedding Day?

This is a must-have conversation with both your venue and your decor hire company, and you should have it early on. Many arches, especially wooden ones or those draped in delicate fabrics, don’t hold up well in the rain. Your Plan B should be a dedicated indoor ceremony spot where the arch can be easily moved to.

Make sure you confirm with your florist or rental company if they’re able to handle a last-minute location change on the day. Some of the more modern metal or acrylic arches are more weather-resistant, which might be a smarter choice if you’re getting married in a season known for unpredictable weather.

Can We Repurpose the Ceremony Arch for the Reception?

Absolutely! And you totally should. Repurposing your arch is a brilliant way to make your decor budget stretch further and get more enjoyment out of such a beautiful statement piece. It means your investment gets to shine throughout the entire celebration, not just for the half-hour ceremony.

A popular move is to place the arch behind the main bridal table, which creates a stunning backdrop for all the speeches and photos. You could also use it to frame your wedding cake display or position it as a grand entrance feature for your reception area. Just be sure to chat through the logistics of moving it with your wedding coordinator or florist to make sure it happens smoothly and safely between the ceremony and reception.


Ready to find the perfect arch for your wedding? At ABC Hire, we offer a stunning selection of high-quality arches and event furniture to bring your vision to life. Explore our collection and let us help you create an unforgettable ceremony backdrop at https://abchire.co.za.

Your Guide to a Perfect Fairy Light Curtain Backdrop

A fairy light curtain is so much more than just a string of lights; it’s one of the most effective tools I’ve seen for completely transforming an event space in minutes. With just one simple piece of decor, you can instantly create a magical, warm, and unforgettable atmosphere, turning any plain wall into a show-stopping backdrop.

Creating an Unforgettable Atmosphere with Fairy Lights

Image

Let’s be honest, very few decorations can alter a space as quickly and dramatically as a wall of light. A cascade of warm, twinkling lights is an instant atmosphere creator, making it a bit of a secret weapon for event designers and party hosts across Cape Town.

Forget generic decor; this is about crafting an experience.

The Visual Impact on Event Spaces

The real magic of a fairy light curtain is its versatility. It can be the star of the show or a subtle supporting element that elevates everything else around it.

I’ve seen them used in so many creative ways:

  • Wedding Receptions: Imagine a curtain of lights behind the main table, casting a romantic glow on the happy couple. It creates a dreamy, soft-focus background that looks absolutely incredible in photos.
  • Corporate Events: For a more professional setting, a sleek, cool-white light curtain can frame a stage or create a sophisticated focal point behind a registration desk. It adds a touch of class without being distracting.
  • Birthday Parties: A vibrant fairy light curtain can turn a plain wall into a fantastic photo booth backdrop, encouraging guests to snap and share memories all night. This works especially well when you pair it with other fun rentals. You can get some more ideas in our guide on hiring a cotton candy machine.

A single wall of lights can make a room feel warmer, more intimate, and infinitely more special. It’s often the difference between a simple gathering and a truly memorable occasion.

A Growing Trend in South Africa

This love for atmospheric lighting is a trend that’s really taking off. While specific data on fairy light curtains is hard to come by for the South African market, the demand for decorative, energy-efficient lighting solutions is clearly on the rise.

We’re seeing a huge shift towards more aesthetically pleasing event and home decor. The LED market, which includes these beautiful light curtains, is benefiting massively from this. It’s all about creating a vibe, and these lights deliver every time.

Choosing the Right Fairy Light Curtain for Your Vision

This is where the magic really starts to happen. Picking the perfect fairy light curtain is the first step in bringing your creative vision to life. Get this right, and you set the entire mood for the event. Get it wrong, and it can feel a little… off. It’s about more than just brightness; it’s about matching the light’s personality to your theme and venue.

Light Colour: The Mood-Setter

Think of it like choosing a paint colour for a room.

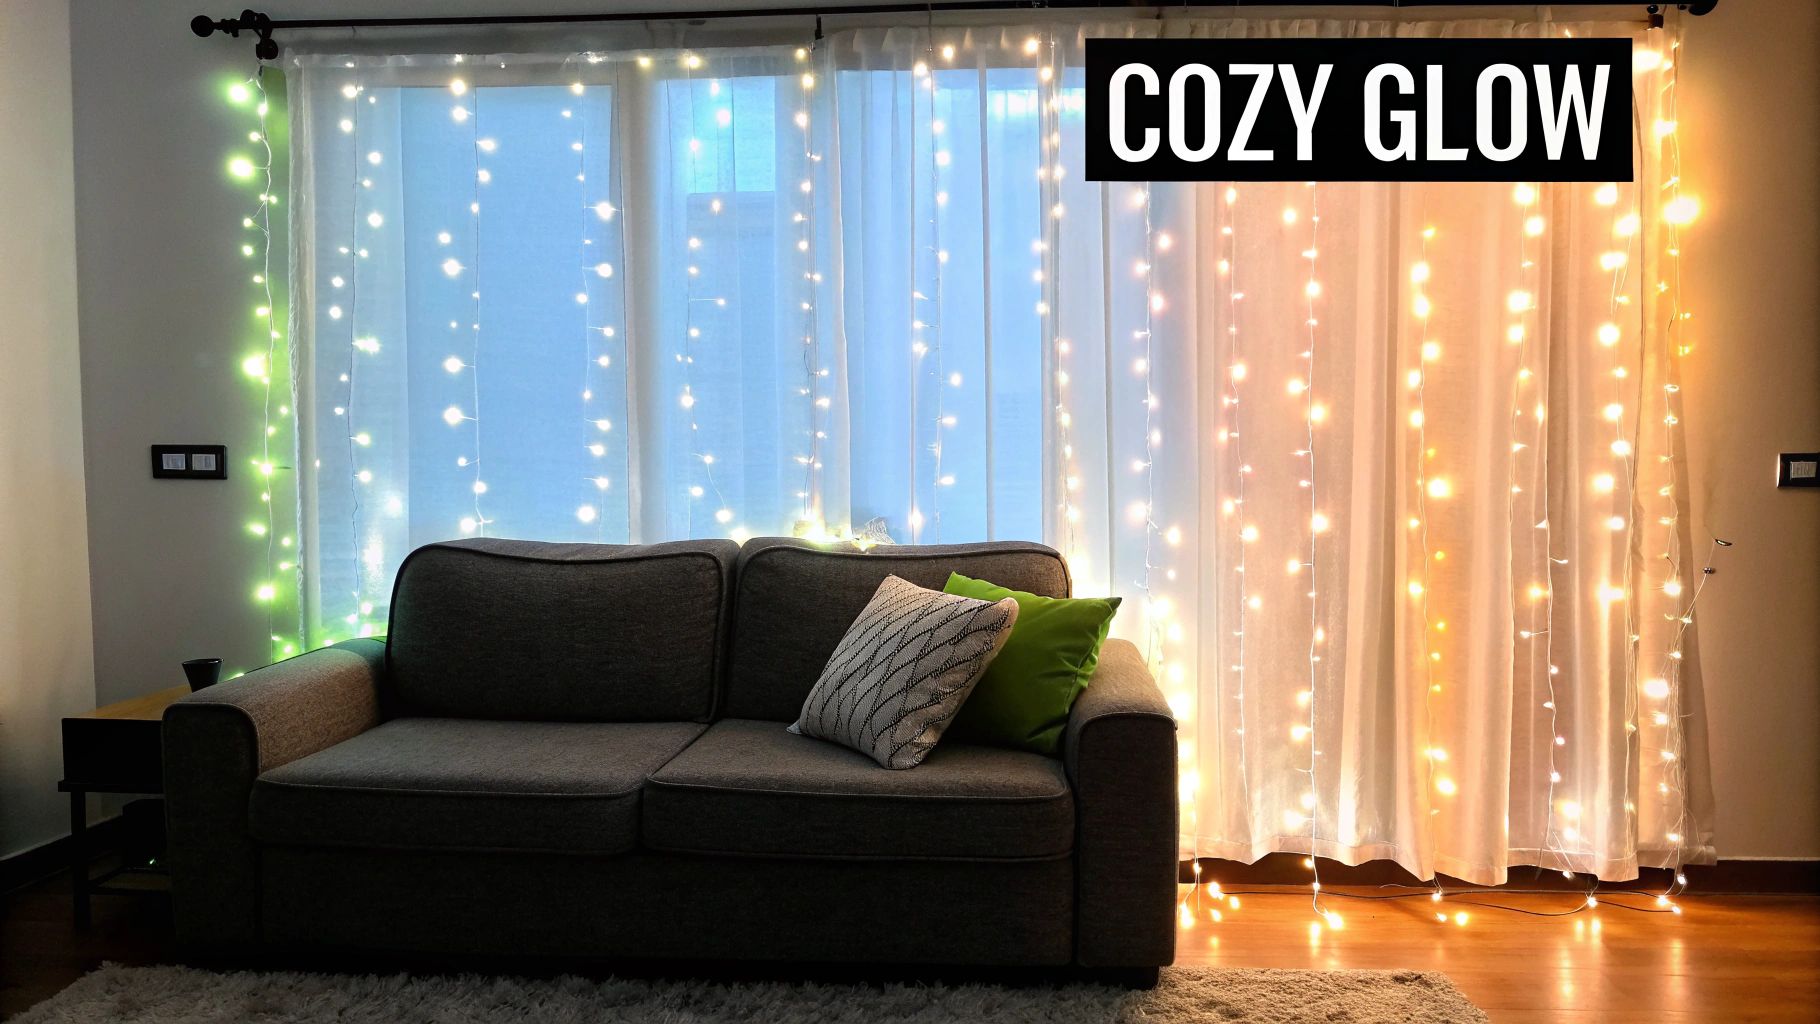
Warm white lights give off that soft, yellowish glow that just feels cosy and romantic. They’re my go-to for rustic barn weddings, intimate anniversary dinners, or any event where you want people to feel instantly welcome and relaxed.

On the other hand, cool white lights are crisp, modern, and vibrant. These are brilliant for corporate functions, slick birthday parties, or when you’re going for that stunning winter wonderland effect.

Don’t underestimate the power of colour temperature. The choice between warm and cool white will fundamentally alter the mood of your space and how it appears in photographs.

Deciding on a Power Source

The practical side of things can’t be ignored, and your venue’s layout will pretty much decide this for you. Each power option has its pros and cons, so have a good think about where you’ll be setting up.

Here’s a quick rundown of what I’ve learned from experience:

  • Plug-In: This is your most reliable bet for consistent, long-lasting brightness. Perfect for indoor events where you have plenty of wall sockets. You can set them up and forget about them, knowing they won’t dim halfway through the speeches.
  • Battery-Operated: Absolute lifesavers for venues with tricky power situations. Think remote gardens, historic buildings with protected walls, or anywhere you want to avoid a mess of extension cords. They give you total freedom to place lights anywhere.
  • Solar-Powered: A fantastic, eco-friendly choice for outdoor events that start in the day and drift into the evening, like a garden party or a beach celebration. They look incredible alongside other outdoor rentals, like the ones in our guide to Cape Town umbrella hire.

To help you decide at a glance, here’s a simple comparison of the features.

Fairy Light Curtain Feature Comparison

Use this table to quickly compare key features and decide which type of fairy light curtain is best for your event.

Feature Plug-In Battery-Operated Solar-Powered
Best For Indoor events, long durations Tricky venues, outdoor spaces Outdoor day-to-night events
Brightness Strongest & most consistent Can dim as batteries weaken Varies with sun exposure
Portability Limited by cord length Highly portable, no cords Portable, needs sun access
Eco-Friendly Standard energy use Depends on battery type High
Setup Needs nearby power outlets Easiest & most flexible Needs placement in sunlight

Ultimately, the best choice really hinges on your specific venue and how you plan to use the lights throughout your event.

Style and Design Considerations

Beyond the technical stuff, the actual design of the curtain plays a huge part in the final look.

A uniform drop style, where every strand is the same length, gives you a very clean, polished backdrop. It’s fantastic for creating a solid wall of light behind a main table or for framing a stage with a sleek, modern feel.

If you’re after something a bit more whimsical and organic, an icicle-style curtain is perfect. The staggered, varying lengths add a touch of relaxed, bohemian charm. I love using these to create a dreamy, starry-night effect.

It’s no surprise that these lights have become so popular. The global LED curtain lights market was valued at a massive USD 2.17 billion in 2024 and is only expected to keep growing. It just goes to show how much people value beautiful, energy-efficient lighting for their events and homes. You can read more about the growth of the LED curtain lights market on Expert Market Research if you’re interested in the trends.

How to Hang Your Fairy Light Curtain Like a Pro

Right, this is where the magic really starts to happen. Getting the installation right is the key to that polished, professional look, and it saves you from the nightmare of tangled wires and wonky strands. Let’s go through the tools and tricks that seasoned event planners swear by.

First off, get your toolkit ready. You don’t need a huge box of gear, just a few essentials that make all the difference. For most indoor walls, especially at venues where you can’t leave a mark, damage-free adhesive hooks are your absolute best friend. If you’re working with a more rustic vibe—think exposed beams or wooden frames—a handful of clear zip ties or small nails will do the trick. And a measuring tape? Non-negotiable for getting your spacing perfect.

Preparing Your Space for Installation

Before you even think about unwrapping those lights, take a second to prep your surface. Give the wall or window frame a quick wipe down to get rid of any dust. This is a crucial step if you’re using adhesive hooks, as it helps them get a proper grip that’ll last the whole event.

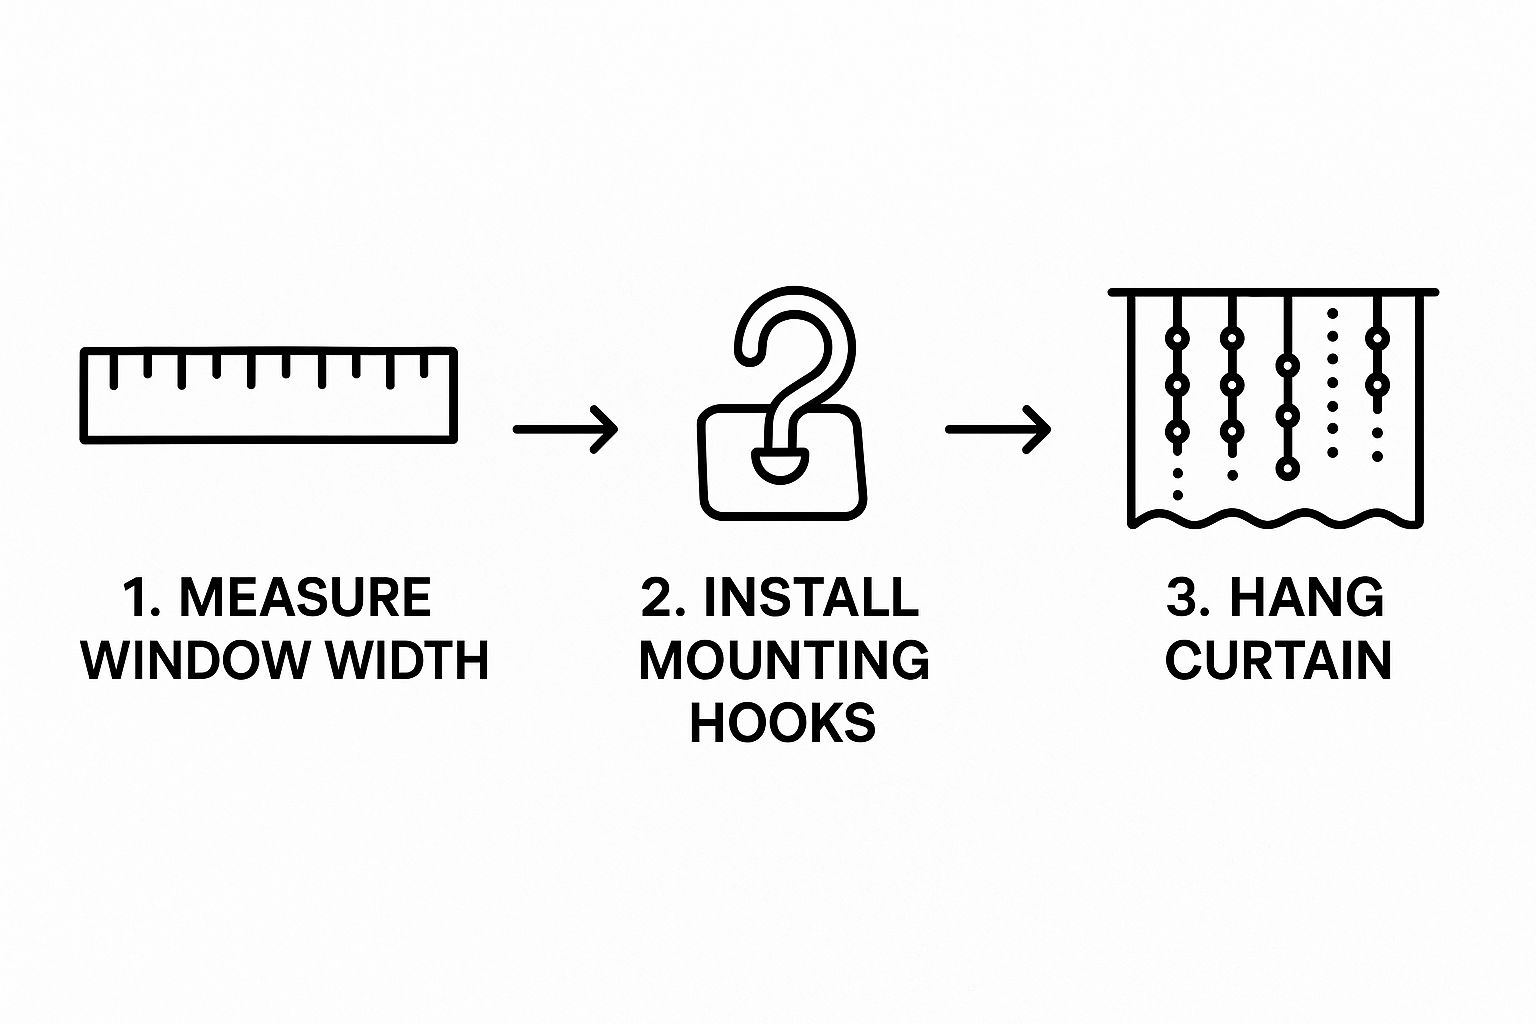
Next, measure the width of the space you want to cover. Then, unroll your fairy light curtain on the floor, making sure to keep the main horizontal wire separate from the vertical strands. Trust me on this one—this simple move prevents a tangled mess and makes the whole process about ten times easier. It’s a small detail that saves you a massive headache.

This basic workflow is your secret to a quick, clean setup. This little infographic breaks down the core steps for a handy visual guide.

Image

Thinking about it as measure, mount, and hang really simplifies things and helps make sure you don’t miss a step.

Mounting Techniques for Different Surfaces

The surface you’re working with will completely change your game plan. You wouldn’t tackle a painted wall the same way you would a delicate window frame.

  • Painted Drywall: This is what you’ll run into most of the time. Use clear, removable adhesive hooks and space them evenly across the top. Make sure you follow the instructions on the packet, especially the bit about waiting before you hang anything, to get a really strong bond.
  • Window Frames: Small, clear hooks work a charm here too. You could also use clear adhesive tape for a super discreet look, just securing the main wire along the top of the frame.
  • Exposed Beams or Archways: This is where zip ties are a game-changer. They’re strong, practically invisible from a distance, and won’t damage the structure.
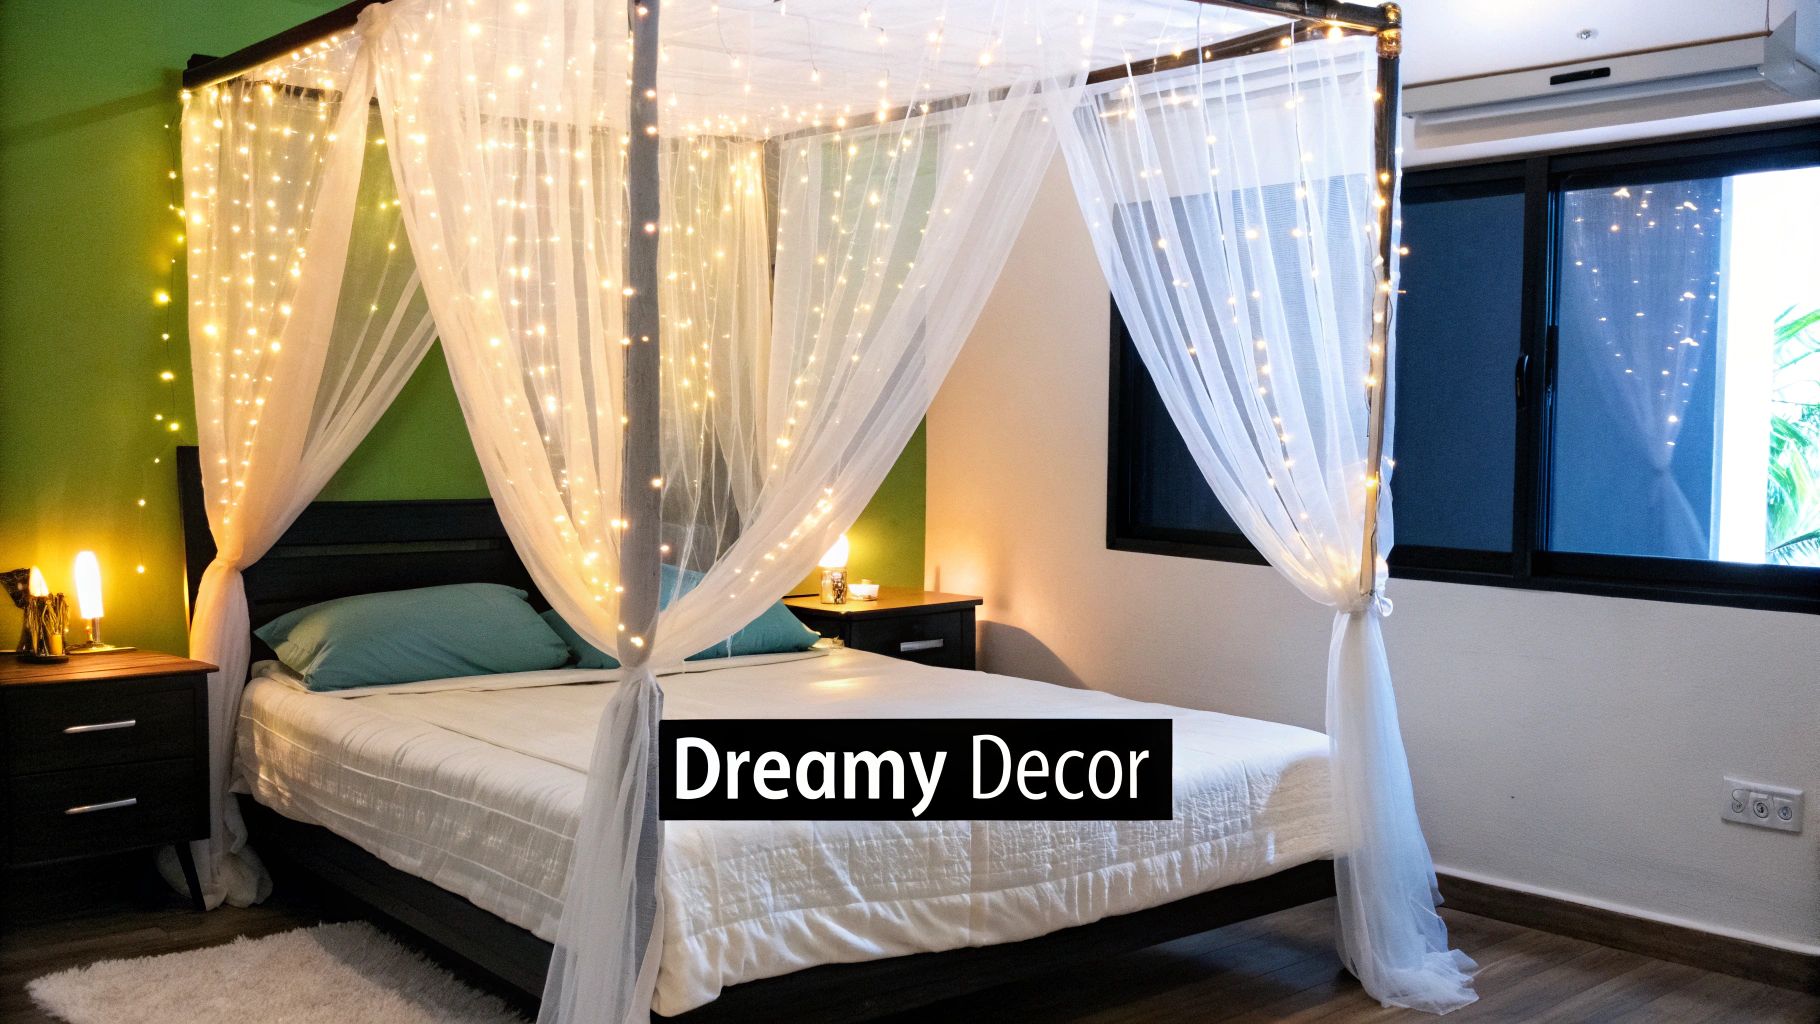
  • Behind Sheer Fabric: For that soft, dreamy glow, hang your fairy light curtain first, then drape a layer of tulle or organza over it. Use a separate set of hooks or pins to secure the fabric.

Here’s a pro tip: always start hanging from the end closest to your power source. This way, you know for sure that your cord will reach the socket without having to stretch the lights awkwardly or scramble for an extension lead at the last minute.

By picking the right tools and matching your technique to the surface, you’ll guarantee an installation that’s both stunning and secure. A well-hung fairy light curtain looks intentional and elegant, lifting the whole atmosphere of your event from simply decorated to truly magical. Getting this part right sets the stage for everything else.

Creative Styling Techniques for a Breathtaking Display

Image

Right, so your fairy light curtain is up and secure. That’s the groundwork done. But just hanging the lights is like setting the stage; the real magic happens when you start styling. This is where we go beyond the basics and add those creative touches that turn a simple wall of light into an unforgettable centrepiece.

The secret is all about playing with depth and texture. A single layer of lights is pretty, sure, but when you start combining it with other elements, you get that rich, professional look everyone wants. It’s the difference between a nice decoration and a truly immersive experience for your guests.

Layering with Fabrics for a Dreamy Effect

One of the most effective tricks in the book has to be layering your fairy lights with sheer fabrics. Think tulle, organza, or chiffon. These materials catch the light in the most beautiful way, diffusing it to create a soft, ethereal glow that’s incredibly romantic and looks amazing in photos.

Here’s how to nail this look:

  • Hang the lights first: Get your curtain installed right up against the wall or backdrop.
  • Drape the fabric over the top: Use a separate rod or another set of hooks to hang a panel of sheer fabric just a few centimetres in front of the lights.
  • Let it hang loose: Don’t pull the fabric taut. You want it to drape naturally, creating soft folds. A slightly gathered look always works best.

We see this done all the time for weddings and engagement parties. It instantly adds a layer of sophistication and romance to any venue.

Weaving in Greenery and Florals

If you’re aiming for a more organic, bohemian, or rustic theme, you have to bring in some natural elements. Weaving greenery (real or faux) and floral garlands through the strands of your light curtain adds incredible texture and a touch of natural beauty.

Picture a wedding reception with a warm white fairy light curtain as the backdrop for the main table. By artfully weaving some eucalyptus garlands and a few clusters of white roses along the top and down the sides, you create a stunning focal point that pulls the whole room’s decor together. Simple, but so effective.

Pro Tip: Less is often more. The goal here is to complement the lights, not completely cover them. A few well-placed garlands will have a much bigger impact than a dense wall of foliage. You want those lights to twinkle through the gaps for that truly magical effect.

The demand for creative lighting is exploding globally. While specific numbers for the South African market are hard to come by, the smart curtain fairy light market hit a global size of USD 1.21 billion in 2024. That just shows how much people value these kinds of creative lighting options for their events. You can dig deeper into the growth of the smart lighting market on Growth Market Reports.

Creating Thematic Focal Points

Don’t just think of your fairy light curtain as a background—make it the main attraction! By being strategic with where you place and how you style it, you can highlight specific areas and create a genuine ‘wow’ moment for your guests.

For instance, you could:

  • Frame a Dessert Table: Make your cake or sweet treats the undisputed star by placing a shimmering light curtain behind them. It naturally draws everyone’s eyes and creates a picture-perfect spot.
  • Design a “Starry Night” Ceiling: For indoor events with high ceilings, hanging multiple curtains overhead can create the illusion of a sparkling night sky. This works especially well in marquees, which you can read more about in our guide on hiring a gazebo.
  • Build a Grand Entrance: Drape lights around an entryway or arch to welcome guests with an immediate sense of occasion and magic from the moment they arrive.

Right, so you’ve done the hard work, stepped back to admire your masterpiece, and… something’s not quite right. A whole section is dark, or it looks a bit wonky. Don’t stress! This happens to everyone, even us pros.

Think of this as your setup first-aid kit. Most of the little hiccups you’ll run into when hanging a fairy light curtain are surprisingly easy to fix. Let’s tackle some of the most common issues so you can get that perfect glow.

What to Do When a Section of Lights Is Out

It’s the moment that makes your heart sink. You’ve got the curtain hung perfectly, you plug it in, and one long, lonely strand refuses to light up. Before you start thinking the whole set is a dud, take a deep breath and check a couple of things.

First, follow that dark strand all the way up to where it meets the main horizontal wire. Sometimes, during the excitement of unboxing and hanging, one of these little connections gets pulled loose. Give it a gentle but firm push back into place – often, that’s all it needs. If that doesn’t do the trick, have a quick look along the wire itself for any obvious pinches or damage.

  • Check the Connection: Make sure the base of the non-working strand is pushed securely into the main wire.
  • Inspect the Wire: Scan for any little breaks or damage in the thin copper wire.
  • Swap Power Sources: It’s worth a shot! Try a different plug point or fresh batteries just to rule out a power issue.

Fixing Unevenly Spaced Strands

You’ve got them up, but the spacing is all over the place. One gap is wide, the next is narrow, and the whole thing just looks messy. You absolutely do not have to take it all down and start from scratch.

This is an easy one. Most fairy light curtains are designed so you can gently slide the vertical strands along the main horizontal wire. Just unhook the main wire from its mounting points, and manually shuffle the strands left or right until they look perfectly spaced. If you’re a perfectionist, grab a tape measure to get the gap between each strand spot on.

A tiny adjustment here makes all the difference between something that looks DIY and a truly professional installation. Taking a few extra minutes to get the spacing just right is a small effort that pays off big time.

Safely Hiding Cords and Wires

Nothing ruins the magic of a floating wall of light faster than a tangled mess of extension cords snaking across the floor. The goal is to make the lights look effortless, and a huge part of that illusion is hiding how they get their power.

Clear or white adhesive clips are your best friend here. Use them to run the power cord neatly along a skirting board, down a corner, or behind a door frame where no one will see it. If you’re setting up near furniture, even better – just tuck the cord behind a couch or under a rug. For events, we always use gaffer tape that matches the floor colour. It keeps the wires flat, prevents a tripping hazard, and keeps the whole look clean and polished. Get the cords out of sight, and all the attention will stay right where you want it: on your beautiful fairy light curtain.

Your Fairy Light Curtain Questions, Answered

Image

Let’s quickly run through some of the questions we get all the time about using fairy light curtains for events. Getting these details sorted will help you finalise your plans with confidence, knowing your setup will be every bit as magical as you’ve pictured.

How Long Does It Take to Set Up a Fairy Light Curtain?

This can change depending on your setup, but a good rule of thumb for a standard 3×3 metre curtain is to budget around 30-45 minutes. That gives you plenty of time to carefully get the lights untangled, measure and place your hooks properly, and hang the curtain without rushing.

If you’re getting a bit more creative by layering them with fabric or weaving in some florals, you’ll probably want to set aside closer to an hour. The real key here is patience—rushing is when things get tangled and you end up with uneven spacing.

Can I Use Them Outdoors?

Absolutely, but you have to be smart about it and pick the right lights. Not all fairy light curtains are made to brave the great outdoors. If you’re planning an event outside, it’s essential to look for lights with an IP rating (like IP44 or higher), which tells you they’re protected against water splashes.

For an outdoor setup, think about these options:

  • Battery-operated curtains are fantastic for flexibility, saving you the headache of finding an outdoor plug point.
  • Solar-powered lights are a brilliant, eco-friendly choice, especially for events that kick off in the afternoon and run into the evening.
  • If you go with a plug-in model, double-check that the plug and any extension cords are also rated for outdoor use and kept safe from moisture.

Choosing a fairy light curtain specifically designed for outdoor use isn’t just about making sure they work; it’s a critical safety step. Always read the product specs before you hang any electrical decor outside.

What Is the Best Way to Store a Fairy Light Curtain After Use?

Storing them properly is the secret to avoiding a tangled mess next time. The biggest mistake you can make is to just bunch them up and chuck them in a box—you’ll be greeted by a frustrating knot when you pull them out again.

Instead, grab a piece of sturdy cardboard or even a plastic coat hanger. Start by neatly wrapping the main horizontal wire around your cardboard or hanger. After that, carefully wrap each vertical strand on its own or in small, easy-to-manage bundles. This keeps everything organised and ready to go for your next event.

Can a Fairy Light Curtain Damage Walls?

This is a huge concern, especially when you’re in a hired venue. The great news is, with the right tools, you can hang your lights without leaving so much as a scratch. For most painted walls, your best friends are damage-free, removable adhesive hooks.

These hooks are made to hold a surprising amount of weight and then peel off cleanly without ripping the paint. Just make sure you follow the instructions on the packet for putting them up and taking them down—especially the part about letting the adhesive set before you hang anything. A little bit of prep work will keep the venue’s walls looking perfect.


Ready to create a truly magical atmosphere at your next event? ABC Hire offers a stunning range of lighting and decor rentals to bring your vision to life.

Explore our collection and book your rentals today at https://abchire.co.za.