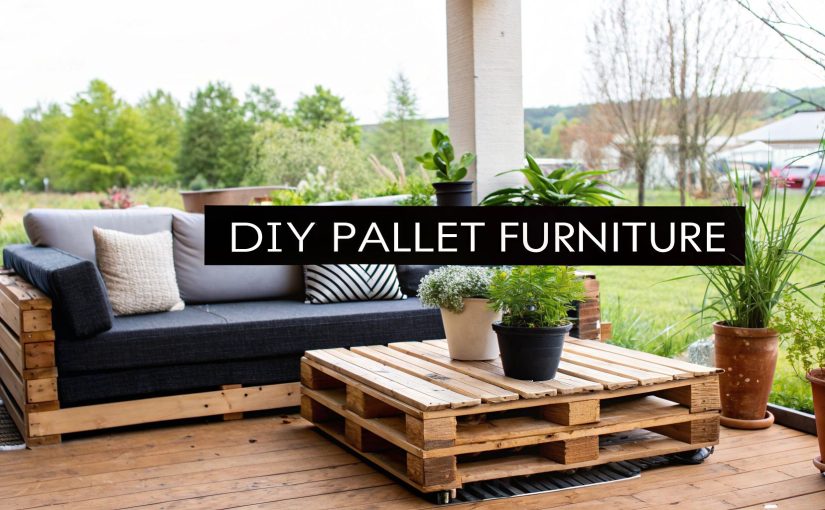
Looking to create a stylish, custom seating area for your patio or braai area without breaking the bank? Pallet outdoor furniture is your answer. It’s a brilliant way to repurpose wooden shipping pallets into functional, beautiful pieces like sofas, tables, and even planters. You get a unique blend of rustic charm and modern design that’s just perfect for the South African lifestyle.
Why Pallet Furniture Is Perfect for South African Patios
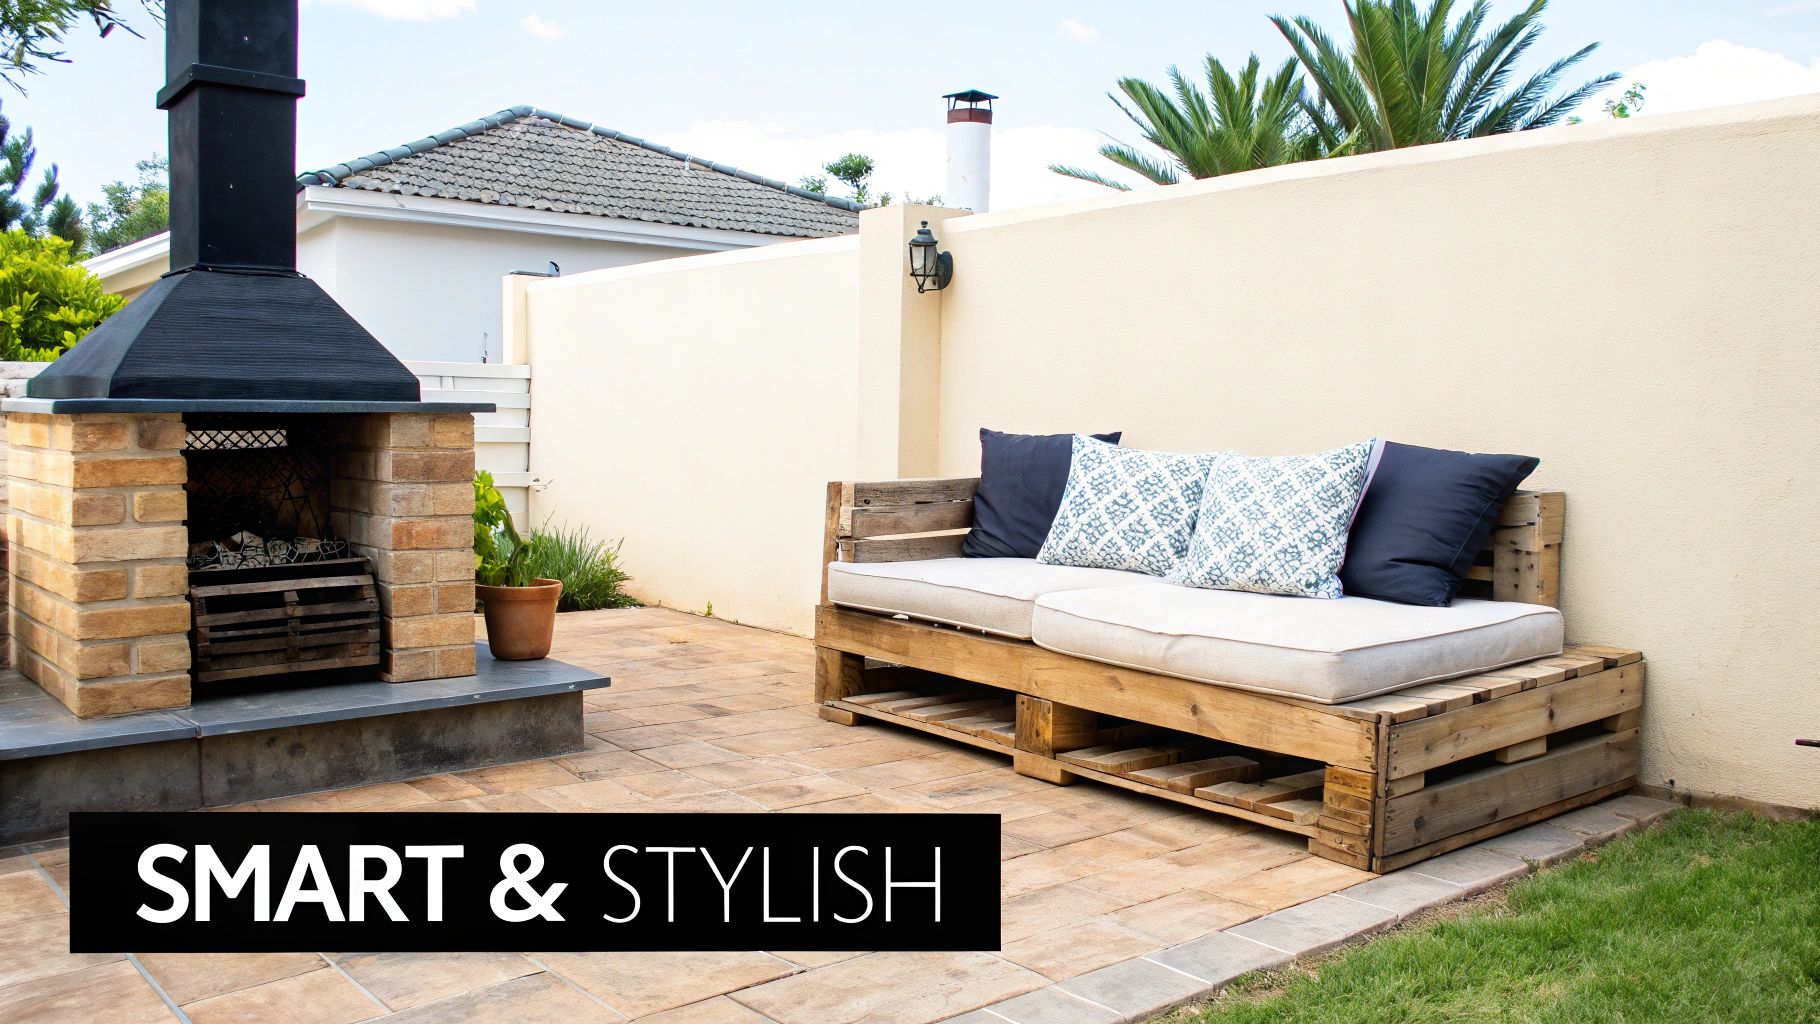
There’s a good reason you see pallet projects popping up in gardens and on patios across South Africa. It’s gone way beyond a passing trend to become a real staple. This isn’t just about saving a few rands; it’s about embracing a lifestyle that values creativity, sustainability, and making the most of our incredible climate.
When you build your own furniture, you get to design pieces that fit your space perfectly, whether you’ve got a small balcony in Cape Town or a sprawling lapa up in Gauteng.
Embracing Affordability and Style
The biggest draw? The cost, of course. With a bit of elbow grease, you can put together a complete lounge set for a tiny fraction of what you’d pay for something from a store. This opens up the dream of an inviting outdoor oasis for just about everyone.
This trend fits right in with our growing desire for personalised, comfy outdoor living spaces. The local demand is really taking off—the South African outdoor furniture market is projected to hit US$70.74 million in 2025. That number, highlighted in Statista’s market analysis, shows just how much we’re all investing in our homes’ outdoor areas.
Plus, it’s an eco-conscious choice. By upcycling pallets, you’re saving wood from the landfill and giving it a new, much more attractive life. That sustainable mindset really clicks with anyone who appreciates our country’s natural beauty.
The real beauty of pallet outdoor furniture lies in its versatility. It’s a blank canvas for your creativity, allowing you to build something that is not only functional but also a true reflection of your personal style.
A Rewarding DIY Journey
Building with pallets is a fantastic way to get into the world of DIY. The projects can be as simple or as complex as you like, making it a satisfying experience whether you’re a total beginner or a seasoned woodworker. Honestly, there’s nothing quite like the feeling of kicking back on a sofa you built with your own two hands.
For those who love creating comfortable spaces, you can find even more ideas in our guide to designing beautiful outdoor lounge sets. This journey doesn’t just transform your patio—it builds your confidence, one plank at a time.
Finding the Right Pallets: Safety and Sourcing
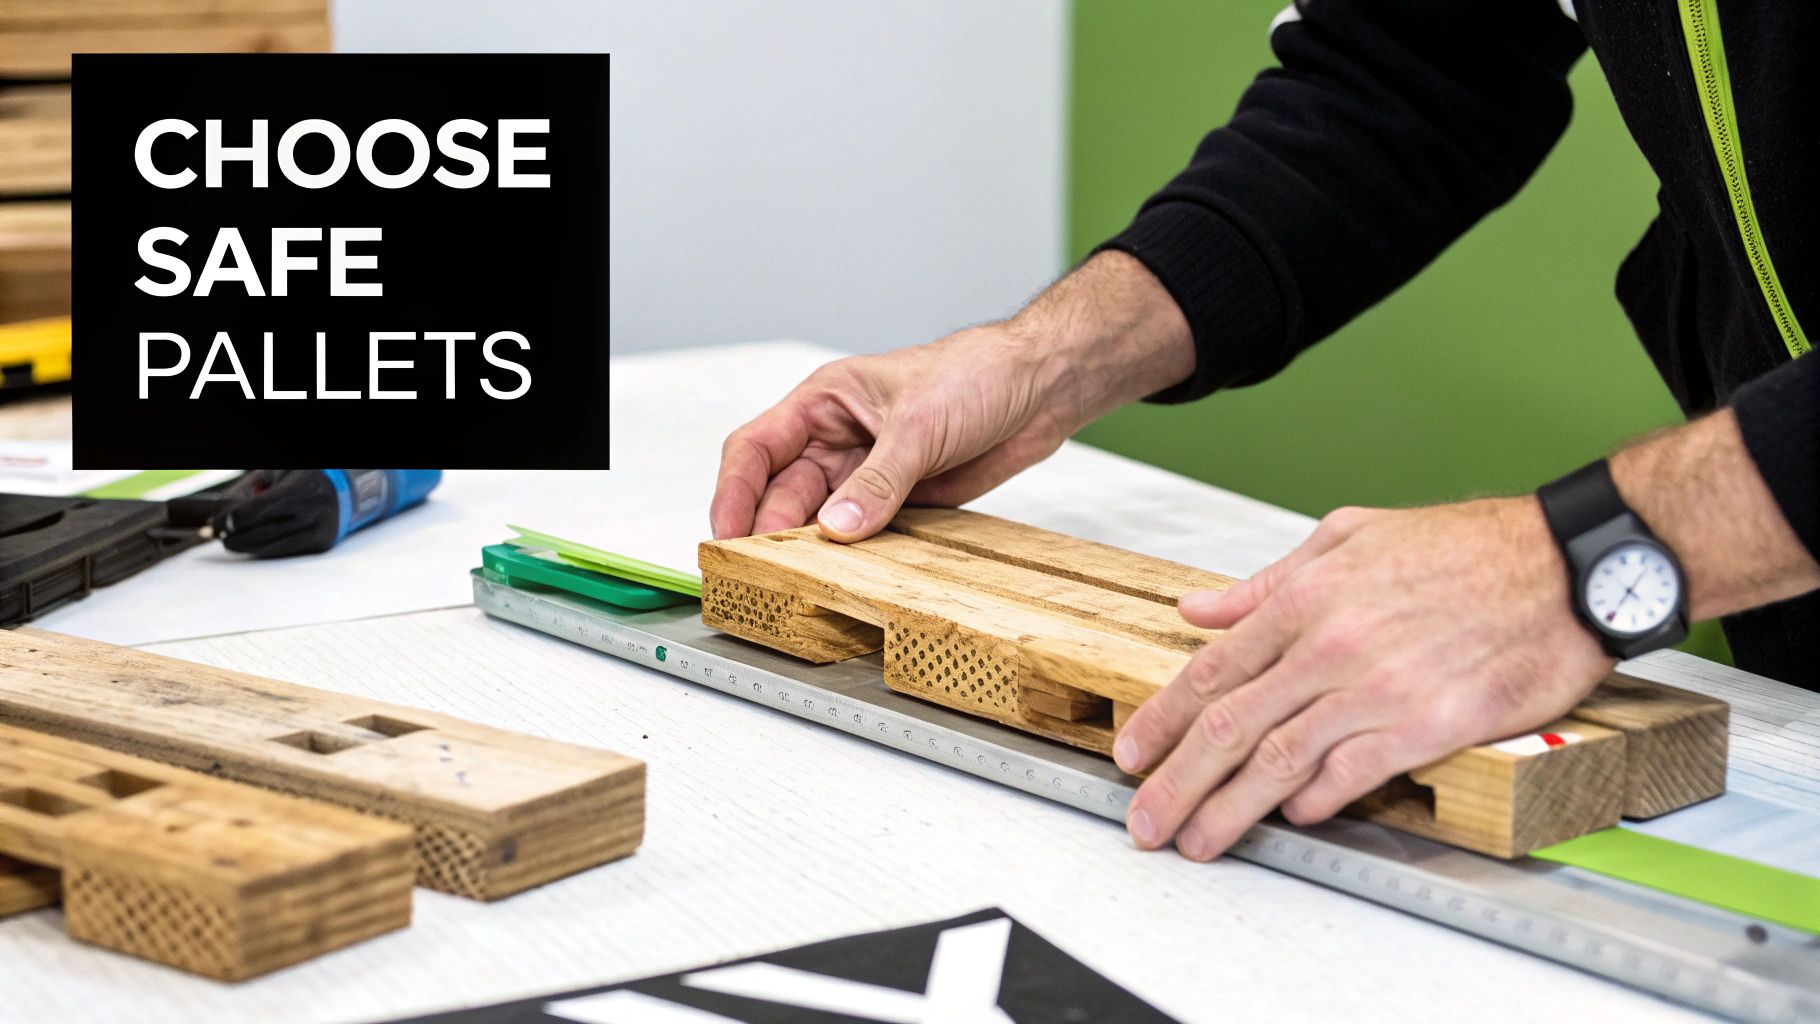
Before you can even think about designs, you need the right raw materials. Getting your hands on pallets is usually pretty easy; finding the right pallets, however—the ones that are safe and strong enough for your pallet outdoor furniture—takes a little more care.
Trust me, not all pallets are created equal. Some are perfectly fine, while others can be genuinely hazardous.
It all comes down to a small, often overlooked stamp on the side of the wood. This little code tells you everything you need to know about how the pallet was treated to handle pests during its shipping life. For any DIY project that involves your family and home, learning to read these markings is non-negotiable.
How to Decode Pallet Stamps
The absolute best-case scenario is finding a pallet stamped with “HT”. This simply means it was Heat Treated. The wood was baked at a high temperature to kill off any bugs or larvae, making it completely safe to bring into your home and garden. This is the gold standard for any pallet furniture project.
On the flip side, if you see “MB” stamped anywhere, walk away. This stands for Methyl Bromide, a very toxic fumigant that you definitely don’t want anywhere near you, your kids, or your pets. These are a hard pass for furniture, planters, or any other project.
My Two Cents: If a pallet has no stamp at all? It’s best to play it safe and leave it. You have no way of knowing its history or what chemicals it might have soaked up along the way. Better to be safe than sorry.
To make things easier, here’s a quick guide to the most common pallet stamps you’ll encounter.
Pallet Safety Stamp Quick Reference Guide
| Pallet Stamp | Meaning | Safe for Furniture? | Comments |
|---|---|---|---|
| HT | Heat Treated | Yes | This is your best and safest option. No chemicals used. |
| DB | Debarked | Yes | The bark was removed. Often seen with the “HT” stamp. |
| KD | Kiln-Dried | Yes | Dried in a kiln to reduce moisture. This is also a safe choice. |
| MB | Methyl Bromide | No | Treated with a highly toxic pesticide. Avoid at all costs. |
| EUR/EPAL | European Pallet | Usually Yes | These are typically heat-treated, but always look for the “HT” stamp to be sure. |
Always double-check for the “HT” mark, as it’s the clearest indicator of a safe, chemical-free pallet.
Where to Find Pallets in South Africa
Sourcing pallets for free or very cheap is surprisingly simple once you know where to look. Many local businesses are more than happy for you to take them off their hands.
- Hardware and Building Supply Shops: These places get massive deliveries and almost always have a stack of unwanted pallets out back. Just pop in and ask a manager if they’re up for grabs.
- Garden Centres and Small Businesses: Think nurseries, pet shops, and independent retailers. They’re great spots, and their pallets are less likely to have been around harsh industrial chemicals.
- Online Marketplaces: A quick search on Gumtree or Facebook Marketplace usually brings up plenty of listings for free pallets. It saves you the trouble of driving around hunting for them.
A Quick Checklist Before You Load Up
Once you’ve spotted a potential winner, give it a quick once-over. A bit of dirt is fine, but look out for these red flags.
- Strange Stains or Spills: Any weird discolouration or oily patches are a bad sign. You don’t know what was spilt on it.
- Strong Smells: The pallet shouldn’t have a noticeable chemical smell or any other strong, strange odour.
- Rot or Major Damage: Check for crumbly wood, heavy splintering, or any signs of mould.
- Brightly Coloured Pallets: Pallets painted in bright colours (usually blue or red) are often part of a rental pool, like those from CHEP. These technically aren’t yours to take.
Choosing quality, safe wood is the foundation of any great project, and it reflects a much bigger trend in outdoor living. Wood’s timeless appeal and durability made it the star, accounting for 66.45% of revenue. This just shows how much we love quality timber in our outdoor spaces. You can see the full breakdown of these market trends on Grand View Research.
For an even deeper dive into this world, check out our comprehensive article on everything you need to know about pallet wood furniture.
Right, so you’ve managed to get your hands on some safe, “HT” stamped pallets. The next part is where the real magic happens. This is the bit where we turn that rough, industrial timber into the beautiful, smooth foundation for your pallet outdoor furniture.
So many people rush this prep work, and honestly, that’s what separates an amateur-looking job from a truly stunning, professional one. Taking the time to properly dismantle, clean, and sand your pallets is the secret sauce. It makes the final piece look a thousand times better and ensures it’s safe, splinter-free, and ready for whatever the weather throws at it.
Getting the Planks Off Without a Fight
Trying to break down a pallet can be seriously frustrating if you don’t have a game plan. Just going at it with a hammer often ends with cracked planks and a pile of wasted wood. A bit of technique makes all the difference here.
One of the slickest ways to do it is with a reciprocating saw fitted with a metal-cutting blade. You can just slice straight through the nails holding the planks to the support blocks. It’s quick, clean, and keeps your boards perfectly intact, saving you a world of pain.
Don’t have a reciprocating saw? No problem. A trusty pry bar and a hammer will get the job done.
- The Pry Bar Method: Gently wedge the pry bar under the edge of a plank and work it back and forth to loosen up the nails.
- Work Both Ends: Whatever you do, don’t just pry from one side. Alternate between the ends of the plank to lift it nice and evenly. This is key to stopping the wood from splitting under pressure.
- Yank Out Old Nails: Once a board is free, use the claw of your hammer to pull out any bits of nail left behind.
Here’s a little tip from my own experience: if a nail is putting up a real fight, don’t force it. Sometimes it’s easier to hammer the nail through the plank from the back and then pull it out. This trick can save the best side of your timber from getting damaged.
Getting That Smooth, Splinter-Free Finish
With your planks finally free, it’s time to clean and sand. Pallets pick up all sorts of dirt on their travels, so a good scrub is a must. A stiff brush with a bit of a bleach-and-water mix works wonders to sanitise the wood and get rid of any grime. Just be sure to let it dry completely in the sun before you start sanding.
Sanding is what really takes your project from just “rustic” to properly “refined”. It gets rid of that rough texture, nixes the risk of splinters, and gets the wood ready to soak up paint or sealant like a dream.
Your Sanding Toolkit
| Tool | Best For | Pro Tip |
|---|---|---|
| Power Sander | Quickly smoothing out the big, flat surfaces of your planks. | Kick off with a coarse sandpaper (like 80-grit) to knock back the initial roughness, then move to a finer grit (120 or higher) for a silky-smooth finish. |
| Sanding Block | Perfect for getting into edges, corners, and other detailed spots by hand. | Always sand with the grain of the wood. Going against it will just scratch up the surface. |
| Sandpaper Sheet | Handy for tight spots or for wrapping around curved edges. | Fold the sheet to make a firm edge. It gives you more precision for those tricky corners. |
Start by hitting all the main surfaces with your power sander. You don’t need to press down hard—let the tool do the heavy lifting. Once the large areas are looking good, grab a sanding block to carefully work on the edges and ends. It’s this attention to detail that gives your finished pallet outdoor furniture that top-quality, handcrafted feel.
The aim here is a surface that’s smooth to the touch all over. Run your hand over every plank to feel for any rough patches you might have missed. This final check is what makes sure your new sofa or table will be comfortable and safe for everyone to enjoy.
Right, you’ve done the hard graft of prepping your timber. Now for the fun part—turning those humble planks into killer pieces for your patio or next event. This is where your vision starts to take shape.
We’ll run through three classic projects. They’re perfect for getting started but still deliver that high-end, rustic look everyone’s after. Think of them as foundational builds. Once you’ve got these down, you’ll have the confidence and the skills to tackle just about any design you can dream up.
The Classic Pallet Sofa
A comfy outdoor sofa is pretty much the heart of any patio setup. This design is simple, solid, and you can easily tweak the size to fit your space.
For a standard two-seater, you’ll probably need:
- Three pallets of the same size for your base and backrest.
- Some heavy-duty wood screws (go for at least 75mm) to make sure everything is held together tightly.
- A few metal L-brackets to give that backrest connection extra strength.
- Your drill, a measuring tape, and a saw if you need to make any cuts.
Get started by stacking two pallets right on top of each other. This creates the base and gives you a decent seating height. Drive screws through the blocks of the top pallet into the one below to lock them together.
Next, stand the third pallet up behind the base—that’s your backrest. Fix it securely to the base using a combination of screws and L-brackets.
Quick tip from experience: Pop a few extra L-brackets on the bottom corners where the backrest meets the base. That spot takes a lot of strain, and that little bit of reinforcement makes a huge difference. No one wants a wobbly sofa!
The Rustic Coffee Table on Castors
A coffee table on wheels is a game-changer for any outdoor area. You can roll it around to make space for guests, clear a spot for a dance floor, or just rearrange your setup whenever you feel like it.
This project couldn’t be simpler. All you need is one good pallet, four castor wheels (make sure two have brakes!), and the screws to attach them.
Just get your pallet cleaned, sanded, and finished how you like it. Flip it over and screw a castor wheel onto each of the four corner blocks. Make sure you put the two locking castors on the same side. This lets you easily brake the table to keep it from rolling away.
The Space-Saving Vertical Planter
If you’re tight on floor space, a vertical planter is an amazing way to bring some green onto a small balcony or patio wall. It’s a super quick build that adds a massive pop of visual interest.
You’ll start with a single pallet stood on its end. The idea is to create little pockets for your soil and plants. Grab some spare planks (from another dismantled pallet or just scrap wood) and use them to close off the bottom of the open sections on the front of your planter.
Now you just need to make the pouches for planting:
- Measure the inside of each pocket you’ve just created.
- Cut up some landscape fabric so it’s big enough to form a pouch inside each section.
- Grab a staple gun and securely fasten the fabric along the inside edges. Boom—you’ve got your soil pockets.
This project is brilliant because it not only repurposes wood but also injects a bit of life and colour into your setting. The whole idea of versatile, sustainable furniture is a big deal in South Africa right now. The market is buzzing with innovation, and forecasts show it’s set for some serious growth, with rates expected to hit a peak of 5.58% in 2027. It just shows how much people are loving creative, eco-friendly outdoor solutions.
You can get the full scoop on these market trends in the complete 6Wresearch report.
Right, you’ve done the hard graft and built your furniture. Now for the fun part – bringing your pallet outdoor furniture to life and making sure it lasts. This final stage is where the magic happens, defining the look of your pieces and, crucially, protecting them from our harsh South African sun and rain.
Your choice of finish really comes down to balancing style with practicality. Are you after a rustic, natural vibe that lets the wood’s character shine through? Or do you want a pop of bold colour to liven up your event space? What you decide here will guide the products you buy and the overall feel you create.
This flow chart gives a great overview of the basic steps for some of the most popular pallet projects you might be tackling.
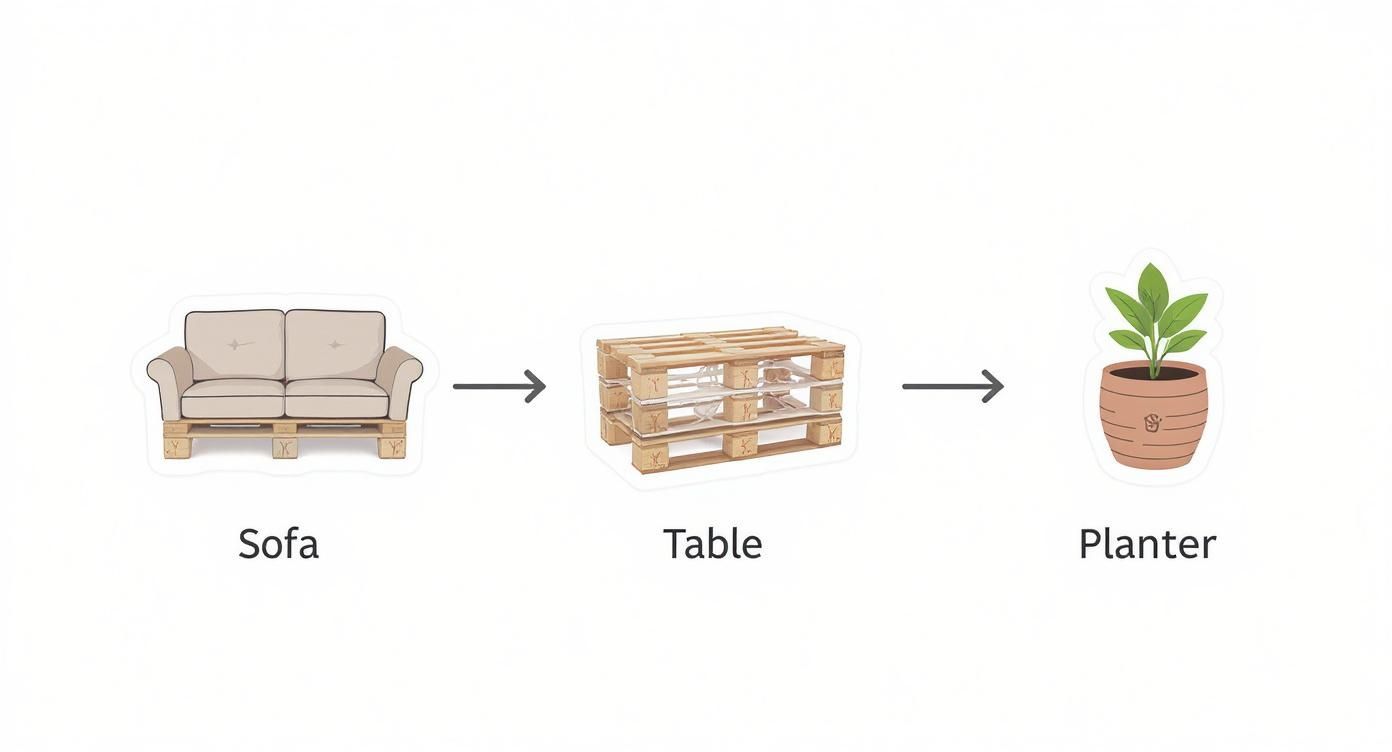
It’s a simple visual guide that takes you from a raw pallet to a finished piece, showing just how achievable these builds are.
Choosing Your Protective Coat
When it comes to outdoor furniture, protection is everything. The relentless sun will bleach the wood, and winter rains can quickly lead to rot. A top-quality sealant is your first line of defence.
- Varnish and Sealants: I always recommend looking for a marine-grade or an outdoor-specific polyurethane varnish. These are packed with UV inhibitors that work like sunscreen for the wood, stopping it from fading and cracking. They form a tough, waterproof shield.
- Stains: An outdoor wood stain is a brilliant two-in-one option, colouring and sealing at the same time. Stains soak into the wood rather than sitting on the surface like paint, so they’re far less likely to chip or peel. Perfect for getting that classic, rustic look.
- Paints: If you’re set on a solid, vibrant colour, a good quality outdoor acrylic or enamel paint is the way to go. Just be sure to start with an outdoor wood primer – this helps the paint stick properly and gives you a much more durable finish.
A little tip from my own experience: always apply at least two to three thin coats of your chosen finish. Let each one dry, give it a light sand, and then apply the next. This builds a much stronger protective layer than one thick, gloopy coat and gives you a far more professional result.
Styling Your Pallet Creations
With your furniture built and protected, it’s time to dial up the comfort and add your own personal touch. This is where you pull everything together to create that inviting outdoor oasis everyone will want to relax in.
Finding the right accessories is key. You’ll need weather-resistant cushions that can handle both the sun and an unexpected downpour. Look for fabrics specifically designed for outdoor use that resist mildew and fading. Plenty of local fabric shops and upholsterers in South Africa can even make custom-sized cushions to fit your pallet sofa perfectly.
Don’t forget the details! A few scatter cushions in complementary colours, a durable outdoor rug, and some pot plants can completely transform the space. For those long, sunny Cape afternoons, proper shade is a must. We’ve got some great advice on finding the perfect cover in our guide to choosing large outdoor umbrellas for your space.
Combine solid protection with thoughtful styling, and your new pallet furniture is guaranteed to be the star of any event.
Answering Your Top Pallet Furniture Questions
Even with the best guide in hand, a few questions always seem to crop up when you’re getting your hands dirty with a new project. Building with pallets is generally a breeze, but our unique South African climate can throw a few curveballs. Let’s get into the nitty-gritty of the most common queries we see.
How Do I Keep Termites Away?
This is a big one, especially for anyone near the coast. Pallets are typically made from untreated pine, which can look like an all-you-can-eat buffet to termites. Your first line of defence is a solid wood treatment that has an insecticide mixed in. Don’t just grab any old sealant; look specifically for products labelled as a wood borer or termite protector. Make sure you give the wood a thorough coating before you even think about painting or varnishing.
What’s the Best Way to Weatherproof My Furniture?
This question usually follows right after the termite one. How do you stop your beautiful new pallet couch from rotting away in the rainy season? The trick is to create a barrier that water just can’t penetrate.
Once you’ve treated the wood for pests, your best move is to use a high-quality, marine-grade varnish or a sealant made specifically for outdoor use. These aren’t just any old coatings; they’re formulated to actively repel water.
For truly bulletproof protection, here’s what I’ve learned:
- Always apply at least three coats of your chosen sealant. One coat is never enough.
- Get right into the end grains of the wood. These spots are like a sponge for moisture, so give them extra attention.
- It’s also a smart idea to raise your furniture just slightly off the ground. A few small blocks or feet can stop it from sitting in puddles after a downpour.
Honestly, the most common mistake people make is skimping on the sealant. To make your furniture survive a Cape Town winter or a humid Durban summer, multiple layers are non-negotiable. It’s the only way to create that tough, waterproof shield.
Where Can I Find Cushions That Actually Fit?
Finding cushions for non-standard pallet furniture without breaking the bank can feel like a real challenge. But you have options. Before you give up, get a quote from a few local upholsterers or even fabric shops. Many of them offer custom cushion services that are surprisingly affordable.
If you’re on a tight budget, the DIY route is fantastic. Buying some high-density foam and a roll of durable outdoor fabric lets you create your own simple, no-sew cushion covers. It’s a great weekend project and saves you a ton of cash.
Planning an event and need more than just pallet furniture? ABC Hire offers a premier selection of stylish and durable event furniture rentals in Cape Town and surrounding areas. From elegant seating to eye-catching LED bars, we have everything you need to make your gathering unforgettable. Explore our collection at https://abchire.co.za today.